Showing posts with label Firestorm Armada. Show all posts

Monday, January 20, 2014

BatRep: Firestorm Armada V2: Valhalla Set (Terrans vs Dindrenzi @ 500pt)

So, my first Firestorm Armada battle report!  Please be gentle! 

I did take pictures, but to say I was disappointed with the results is not enough.  My Terran Fleet was in its Base White colour and the lack of details painted made the fleet appear bleached out in most of the photos.  Sorry.

The Valhallan Box Set comes with two fleets, the Terrans and the Dindrenzi, both adding up to 470 points with no upgrades.  To make the battle more interesting, we bumped it up to 500 points so that we could add some upgrades.  We both agreed in advance not to bother with “Short Ranged Spacecraft” (SRS) because, quite frankly, we weren’t really ready for those!  :D

The Terran Alliance (TA) fleet consisted of:
  • 1 Tyrant Battleship with +1” Movement (5pts), +2 Point Defence Batteries (5pts) and Decimator Warheads for their torpedoes (10pts).  (I don’t think he took anything else)
  • 3 Teuton Cruiser with No Upgrades
  • 4 Armsmen Frigates with No Upgrades


The Dindrenzi Federation (DF) fleet consisted of:
  • 1 Praetorian Battleship with +2 Assault Points (5pts), Added Launch Tubes (5pts), Gained Assault Blitz (10pts) and High Energy MAR to the Kinetic Weapon (5pts)
  • 3 Secutor Cruisers with No Upgrades
  • 3 Thraex Frgates with No Upgrades


We played on a 4’ X 4’ table with 2 Asteroid Fields for terrain and decided not to add anything else.  The chosen mission was the standard “Border Clash”:  8” deployment Zones with the first person to get to 10 Battle Points being the Victor

At least, that was the idea…

The Battle Begins!

Looking at the stats of the Dindrenzi and considering my “test games” using the “training scenarios” that were included in the box set, I knew the Terrans were more manoeuvrable and better at closer range than the Dindrenzi, so I would play a “waiting game”; staying at a distance as long as I could.  Also, knowing the Terran Battleship had such a small Crew Point value, I intended to try boarding it with my Battleship with its enhanced and upgraded Boarding capabilities.

Turn 1:
Terra won the first Initiative phase and decided to keep it.

Terran Cruisers moved forward, skirting the edge of an asteroid field, only 1 ship being exposed once the movement was over.  Dindrenzi Frigates turned and aimed their weapons at this exposed Cruiser, but failed to damage the Terran Cruiser from the long range.  Terran Frigates moved to attack the Dindrenzi Frigates, successfully damaging 1.

The Dindrenzi Battleship activated and moved forward to get the Terran Battleship into Range Band 3.  The Railgun caused a Critical Hit on the Tyrant (Shield Overload) while the High Energy rule forced an extra Hazard Marker on the enemy ship.  The Dindrenzi’s torpedo attack failed to damage the exposed Cruiser.

Terran Battleship hit by Railgun!

The Terran Battleship moved forward and tried to retaliate against the Dindrenzi Battleship.  While the Beam weapons failed to damage it, the Torpedoes managed to cause a Hull Point of damage to the Dindrenzi Battleship.

As the final activation of the turn, the Dindrenzi moved forward and sniped at the exposed Terran Cruiser with their railguns but failed to damage the ship.  The Cruiser’s torpedo attack at the enemy Frigates were all stopped by enemy Point Defense systems.

In the End Phase, the Terran Battleship failed their repair roll (a 1!), thus gained another Hazard token and lost another Hull Point!

End of turn 1

Battle Points:
TA           0
DF:         0

Turn 2:
Dindrenzi won and kept the Initiative!

Trying to do the most damage and keeping my distance, the Dindrenzi Battleship moved forward its minimum distance and unleashed HECK on the Terran Battleship with the railgun, gaining another Hull Point damage and Hazard Marker (3 total each ).  Sadly, the torpedoes again failed to reach the Terran Cruiser…
The Terran Battleship moved forward and turned to port (left).  The Terran’s Battleship failed to damage its counterpart but the torpedoes managed to crit one of the Dindrenzi Cruisers (Fire – 3 CP left).  In retaliation, the Dindrenzi Cruisers made a minimal move and turned all weapons against the Terran Battleship.  In an exhibition of my infamous dice rolling powers, I managed . . nothing!  The Terran Cruisers finally came from behind the Asteroid field and blasted the damaged Dindrenzi Cruiser, destroying it!  Then almost as an afterthought, the Cruisers’ torpedoes destroyed a damaged Frigate!

1st Dindrenzi Cruiser and Frigate are Lost!

In desperation, the Dindrenzi Frigates coordinated their attacked on 1 Terran Frigate, but succeeded only in damaging it!  The Terran Frigates made a 90 degree turn and formed a Line of Battle, then managed to Crit another Dindrenzi Cruiser (Hull Breach – 2 crew left).  Things were not going well for the Dindrenzi…

Terran Frigates Attack!

In the end phase, the Terrans only repaired a single Hazard Token, leaving the Battleship with 2 Hazard Markers.

Battle Points:
TA           0
DF:         0


Turn 3:
The Terrans played the “Power to the Shields” TAC on the Battleship, gaining an extra Shield for the turn while the Dindrenzi played “Eye of Rense” TAC – allowing all leadership tests to be passed automatically this turn.

Dindrenzi won the Initiative and kept it once more.

The Dindrenzi Battleship once more made a minimum move and turned all its weapons on the Terran Battleship.  When the dust settled, the Terran Battleship had 2 more Hull Points shaved off, crippling the Battleship and giving the Dindrenzi 2 Battlepoints!  The Dindrenzi are first with scoring points and in the lead!

It didn’t last long, though.  The Terran Cruisers turned to starboard and blasted away at the damaged Dindrenzi Cruiser, destroying it.  That gave the Terrans 2 Battlepoints for destroying half a Tier 2 squadron, but the Dindrenzi didn’t need to take a Disorder test due to their TAC allowing them to pass all leadership tests.

Loss of the 2nd Dindrenzi Cruiser

The remaining Dindrenzi Cruiser attacked the lead Terran Cruiser with their railguns, gaining a Crit (Fire: 3 Crew left), though the Gun Racks failed to damage the enemy Frigates.

The Terran Battleship continued its move forward, blasting away with its weapons but failing to damage anything – the damage it had already taken affecting the great ship’s performance.

The Dindrenzi Frigates moved to fire on one of the Terran Frigates, but once more failed to cause any damage.  The Terran Frigates meanwhile maneuvered into one of the Dinrenzi Cruiser’s rear arc, but fortunately for the Cruiser crew, failed to cause any damage in another spectacular display of how NOT to roll the dice!

In the end phase, the Terrans were only able to repair one Hazard Token on the Battleship, reducing one Cruiser and the Battleship to 2 Crew Point each!  Things were looking up for that Boarding attempt!

Also, the Terrans decided to reclaim their TAC card, losing 1 Battlepoint in the process.

Battle Points:
TA           1
DF:         2


Turn 4:
The Terrans played “Power to the Shields” TAC once more on the Battleship while the Dindrenzi played “Burn Thrusters” TAC on the Battleship, reducing its turn rate to 1” between 45 degree turns.

Terrans won the initiative and kept it!

The Terran Battleship managed to manoeuvre into the rear arc of the uncrippled Dindrenzi Cruiser and managed to grind away 2 Hull Points (leaving 1), crippling the Cruiser!  The Dindrenzi Cruiser turned to engage both the Frigates and Cruisers, but managed to damage nothing.

The Terran Frigates manoeuvred into the rear arc of the Dindrenzi Battleship and shot . . at the Cruiser?  Turned out the Battleship was “too close” for optimum firing and the Terran Frigates got their best number of dice rolls shooting at the Cruiser.  It was good decision as they took out the last Dindrenzi Cruiser, earning another 2 Battlepoints and causing the Dindrenzi to lose 2!

The Dindrenzi Battleship is committed at this point.  Turning to starboard, the Gun Racks crit an undamaged Cruiser (Point Defence Systems Offline) and Boarded the Terran Battleship!  Or did it?  Nope!  The ship was down to 2 Crew Points and the Point Defence was down to 1 shot, but I bombed the attack roll again and the defending Marines drove off the attack with 1 “hit” to spare!  I did NOTHING!!!  With the new Version 2 rules, the Battleship would not be able to do another boarding action for the rest of the game!  AAAAARRRRRRGGGGGGGHHHHHHHHH!!!

Boarding Combat with Overwhelming Numbers..FAILS!

Laughing, the Terrans turned their Cruiser loose on the Battleship, taking off a Hull Point (2 HP gone in total – the Battleship was still in good shape).  The Dindrenzi Frigates did another 180 degree turn and crit the last undamaged Cruiser with a Corrosion Token!

Dindrenzi Frigate Attack Run

In the End Phase, the Terrans managed repair the Hazard Counter on 1 Cruiser, failed to repair the Point Defense system on another, and failed to repair a Corrosive Effect on the last (3 Hull Points gone, 1 left).  Finally, all the Hazard Markers were repaired on the Terran Battleship!  First time since turn 1!

The Dindrenzi decided to take back their TAC card to play again (I really didn’t have a choice), loosing another Battlepoint.

End of Turn 4


Battle Points:
TA           4
DF:         -1


Turn 5:
Dindrenzi played “Burn Thrusters” on their Battleship once again.  The Terrans played “Focused Repair” on the Cruiser to repair its Point Defence System.

Terrans won and kept initiative once more.

The Terran Battleship turned to starboard and fired on the Frigates, destroying 1 and damaging the other, gaining another Battlepoint for reducing a Tier 1 Squadron below 50%.  The remaining Frigate passed its Disarray test.

Thanks to the “Burn Thrusters” card, the Dindrenzi Battleship was able to turn and fired its forward weapons on the enemy Battleship, finally destroying it for 4 Battlepoints while the Gun Racks crit and destroyed a Cruiser.  Finally!

The Dindrenzi Battleship's Revenge as the Terran Battleship & Cruiser are Destroyed!

The Terran Frigates turned and fired on both the Frigates and the Battleship, but failed to damage either.

The Dindrenzi Frigate moved to put some distance between them and the enemy, but then failed to turn around enough to get anything into their firing arcs.  The Terran Cruiser punished the Dindrenzi Frigate for its failure and destroyed it, gaining another Battlepoint for destroying a Tier 3 squadron while the Dindrenzi lost another Battlepoint for losing a Tier 3 Squadron.

In the End Phase, the Terran Cruiser failed to repair its Hazard Counter and exploded!  Unfortunately, it appeared that Dindrenzi wouldn't gain a Battlepoint for this as it was a result of an event rather than direct damage.  The Dindrenzi also picked up their TAC card again in case there would be another turn.


We messed up the Battlepoints while we were playing the game; I had forgotten to delete points for squadrons lost.  We figured the score was Terran 5 versus Dindrenzi 1.

It didn’t look like either of us was going to get to 10 Battlepoints and as I looked over the situation, there was no way I wanted to continue the fight.  A Battleship against 2 squadrons of more manoeuvrable ships.  They had already gotten into my rear arc with no difficulty once.  The Battleship would have died the death of a thousand cuts.  Realistically, I would have the Battleship fold space to escape and save an expensive resource for a future battle, so I conceded the match.

Terran Victory!

However, while writing up the battle report, I discovered that the score was actually 1 All before I conceded the match!  If I had moved off the table using the Space Fold Escape, the Battleship would count as destroyed and would cost me 4 Battlepoints while Terrans would gain 5, resulting in a 6:-3 Battlepoint win for Terra.

Great Game!

I knew the Terrans had the advantage of manoeuvrability, shields and “Knife-Fighting”.  I think I had the right idea, playing the long distance game as long as possible. 

I had some pretty dismal rolls when I needed them, but so did the Terrans.  I can’t blame it on the dice – sorry!

I think maybe I should have made the Dindrenzi Frigates disengage around turn 3, possibly hiding around the Asteroid fields, then re-engage a couple of turns later.  The Frigates weapons were all forward fixed arcs and by turn 4, they were too close to get their maximum fire power.  If I could have disengaged them for a turn or two, I might have gotten the Frigates back into optimum range (and out of immediate danger).

The other thing that would probably have helped Dindrenzi was if I concentrated all units onto the Battleship from the beginning (and hopefully crippled it sooner), then engage the other units.  I could always come back to the Battleship later as its firepower was badly reduced.  As it was, I got Swarmed by the rest of the fleet because I didn’t deal with the Cruisers and Frigates fast enough.

The Boarding of the Terran Battleship was a failure, but I think that was my fault for not doing a Targeted Attack on the Bridge first.  If successful, I could have reduced the AP value and the Boarding attempt would have been successful.  I probably should have attempted to capture one of the Cruisers instead as their AP values were lower.

Speaking of Targeted Attacks, both sides had tried them from time to time, but had no luck.  The times we tried, we failed to damage at all.  When we didn’t, we had some of the best rolls of the game.  Hmmmm…


On the Terran side, there wasn’t much he could have done differently.  As I stated earlier, the Dindrenzi plan was to attempt to board and capture the Battleship.  As soon as it was deployed, the Tyrant was marked by my Battleship.  While the Terran Frigates and Cruisers could have attacked the Dindrenzi Battleship to (hopefully) reduce the damage their own Battleship took, he would have made the same error as I did – ignoring my Cruisers and Frigates which would then have been able to attack them with impunity.  As Terra won the game, I can’t really fault him for his strategy in this case.

Anyway, I'm looking forward to my next game!  I just need to decide how to expand each fleet...

Wednesday, January 1, 2014

Product Review: Battle for Valhalla Set: Part 2 (The Models)

So, seeing as I don’t have any of the models from the last version of Firestorm Armada, I guess I needed to put some models together so that I could play-test some rules…

The Models:
Dindrenzi Federation:
I started with the Dindrenzi because, honestly, they were on the table after the last photo shoot.  They needed to be done anyway!  ;)

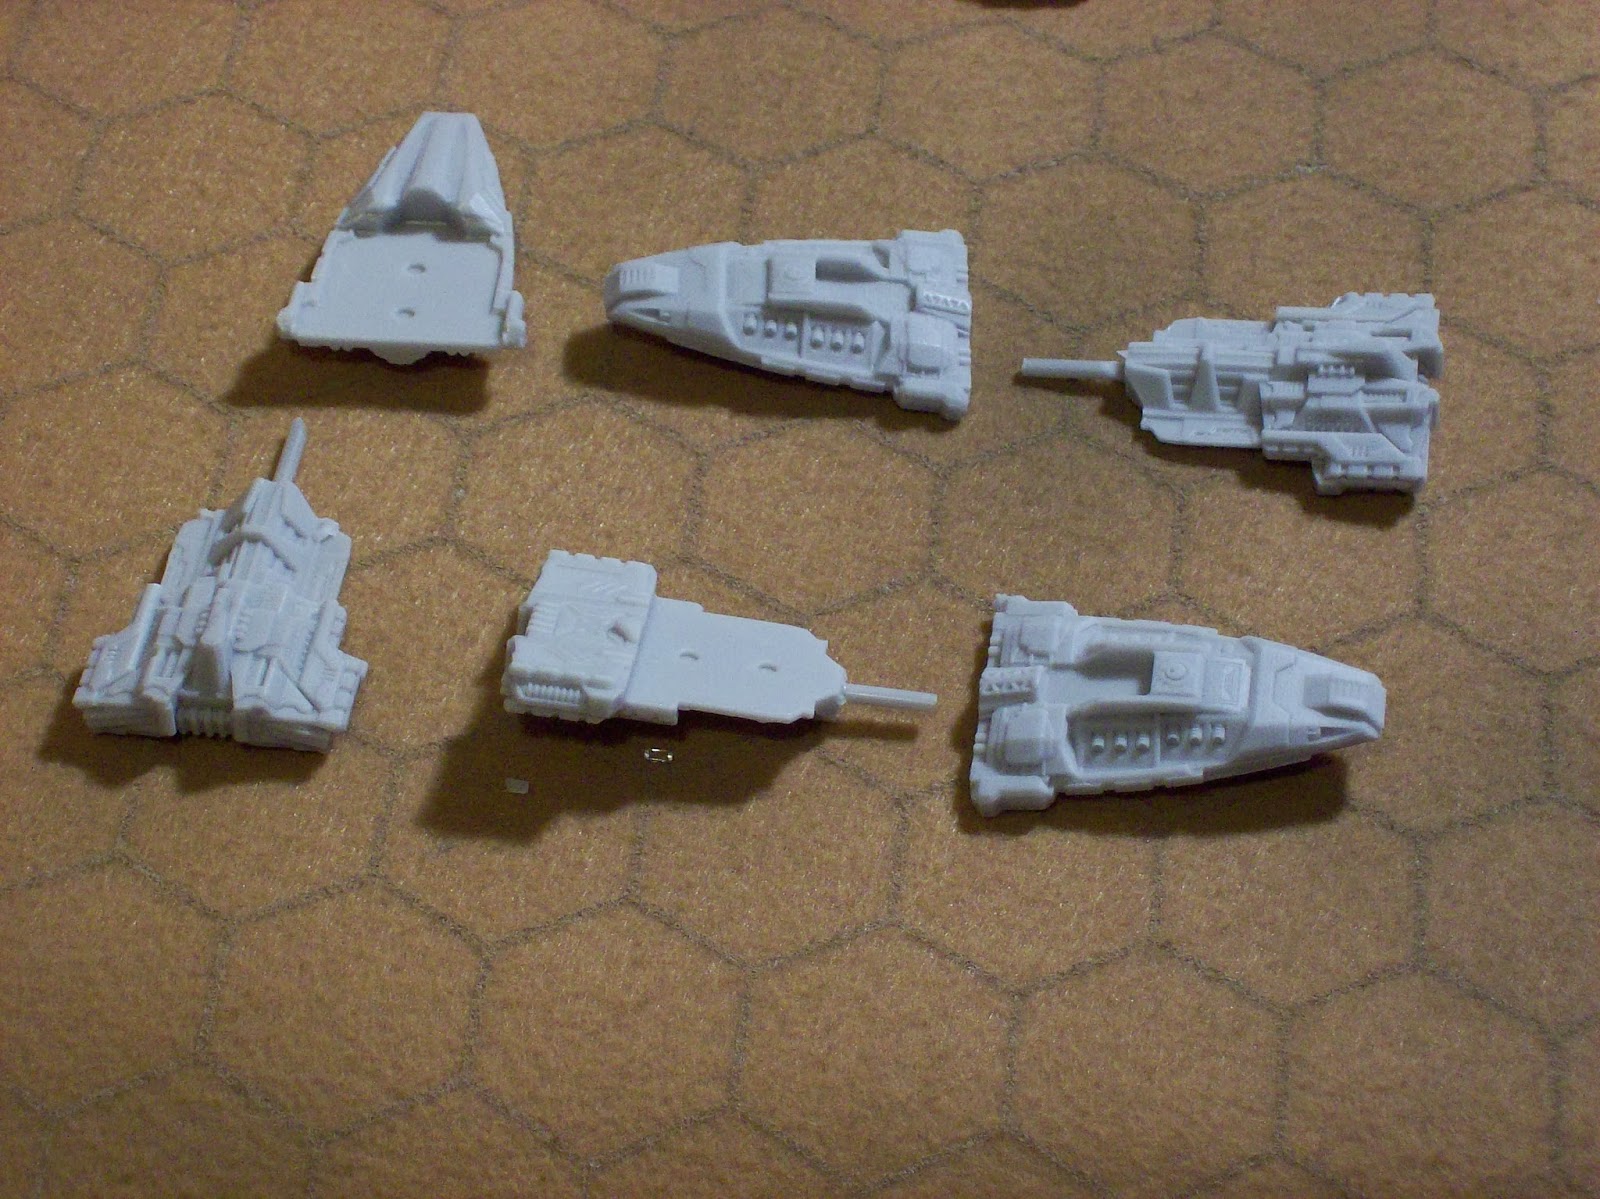
Thraex Frigates
Nice thing about this model: it’s 1 piece!  There were 3 in the box and all I had to do was clean off a little bit of flash (excess resin) around the edges and “carve” off the pour channels on the rear of the model.  I used both a file and a sharp X-Acto knife for this.  Model sits well on the stand and we’re ready to prime!
Cleaning the butt end

Underside after all flash cleaned off

Top View

Total prep time: about 15 minutes for all 3 models

Secutor Cruisers
This is technically a 4 piece model, though one of those pieces is just the flight stand mount point.  All the Cruisers and the Battleships for the Dindenzi used the same piece.  Very little flash to clean off the main hull unit, though I did have to go between the Railgun channels on one Cruiser to clean up some excess resin in one corner. 
Cruiser Bits!

The two engine pods also had a little flash that needed to be cleaned off so they would attach to the hull correctly, but it was all done with a sharp knife.  Once I had the engines cleaned up, they were glued onto the hull with super glue and clamped.  A minute or two later and the assembly was safe to handle.
Looking at the bottom of the hull, it was easy to see where the final piece, the mounting plate, was to go.  Unfortunately, the mounting hole is off to one side, so I had to do a quick “balance” test to decide which way to mount the plate.  In the end, I chose to put the mounting hole forward, the model seemed to sit on the flight stand best that way.
Finished Cruiser

Total assembly time: 30 – 45 minutes for all 3 models

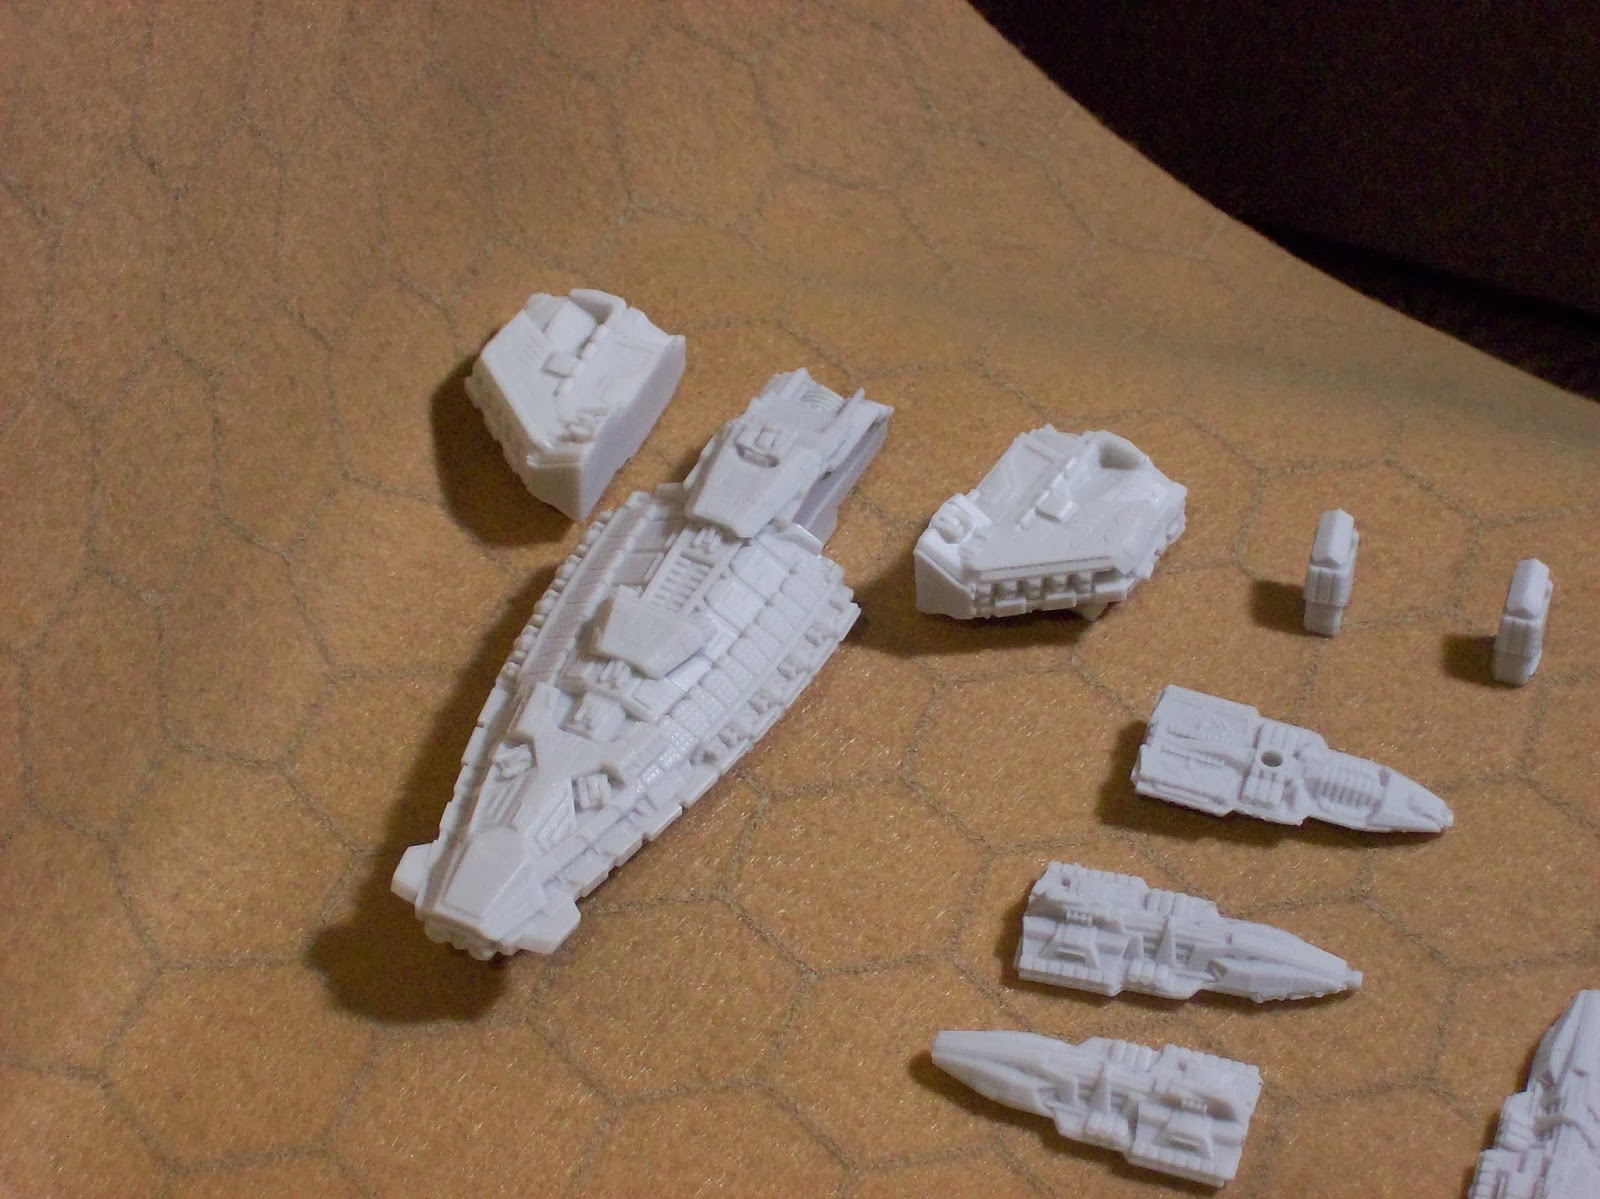
Praetorian Battleship
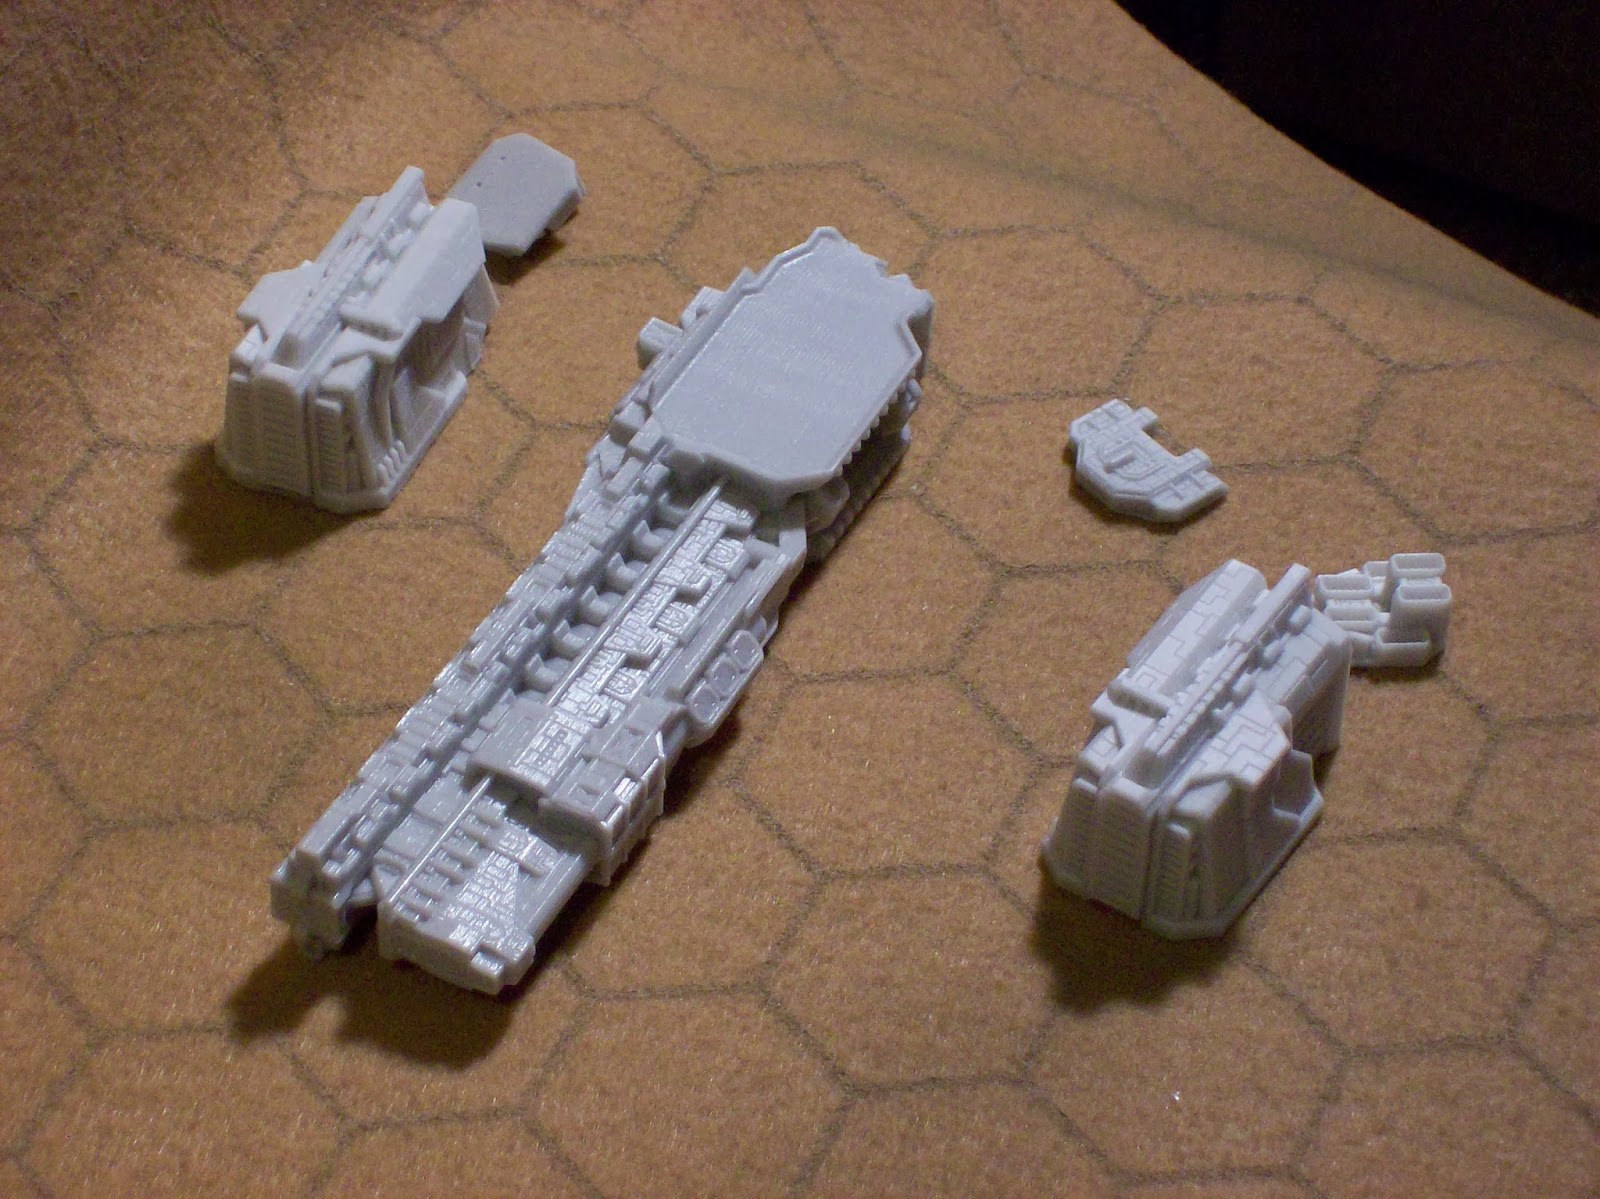
The “Big” Boy!  This is the most complicated of the ships in the box.  The model comes with a hull piece, a Bridge platform, 2 engine pods, 2 engine exhausts, 2 “Detail” strips and 2 Mounting Plates.
Lotsa Bits!!!

First, I had to clean off the main hull.  Most of the flash was minor at first.  Then I realized that this strange looking “detail” on the upper back hull was in fact the Pour Channel for the resin!  I ended up chopping it off in stages using side cutters and then a sharp knife.  Next, as I was checking the hull from the side, I realized I could see light through some of the detailing.  This turned out to be more flashing; 6 small squarish holes on top and a longer channel on the bottom.  After carving out the flash with a sharp knife, I realized the smaller “Detail” strip fit into the longer channel on the bottom.  I had no idea where it went before then!

Putting the last detail strip on (after the engine pods were done)

Next were the engine pods.  Again, very little flash on them.  They were clearly marked “L” & “R” to help identify which went where.  When I went to test fit the pods, they were a little large for the recessed “socket” they were to fit into.  I basically ran a knife blade at an angle of about 45 degrees along the edge to be mounted towards the Hull until they fit (very little shaving – I barely could see it, but I’m blind anyway).  Once both pods fit, they were glued and clamped for a couple of minutes. 

Cleaning the Engine Pods

While the glue set, I cleaned the flash from the engine exhaust ports and the Bridge platform.  The exhaust ports had a recessed area that they fit into quite well.  The Bridge, I just eye-balled the platform to center it and it all seemed to go together well.  Quick glue and we’re done!

The Finished Battleship

Finally, the mounting plates.  There were 2 to mount, but again, no description how to mount the off-centered plates.  I grabbed the flight base, lined up the holes to where the plates were to go.  We mounted the holes both inwards and that appears to be correct.  This, however, was also a point of frustration for me.  The two mounting plates are on two different levels on the model.  In order to use a 2 – poled flight stand, I’ll need to make custom stand with 2 lengths that won’t be usable with any other model (unless I get a second Praetorian).  Otherwise the model looks good.

The uneven mounting plates

Total prep time: about an hour without modifying the flight stand

The Terran Alliance

Armsmen Frigates
Like the Dindrenzi Frigates, the Terran Frigates are all one piece.  Very little flash to remove.  The Pour Channel was on the nose of the Frigate.  With a sharp knife, the excess was cleaned off very quickly.  Again, the model sat well on the flight stand.

Total prep time: 30 minutes total for all 4 models (I wanted to take my time as this would affect the nose appearance if I rushed).

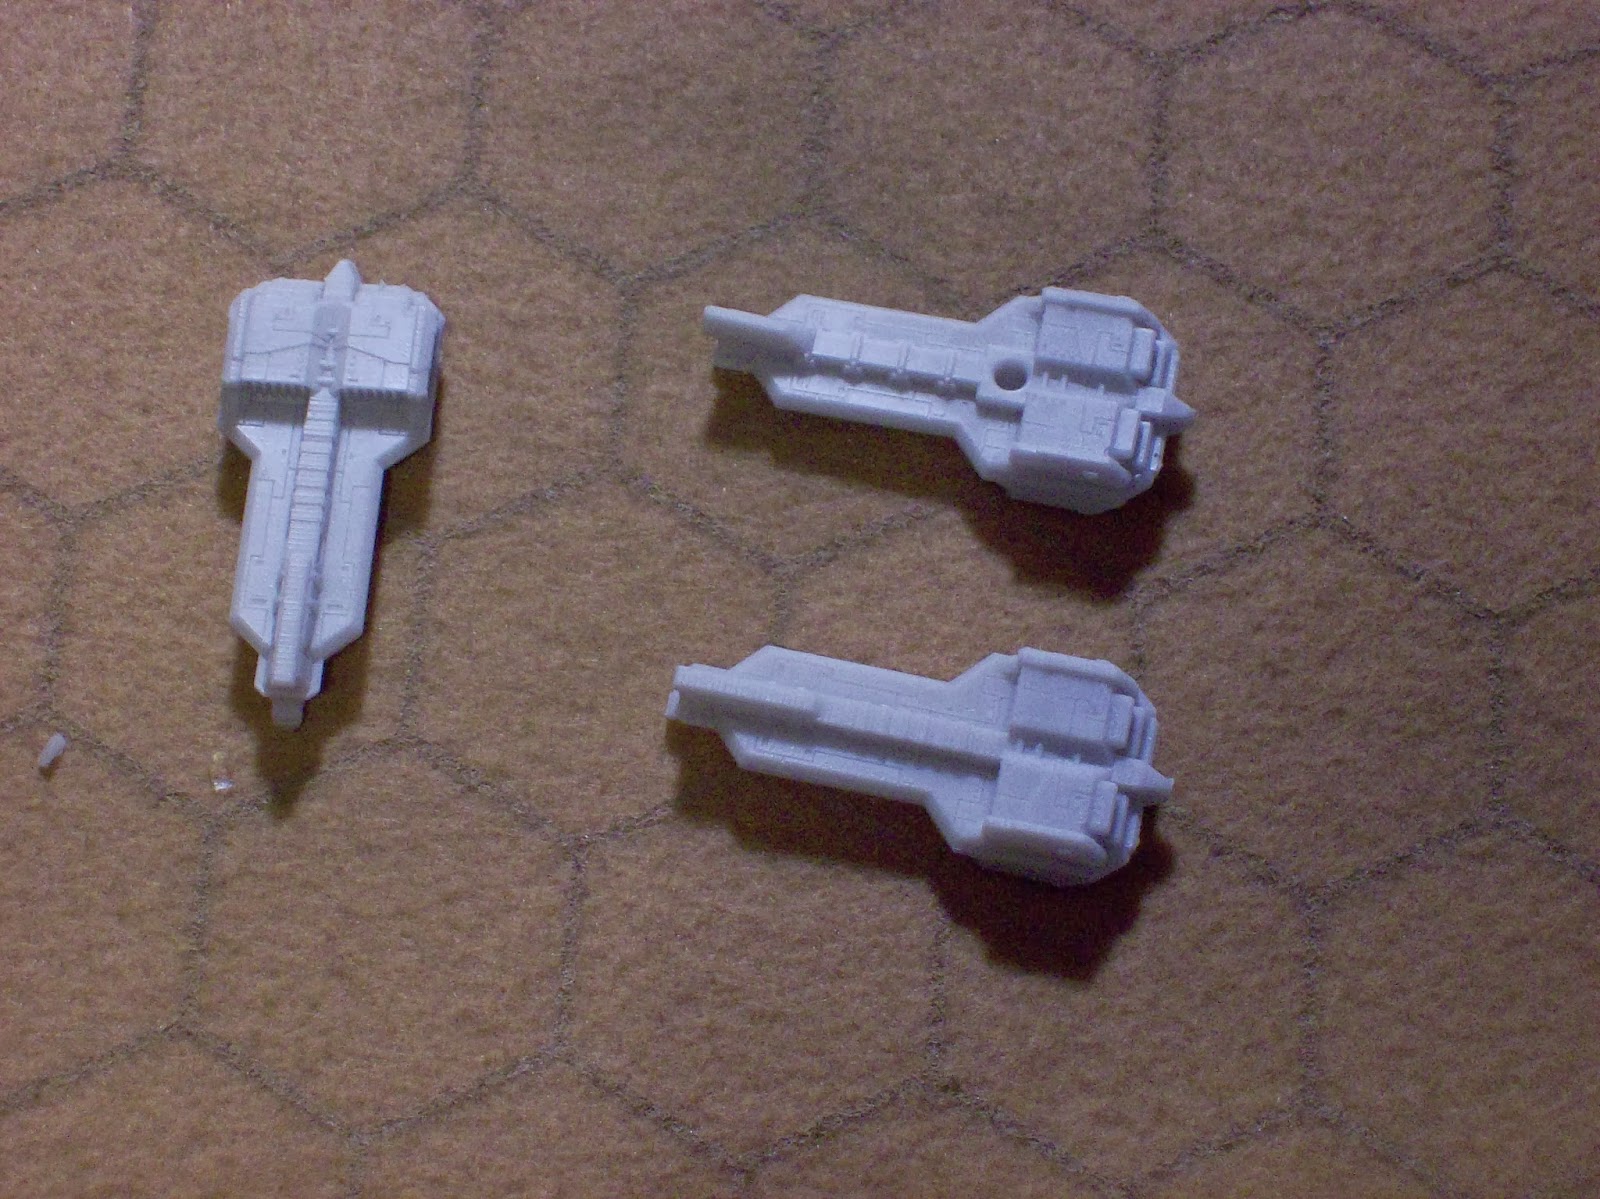
Teuton Cruisers
Very simple model with only 3 pieces: an Upper Hull, a Lower Hull and a Mounting Plate.  Very little flash on the Lower Hull or the Upper Hull, though the Upper Hull pour channel was very obvious.

Cruiser Parts

 I snipped off the excess with side cutters and then trimmed clean with a knife.  In the photo, you can see 2 circular impressions on both hull pieces.  There’s speculation on the Spartan Forums that these impressions were meant for modelers to use small rare earth magnets so that the hull parts could be swapped for the Heavy Cruiser part.  As I don’t have those parts, I just glued and clamped the 2 hull halves together.

 The Mounting Plate also has an off-set mounting hole for the flight stand.  I found by putting the hole towards the rear the model balanced better on the flight stand.


Total prep time: 30 minutes total for all 3 models

Tyrant Class Battleship
Another nice looking model.  The Tyrant consists of the Main Hull, 2 Engine Pods, 2 “Rudders” and a double-holed Mounting Plate.

Battleship Bits

Very little flash to clean on each of the model parts.  The Engine Pods are marked “L” & “R” in the depressions that the “Rudders” fit.  Once the flash was cleaned, both pods fit easily and were glued, then clamped into place. 

Engine Maintenance

After the glue had set, the “Rudders” were glued on top and the mounting plate was glued on the bottom.  Very quick setup compared to the Praetorian and, more importantly, the Tyrant sits on the flight stand with no further modifications.


Total prep time: about 45 minutes

What’s Next?
I’ll wash all the models before I prime and paint them.  I’ll need to put all he flight stands together and customize one of the stands for the Praetorian’s stand. 

For the Terran fleet, I look at the models and I see all those classic white spaceships from the 70’s.  The Star Wars Imperial Cruisers, Space 1999 Eagles, even the original Battlestar Galactica.  I can’t help but think the Terran models need to be White or Off-White.  To help make the models brighter, I’ll be priming them with white.

For the Praetorians, I’d like something darker, but not too dark.  I’ll start off by priming the models black to help the colours stay dark.  I don’t want to leave the models black as that would be hard to see or photograph under limited or poor light.  I was thinking something like GW’s Tin Bitz or dark bronze metal.

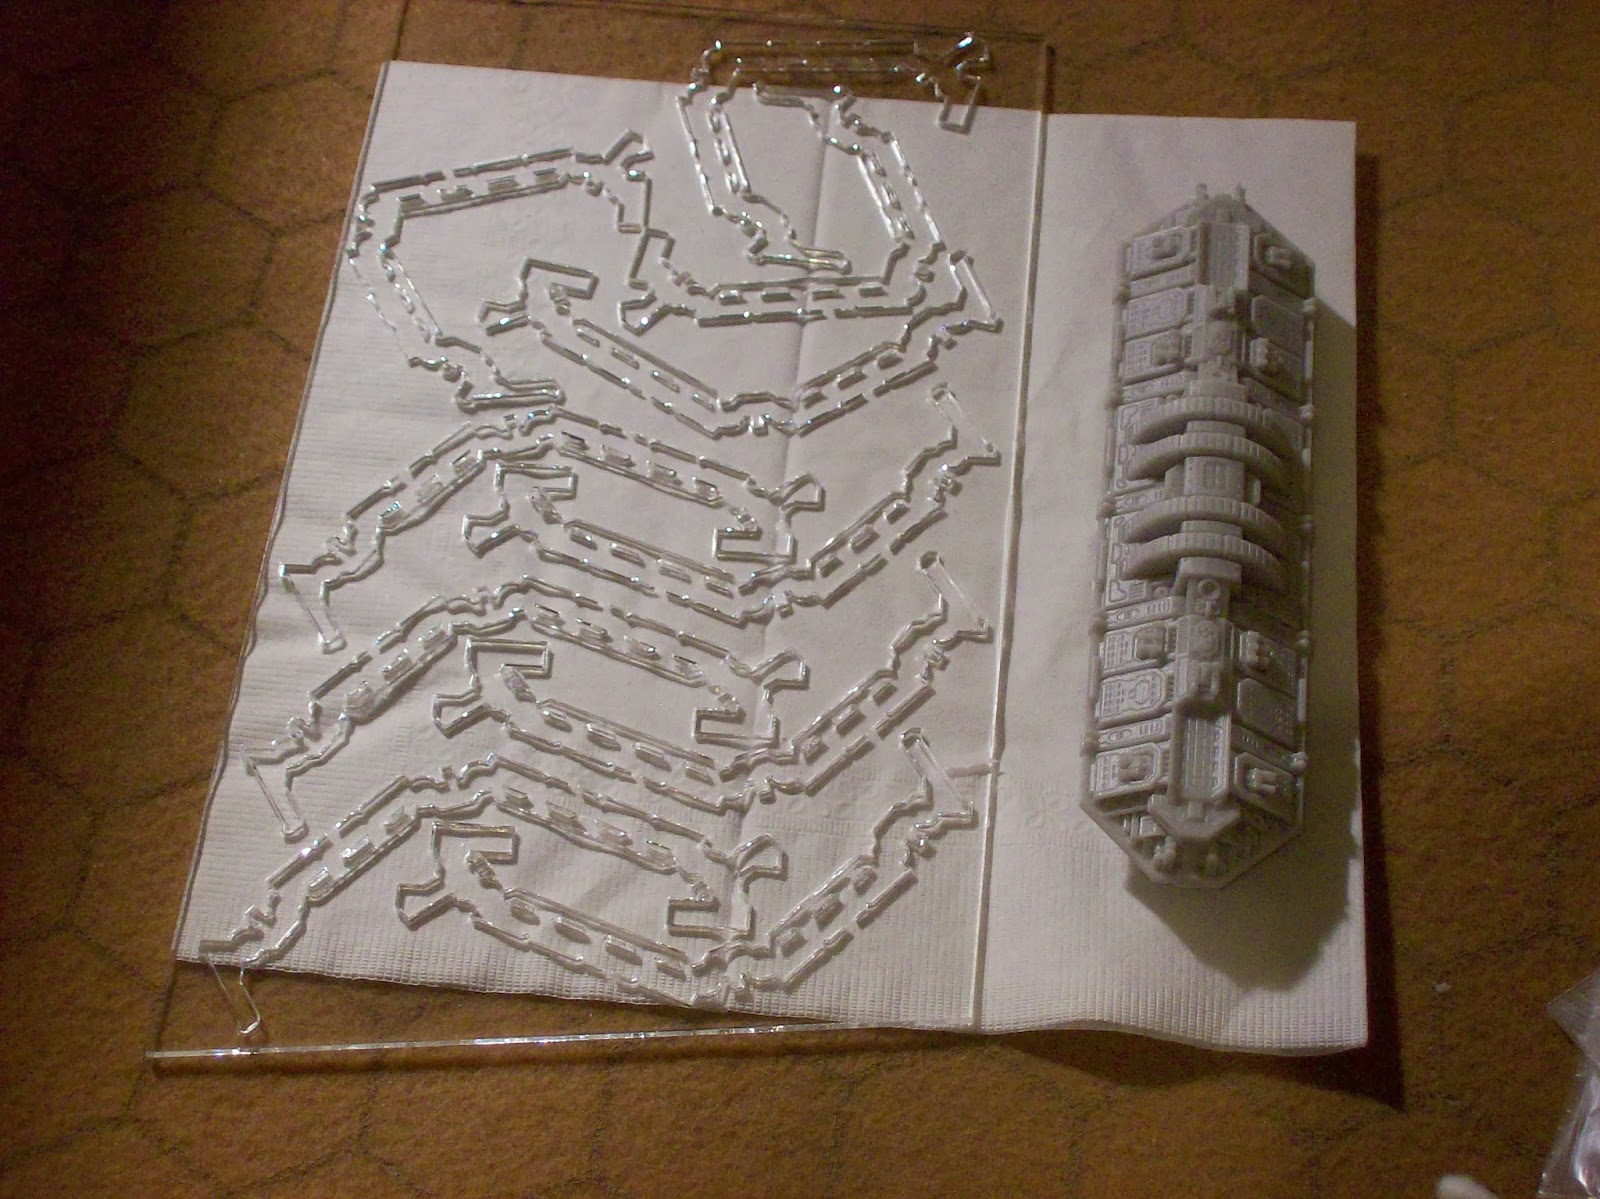
I haven’t mentioned the space station Valhalla in this report.  I haven’t started it yet because I’m concerned that the legs won’t hold the primer or paint properly without some prep work.  The legs are made from a shiny sheet of some sort of poly.  I’ve popped the legs out of the sheet, but want to test the paint on a leg or two before I assemble the model.


Hopefully I’ll have some battle reports for your enjoyment soon.  Meanwhile, Happy New Year!

Saturday, December 28, 2013

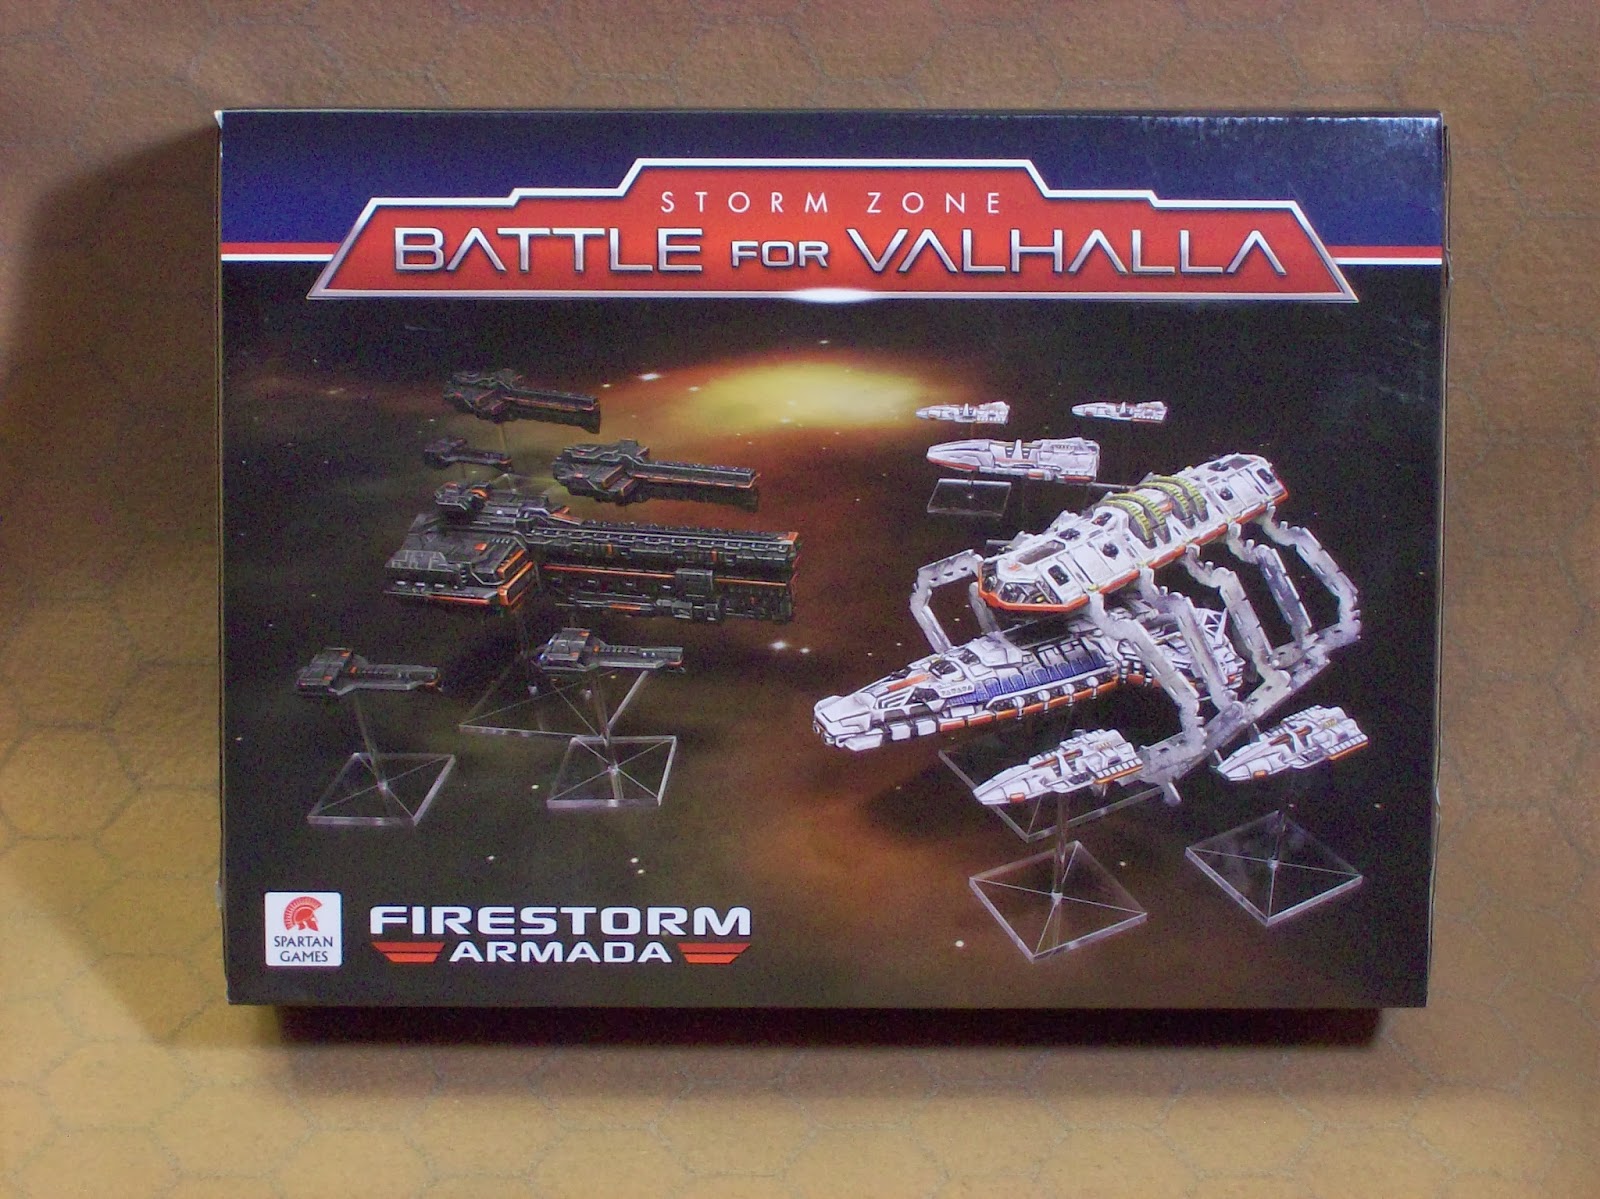
Product Review: Spartan Games “Battle for Valhalla” Set – Firestorm Armada – Part 1

My Wife Loves Me!  She Really Does!!!  She was really nice to me and I got a really nice Christmas Gift!  It’s nice to have a wife that supports my habits!  ;)


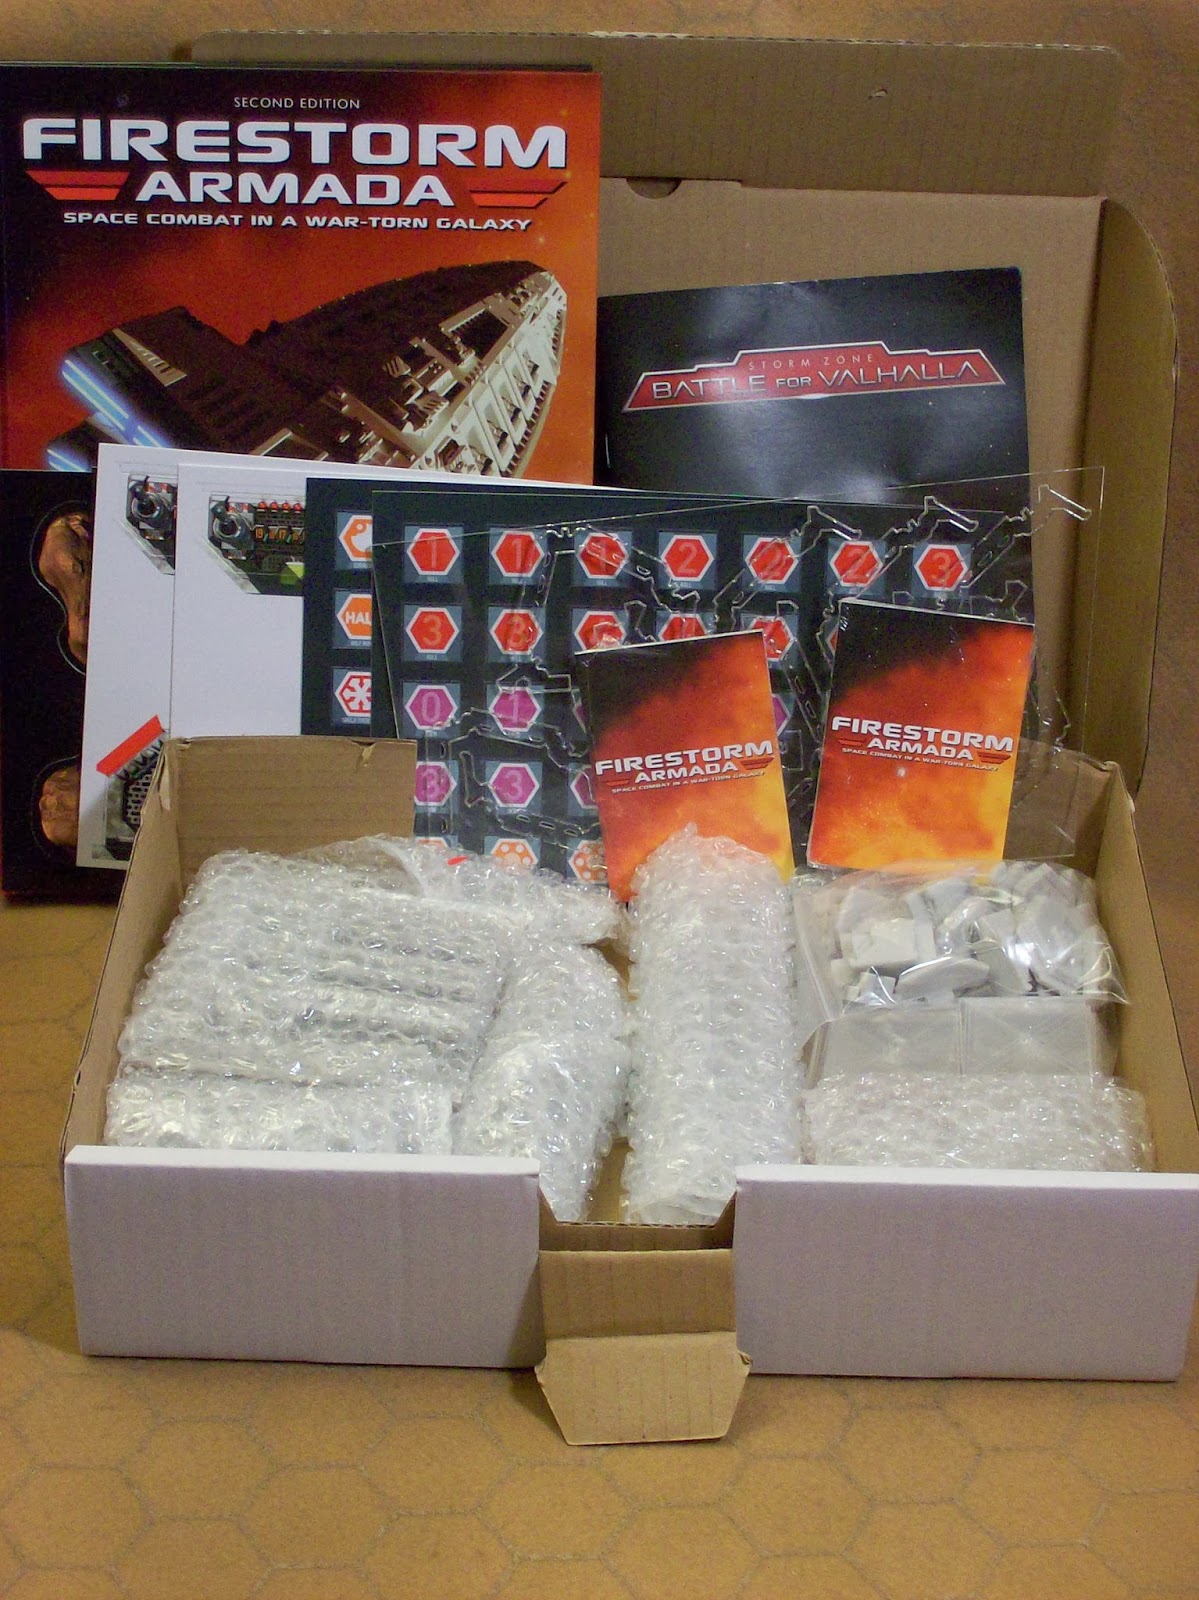
So, what’s in the box?  LOTS!!!
  • Hard Cover Copy of the Firestorm Armada Rules – Version 2
  • Soft Cover Scenario Book with escalating (training) missions using the models of the set
  • 6 full colour cardstock pages with counters, asteroids, turn templates and the new “Battle Logs”
  • 2 sets of dice – 1 normal, 1 smaller to fit into the new Short Range Spaceship (SRS) tokens
  • 2 Sets of Tactical Ability Cards (TAC) – 1 generic, 1 of race-specific cards


Opening the Box!

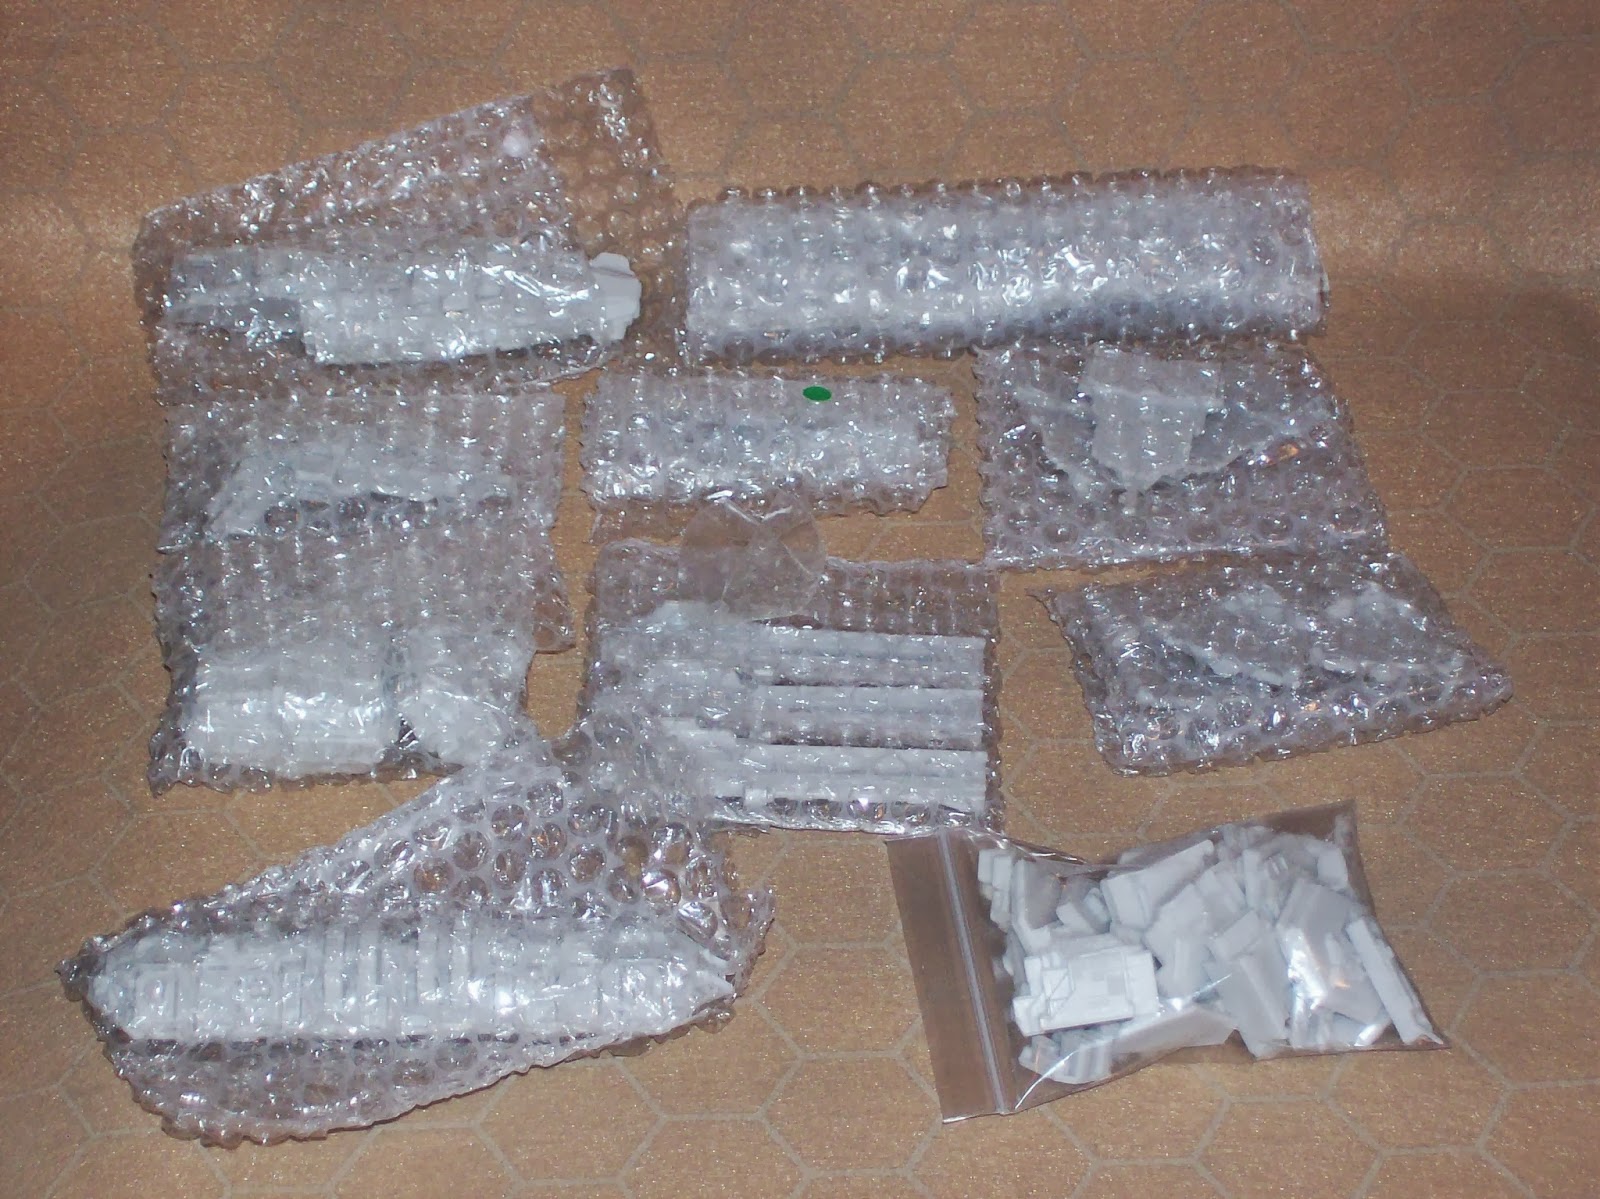
Lotsa Bubble Pack!


And 2 fleets:

Terran Alliance:
 1 Tyrant Battleship
·         3 Teuton Cruisers
·         4 Armsmen Frigates
·         4 Large SRS Tokens
·         4 Small SRS Tokens
·         The Valhalla Research Station
The Terran Fleet

Two-Piece Cruisers

Single-Piece Frigates

The Tyrant Battleship (with Frigates)

The Valhalla Station


Dindrenzi Federation:
·         1 Praetorian Battleship
·         3 Secutor Cruisers
·         3 Thaex Frigates
·         2 Large SRS Tokens
·         2 Small SRS Tokens

One-Piece Frigates

Three (Four?) Piece Cruisers

The Praetorian Battleship

Various SRS Tokens

And, of course, a ton of flight stands for everything (except the station – which is free-standing)

All the resin parts were nicely wrapped in bubble pack and the over-all impression I had when I first opened the box was “WOW!  Nicely packed and FULL!!!”

Something of special note: All the colour cardstock was die-cut!  I just had to punch out the various bits!  No cutting with scissors!  Bravo!  I hope Spartan continues to do this with all the box sets!

Impression of the Models:
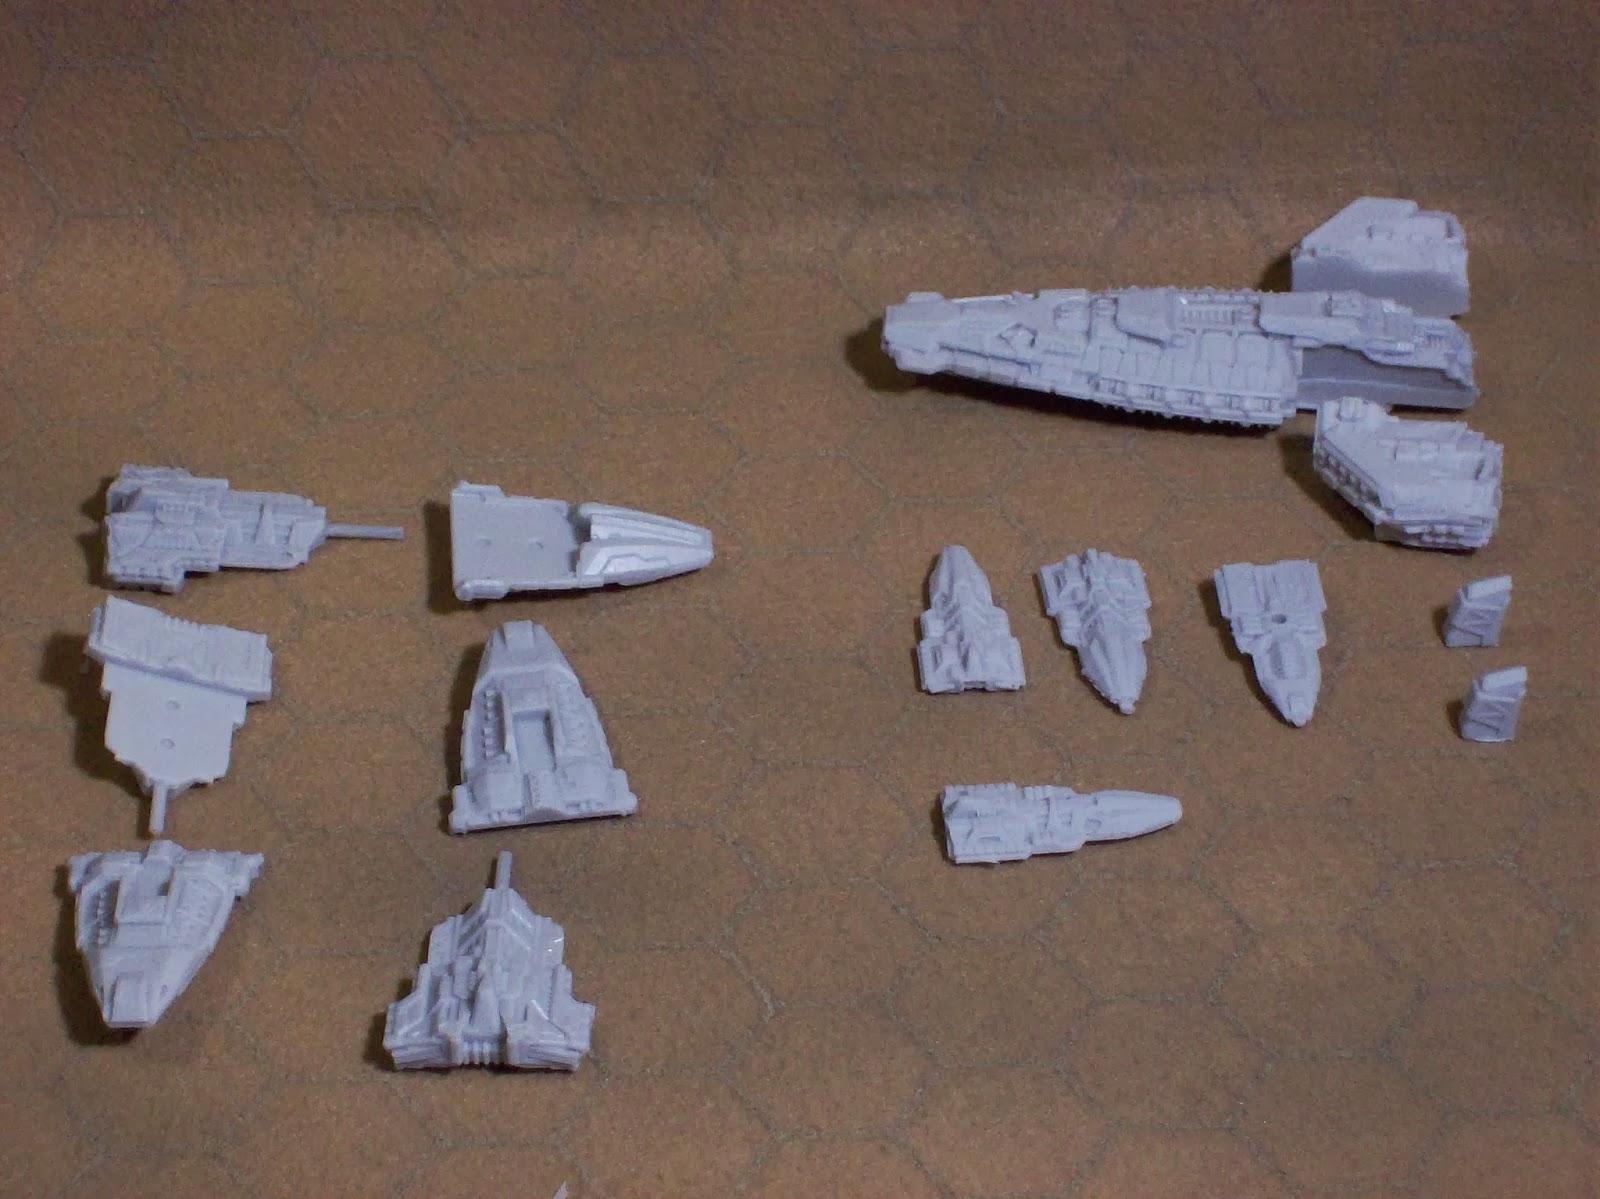
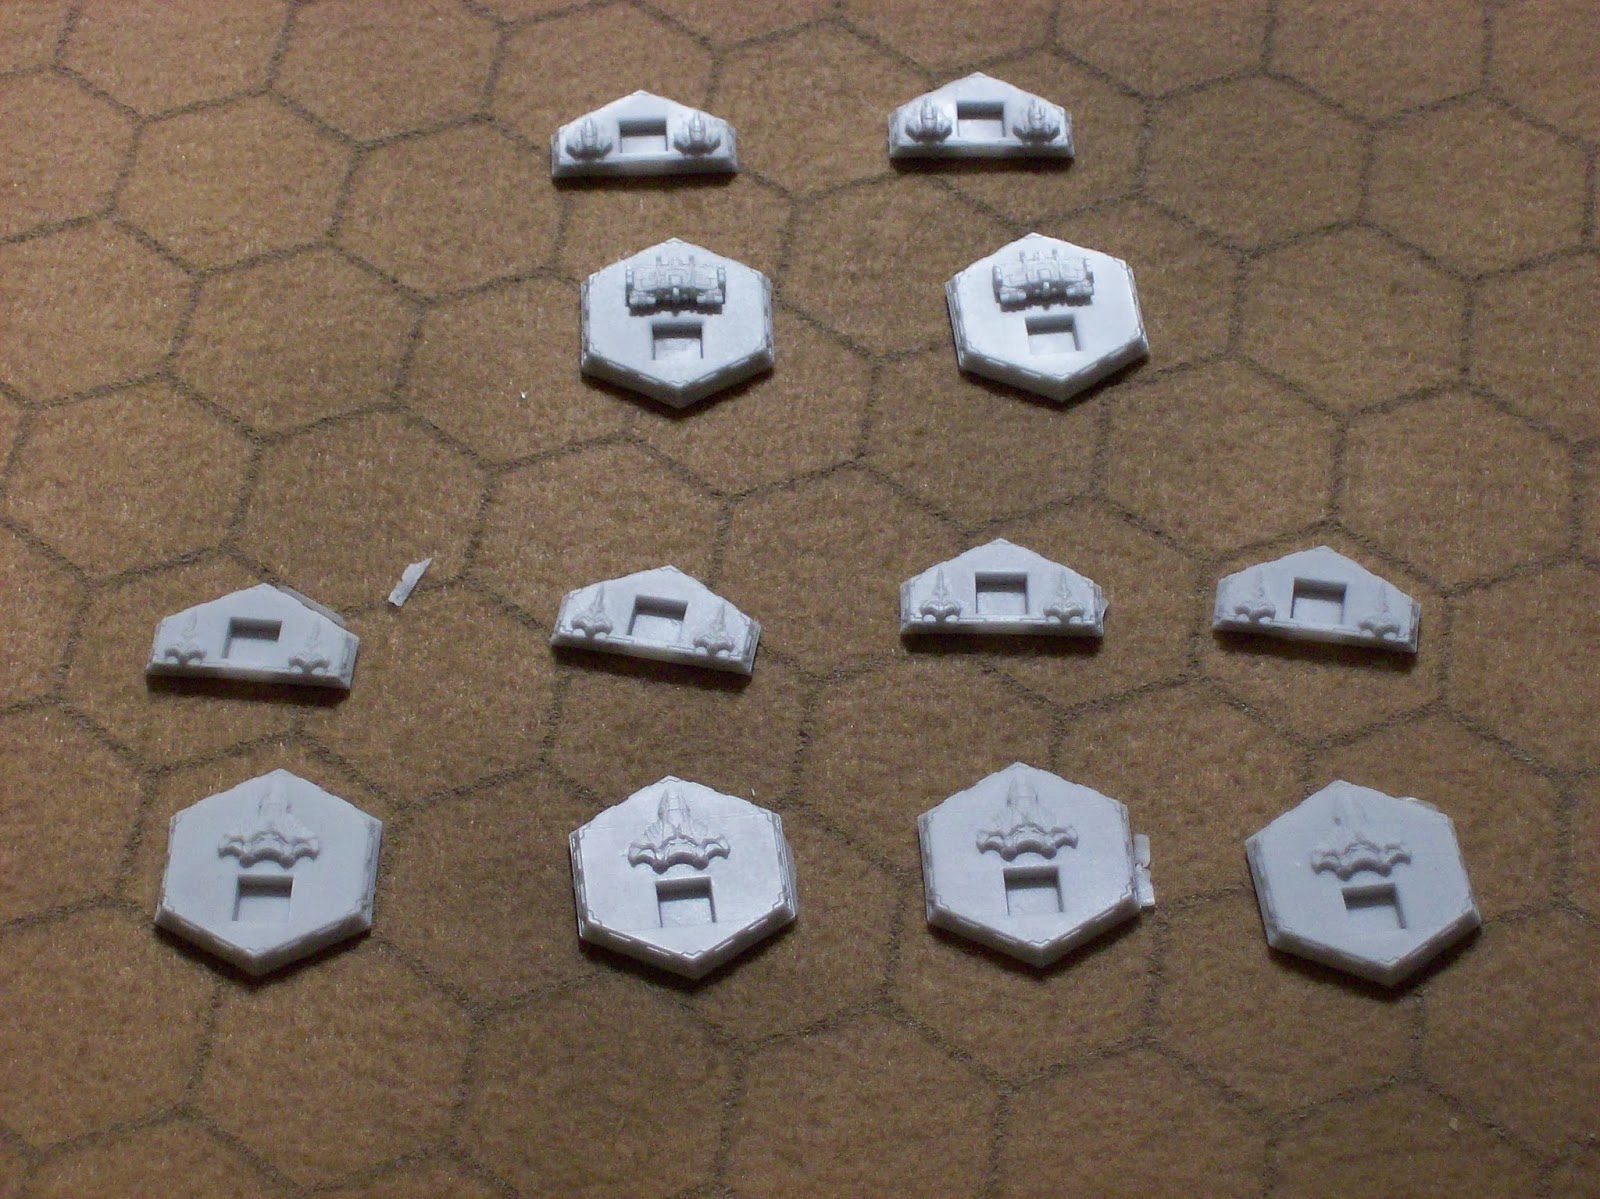
As you can see in the photos, I haven’t yet started assembling anything (YET!).  Overall, the detail is excellent for all the ships.  Very little flash, though there will be some clean-up required to add the engines to the larger Battleships.  The worst of the flash seems to be on the SRS tokens, on the bottom edge, so I’m quite happy with the quality. 

If I do have a complaint, it’s that there are no instruction diagrams.  This is a common problem with several manufactures.  I suspect the issue here is that when the product is packaged as individual blisters or as the new Patrol Boxes that Spartan is pushing now, it’s obvious what goes where.  Unfortunately, here you have 2 different fleets and a lot of bits for both are jammed in with the SRS tokens in a single Ziploc bag, so you have to sort through the parts and guess where each bit goes.  In honesty, I’ve already figured out where most of the bits go, just by comparing photos on the box cover.  There is one small bit I haven’t figured out yet, but that’s not too bad…

I’ll try to let you know what I think as I assemble and paint the fleets.

Firestorm Armada V2 Book: First Impressions
First, a confession: I’ve never played a Firestorm Armada game before.  Like many people, I’ve downloaded the PDF file of Ver 1.1 directly from the Spartan Game’s site, so what you’ll see here is my first impression of the book and rules.

The quality of the book is excellent.  While only 120+ pages, the hard cover is excellent quality and the pages are all full colour and the text is easy to read.  Some gorgeous photos and some good example diagrams dot the test as you progress through the rules, though sometimes they don’t always seem to be where you’d thing find them.  The book does have an index (though I’m not sure how good it is; after playing a few games and having to reference things, I’m sure I’ll find out).

The sequencing of the book is very “British” in style.  The rules are not laid out in a point system for reference like some “American” games (such as the notorious Star Fleet Battles).  The sections of the book are laid out in a fairly logical, sequential order:
  • ·         The story behind the game (“Fluff”)
  • ·         Basic Game Concepts (where to measure from, dice rolling and modifiers, model stats and definitions, etc.)
  • ·         The Turn Sequence and brief explanations
  • ·         The Movement Phase
  • ·         Combat
  • ·         Weapons
  • ·         Firing Options
  • ·         Boarding
  • ·         End Phase
  • ·         Rules for Short Ranged Spacecraft (SRS)
  • ·         Model Assigned Rules (MAR)  (All the Special Rules that give the different fleets their flavor).
  • ·         Scenarios
  • ·         Generic Fleet Lists (Basic Battleship, Cruiser and Frigate for each race/fleet)


If you’ve experienced a Spartan Games rule set before, then you’ll be familiar with the layout of the rule set.  One of the things that has improved is that Spartan has added page references any time they reference a subject that’s covered in more detail elsewhere.  This makes cross referencing much faster as you don’t have to jump back to the index or the table of contents for everything.

The Rules:

Well, Firestorm Armada uses most of the same basic rule concepts as Dystopian Wars:
  • ·         Alternating activations between players
  • ·         Exploding 6’s: a natural 6 counts as 2 hits and gains another dice roll
  • ·         Roll to see how many hits and if you exceed the Damage Rating (DR) or Critical Rating (CR) you cause damage
  • ·         Weapons have Range Bands to determine how many dice you roll, depending on distance


So, what has changed between V1 and V2 of Firestorm and Dystopian Wars?

First, the fleet organization and “Battle Size” definitions have changed.  Instead of basing your fleet organization on the percentages of a battle size, now you “pick a Fleet type”: Patrol Fleets (800 pts. or less), Battle Fleets (801 – 1200 pts.) or Grand Fleets (1201 – 2000 pts.).  The various fleet lists (downloadable from the Spartan Website Download section) then define what you’re allowed to take in each of the 3 “Tier”.  Each Tier is approximately the same as the Large / Mediums / Smalls of the previous version (though some Tier 1 choices are composed of Medium ships)  For example, the Terran’s fleet list limits the player from taking more than 2 Tier 1 (Heavy) choices in a “Patrol Fleet”, and a further limitation says only 1 of those could be a Battleship.

A new feature is that most Medium and Large Vessels now have “Hardpoints” and “Upgrades” introduced in the fleet lists.  A Hardpoint allows the player to add capabilities to their ships, creating some (limited) customizations whereas Upgrades tend to be MAR changes to the ship.  Both features add cost to your basic ship.

The STAR cards are gone; replaced by the TAC cards.  And they aren’t random, they’re chosen in advance (though you are limited on how many cards and which cards you chose as some are race-specific).

There are two different “Weapon System” Fire Phases, one for Direct Fire and one for Indirect Fire.  Direct Fire weapons must all be fired and resolved before you can shoot the Indirect Weapons.  Both types of weapons are fairly well defined so there should be no confusion there.  Also, you still must declare ALL attacks before you fire your first weapons.

Another change is that there are different weapon “types” defined.  The significance of this is that different types have different Range Bands.  Instead of all Range Bands being multiples of 8, they are multiples of 8”, 10” or 12”!  As an extra; many weapon types have a bonus rule that grants an advantage for using that type of weapon by itself under certain conditions.

While Linked Fire and Combined Fire are still firing options, Split Fire was removed and instead given as a Model Assigned Rule: not everyone can split their weapons fire from a single mount anymore!

Another huge change is the handling of Short Range Spacecraft (SRS: fighters, bombers, etc.).  Besides the new tokens, SRS must stay within Command Range of their Carrier UNLESS they are making an attack run.  That attack run is limited to the distance that the SRS wing can go in a single movement phase!  No more launching bombers and sending them around the moon to ambush from the other side in 2-3 turns!

The final change I’ll talk about is the new preferred Victory System using the Battle Log.  The Battle Log is used to track each fleet’s progress as they destroy enemy vessels and squadrons, complete objectives or lose their own fleet’s vessels.  The first player to reach the designated winning point value wins the game.  Patrol Battles go until 10 pts., Battle Fleet Battles go until 15 pts. and Grand Fleet Battles go until 20 pts.  What is unique is you can “give up” points to gain advantages or re-gain the use of TAC cards, though you still need to re-gain those points to earn a Victory later.  The old “Victory Points” system based on vessel point costs is also shown in the book, but the new scenarios are based on the use of the Battle Log to determine Victory or level of victory.

Overall, I found the rules fairly straight forward to follow and understand, though there are a few points I needed to re-read and I’m looking forward to an FAQ for couple of issues.  The organization of the rules is sort of sequentially-based so there were a few places you need to jump to a different section to work out how things would work in a true battle situation.  The Quick Reference pages in the back of the book has all the tables listed in the book, but I’d like to see a quick weapons table listing the range band and “Coherence Effect” as some Upgrades will change the weapon types and a list of SRS capabilities included.  Someone will make up another reference chart, I’m sure!


Anyway, I’m looking forward to getting things assembled and testing out the new rule set soon.  I hope you’ve enjoyed this review and got something from it!

Good Luck with your dice!