Tuesday, January 7, 2014

BatRep: Covenant of Antarctica vs Prussian Empire (800pts) Highlander, Take 2


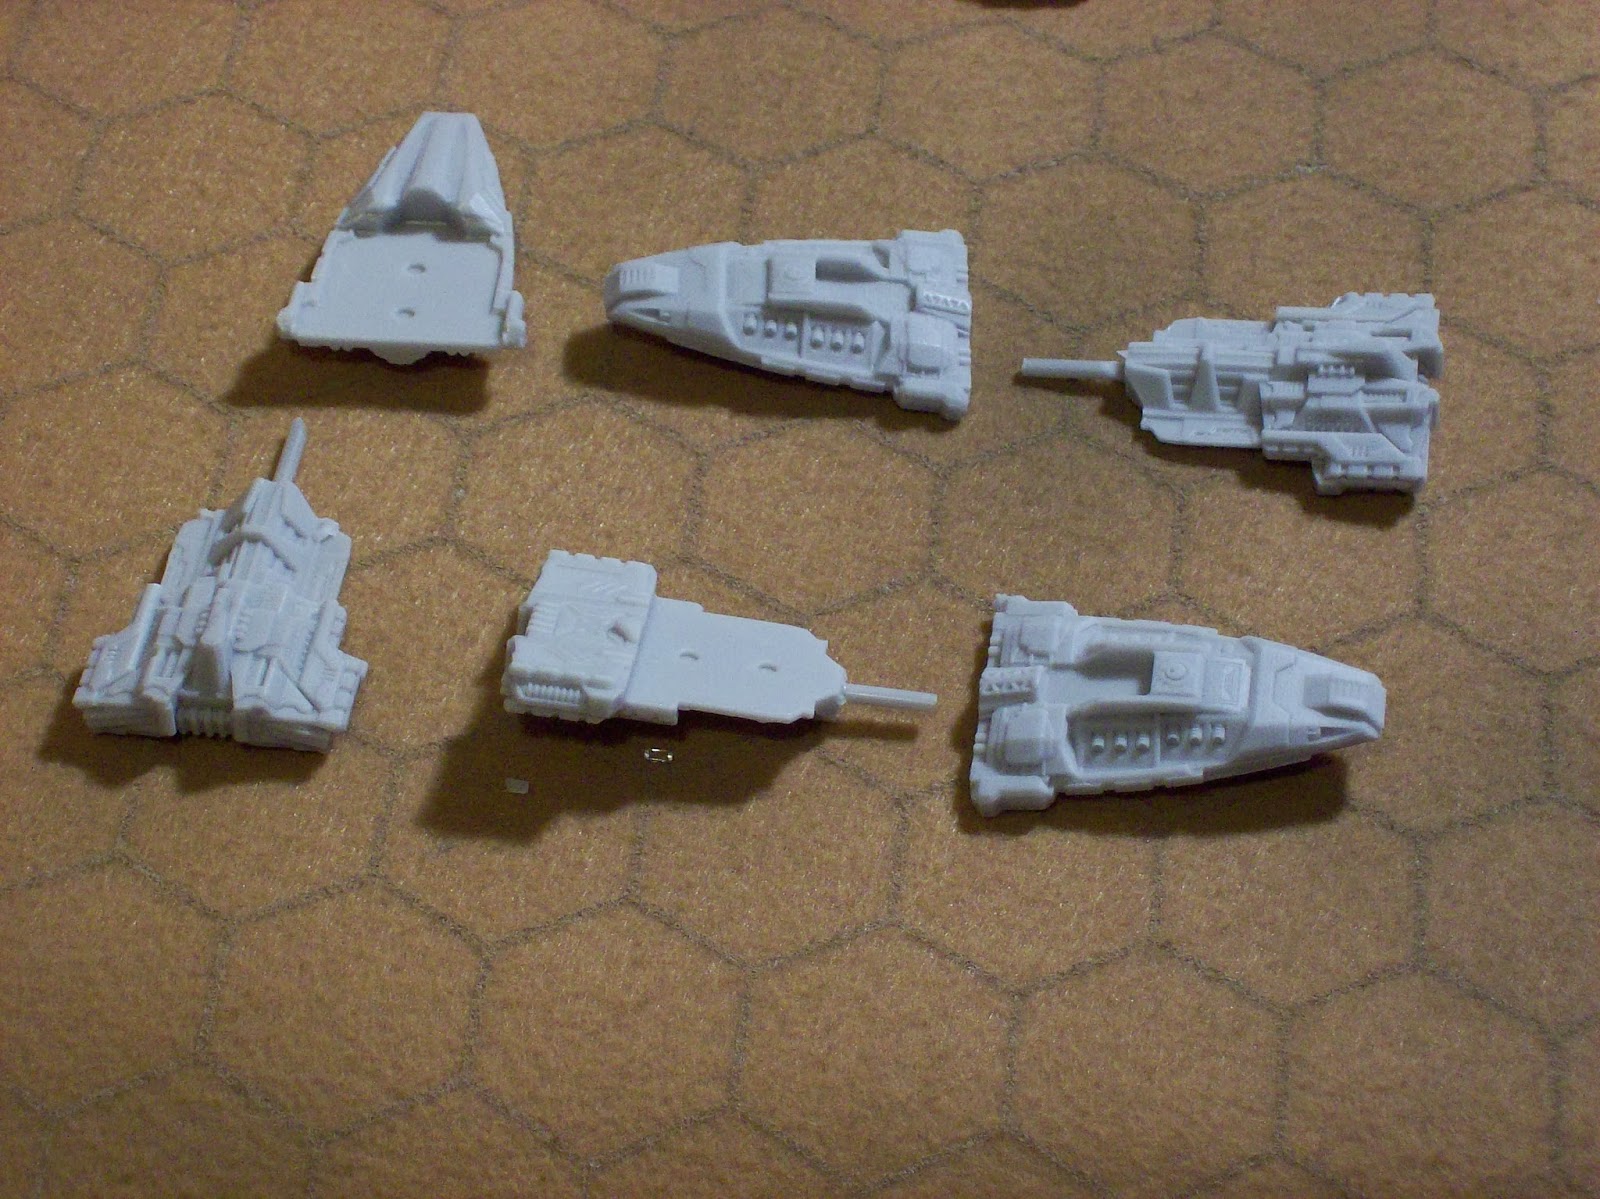
Admiral Von Shtupp was aboard the Sturmbringer Submarine U-102, hunting for more of the hated Antarcticans.  Rumour had it they were heading for one of the new Prussian Territories, recently captured in the Caribbean.  Von Shtupp was crossing the Atlantic as quickly as his task force could.

“Battle Stations!  Battle Stations!  Admiral to the bridge!”

“Status Report!”

“Admiral, our Recon flight just reported in.  They’ve spotted a task force heading our way.  It’s the Antarcticans!”

Puzzling, thought Von Shtupp.  We’re in the middle of the Atlantic.  How did they know where we are?  Was it some new invention?  Or was it just blind luck?

Regardless, they were hostile and it was time to prove once again why they need feat the might of the Prussian Navy!


Here we go again.  Graham is using the same CoA force as last time, whereas I changed fleets a bit.  Using random terrain, we rolled: NOTHING?!?!?  Can't remember the last time that happened!

Deployment:
Prussian Empire (PE – Top to bottom):
  • 3 X Donnerfaust Support Cruisers
  • 4 X Zerstorer Strike Bombers with the Sturmbringer Submarine + Reconnaissance flight
  • Flight of Torpedo Bombers
  • Flight of Fighters
  • Rhine Carrier with 2 Wachter Escorts, wing of Torpedo Bombers
  • 4 X Arminius Frigates


Covenant of Antarctica (CoA) – Top to Bottom):
  • 2 X Plato Cruisers
  • 3 X Diogenes Frigates
  • Aristotle Battleship with Energy Turrets
  • Flight of Fighters
  • 1 X MK I & 2 X Mk II Fresnel Cruisers with Fighter Wing
  • 3 X Diogenes Frigate
  • 3 X Diogenes Frigate

After deployment, the Antarctians rolled “Destroy all Larges and Massives”.  They elected to do the “Sink or capture70% of the enemy’s Fleet Value”.  The Prussians rolled the default 70% as well.

Start of Game


Turn 1:
Prussians won initiative for the first turn.

Realizing the Carrier was open to attack, the Prussian Frigates turned to Starboard and screened the Prussian Carrier from direct fire from the Fresnel Cruisers.

"Protect The Carrier!!!"


To try and open a gap in the Frigate Screen, the CoA Central Frigates moved forward and turned, attempting to do a torpedo run on the PE Frigates, but found themselves out of range.  The PE Strike Bombers moved forward at maximum speed at Obscured height.  CoA Fighter Drones moved to intercept the Strike Bombers but again, were out-of-range.  Killing an activation, the Prussian Sub’s Reconnaissance flight moved forward while the Antarcticans moved the Frigates on the far left moved straight ahead at maximum speed, hoping to curl in and flank in the next couple of turns.

Finally, some combat: Prussian Fighters moved forward at maximum speed and shot down 3 CoA Drone tokens for the loss of 1 and an extra fuel!  The 2nd CoA Fighter Wing oved at maximum speed, hoping to intercept the Prussian Strike Bombers next turn.  The Prussian Torpedo Wing moved forward at maximum speed, using a fuel pip.

Frustrated by the Prussian Frigates, the CoA Fresnal Cruisers moved forward, failed to activate the generator on the Mk I, and fired on the Frigates individually.  When the smoke cleared, one Frigate was sunk and two others crippled!  First Blood to the Antarcticans, but the Carrier’s screen was more-or-less intact! 

The Frigates Under Attack


The Prussian Carrier’s Torpedo Bombers moved towards the Fresnels at max speed.  The CoA Frigates on the right moved forward and shot down 1 fighter token.  Finally, the Prussian Carrier moved forward with her escorts.  The Carrier failed to damage the Plato Cruiser with a long-range barrage shot, but the escorts sank one of the CoA Frigates.

First CoA Casualty


The Antarctican Battleship moved up and turned to port, exposing all 4 Energy Beam Turrets to the Prussian Carrier.  Being a Large ship, the Battleship had no problem seeing over the Escorts and Frigates and blasted the poor Carrier, causing a Crit (Hard Pounding – 3AP left) and lighting the Fuel Reserves on fire!

The Prussian Carrier Burns!

The Prussian Cruisers moved forward at maximum speed, but the CoA Battleship’s shields saved the Antarctican from damage.  The Plato Cruisers lept forward at the opportunity and blasted one of the Donnners, causing a Crit – STURGINIUM FLAIR!!!  The hapless cruiser teleported straight ahead 5”, barely in formation with the rest of the formation!

"How'd We End Up Here?!?!?"


In the final activation of the turn, the Prussian Sub surfaced, turned to starboard and fired all weapons at the MK I Fresnel Cruiser, causing a Crit (Fusion Leak).  Unfortunately, the sub failed to make a Panic Dive test and found itself exposed on the surface. 

Turn 1 End Phase:
The Prussians were unable to put out the fire on the Carrier – leaving it with only 2AP left.  The Antarctican’s managed to kick off the Lightning Rod, but unable to repair the Fusion Leak on the Fresnel Cruiser.

End of Turn 1


Losses:
PE:         61 pts
CoA:      65 pts


Turn 2:
CoA won the initiative.

The Antarctican Battleship started things off, turning its bow towards the nearest Donner and firing the Particle Accelerator at the hapless Cruiser.  The PA blasted a Crit (Raging Fire – 2AP, 1HP left).  Fortunately (for ME!), the extra dice that were used against the Sub on the other side of the Cruiser failed to damage the Sub.

The Cruiser takes a PA Shot!

The Prussian Cruiser retaliated, turning all weapons to bear on the Battleship and managed to Crit it (Raging Fire AGAIN!?!? – 5AP left) as well as sticking another Lightning Rod into the hull.  CoA Drones attacked one flight of Torpedo Bombers, shooting down 3 tokens and making them use an extra 2 fuel for the loss of 2 Drone Tokens!  Focusing on the Battleship once more, the Prussian Sub fired its weapons but only managed to do a single HP damage, then failed to do its Panic Dive again.  CoA Frigates on the right made a minimal move and turn towards the Prussian Sub for another Torpedo Salvo, but failed to damage it.  The damaged Torpedo Bomber Wing moved towards the Carrier, dropped their fish on a damaged CoA Frigate, sinking it and caused the squadron to break.  The Bombers then landed on the Carrier to re-arm, reinforce and refuel.

The CoA Plato Cruisers on the right advanced and targeted a single Prussian Cruiser, first critting it (Systems Offline), then added another HP damage with broadsides, crippling a 2nd Cruiser in the squadron!  The Carrier’s Torpedo Bombers, inspired by their brethren, attacked the damaged MK I Fresnel Cruiser, and sank it with a crit!  The rest of the Cruisers passed their Break Test.

Torpedo Attack!


The Fresnals, seeking vengeance (and a clear line of sight to the Carrier), fired on the Prussian Frigates, and sank the 2 damaged ships, but failed to damage the nearby Cruiser (with a single HP left).  The Frigates passed their Break Test.

Revenge of the Fresnels!


The Prussian Carrier moved up but failed to damage anything, though her Escorts succeeded in damaging another Frigate.  The Central CoA Frigate Squadron charged the (finally) exposed Carrier and added another HP damage.

Carrier Under Torpedo Attack!


The Prussian Strike Bombers dove from the clouds and made their attack run on the Antarctican Battleship, 3 of the Bombers getting a bead on the ship and taking advantage of the Lightning Rod embedded onto the hull.  When the smoke cleared, the great ship suffered a Double-Crit (2 X Engine Damage)!

CoA Battleship Bombed!


The Leftmost CoA Frigate Squadron raced forward to make another Torpedo Attack on the Prussian Carrier, but in an amazing display of timing and accuracy, the Concussion charges from the Carrier and its Escorts stopped all the torpedoes from hitting the carrier! 

The Prussian fighters maneuvered and shot down the rest of one wing of CoA Drones for the loss of 1 token, then landed on the Prussian Carrier.  This gave the Carrier a total of 5 tokens it could launch next turn.  The remaining CoA Drones attacked the Prussian Strike Bombers, but failed to damage any.  The remaining Prussian Frigate attacked a CoA Frigate, but failed to damage it.  And the Prussian spotter flew around as the last activation of the turn.

End Phase:
Neither the CoA nor the PE were able to repair anything.  This dropped the Carrier to 1AP left.

Losses:
PE:          183 Pts
CoA:      234 Pts


Turn 3:
CoA won the initiative.

The CoA Battleship moved forward, lined up the Particle Accelerator on the Prussian Sub and damaged the Sub while the turrets finally sank the one Prussian Cruiser.

The Battleship sinks the Donner


Knowing its time was soon, the Prussian Carrier launched a full wing of Torpedo Bombers from the bits and pieces of two squadrons and the spare token.  After moving forward, the Carrier fired its Bombard at the Battleship and sank it!  (A No-No!  We’d realize it later and put the battleship back on the table with its previous damage.)

Oops!  Shouldn't have sunk the Battleship! 


CoA Plato Cruisers moved forward in Line Of Battle and fired on the damaged Donner, and finally sank the Cruiser.  
Another Cruiser Bites The Dust!

The surviving Cruiser passed its Break test, then activated, moved forward, and blasted a Plato, causing a crit, Hard Pounding – 1AP left as well as embedding a Lightning Rod.

The CoA Central Frigates made an attack on the Prussian Sub and the Carrier Escorts, but only damaged an Escort.  The last Prussian Frigate sank the last CoA Frigate from the right side.

Sinking a Frigate


The CoA Frigates from the left made an attack run on the Escort protecting the Carrier’s midsection, and sank it.

Sinking an Escort


The Prussian Sub moved forward its minimum move and turned, firing two turrets at the closest undamaged Plato, and the bombard against a Fresnel (the Platos were within minimum range).  The Plato took a crit (Weapons Damage), but the Fresnel was left undamaged.  The Sub FINALLY made a successful Panic Dive, slipping to safety beneath the sea’s surface.

The Fresnels moved forward and shot the (finally) exposed Prussian Carrier, causing a crit with their Broadsides (Engine Damage) and another HP damage from the turrets, leaving the Carrier with 1 HP & 1AP! 

The Carrier’s Torpedo Bombers moved back and landed on the Carrier, hoping to re-arm and relaunch before the Carrier was sunk.  At this point, we realized that the Carrier shouldn’t have sunk the Battleship (It can't launch planes and fire in the same turn), so we placed the Battleship model back on the table again.  (Ooops!).  At this point, we thought all the CoA activations were complete, so the Prussian Strike Bombers activated, all but 1 making U-Turns.  The other overflew a Plato, intending to drop its bombs, but was shot down by the Platos before it could complete its attack run! 

"Drop the bombs.. >BANG<"


CoA then realized he forgot his Drones and attacked one of the Strike Bombers, damaging 1.  Once more, the PE Spotter token ended the activations, floating around the war zone…

End Phase:
CoA managed to repair 1 Engine Damage on the Battleship and removed a Lightning Rod on a Cruiser, but failed to repair any other damage.  Prussians failed to put out the fire on the Carrier, so used the Commodore’s re-roll and rolled a 6!  ANOTHER fire!!!  This left the Carrier with 2 Fires, 1 HP and no AP!

Losses:
PE:         386 Pts
CoA:      348 Pts


Turn 4:
CoA won initiative – AGAIN!
The (Cute Female) Store Clerk warned us we had less than 15 minutes before the store closed so we burned rubber (dice?) to get through this turn.

The Antarctican Battleship attempted to shoot the Prussian Carrier but had suffered so much damage, just couldn’t generate the required dice to make an impact.  The Prussian Carrier deck crews replaced the missing token and launched a full wing of Dive Bombers, then the Carrier moved forward and collided with a CoA Frigate.  The Carrier easily sank the Frigate under its bulk, but apparently broke her back running over the Frigate!  Thus the proud Prussian Carrier sank with the Frigate beneath the waves!  Her Escort, fired at a nearby Frigate and was already in formation to join the Prussian Sub.

What a Way To Loose A Carrier...


The CoA Plato Cruisers circled the last Prussian Cruiser, critting it (Chaos & Disarray) while sinking the last Prussian Escort.

Last Escort Gone...


The Prussian Cruiser fired everything into the Battleship – hoping to get that last hull point but failed to damage the crippled ship.  The last CoA Frigate from the Center Squadron moved forward and sank the last Prussian Frigate.

..there goes the Frigate!


The Prussian Strike Bombers overflew the Battleship and AGAIN, the Battleship avoided taking damage!  The CoA Frigates from the left moved forward but failed to cause any damage.  Getting desperate, the Prussian Sub Surfaced, collided with the Plato Cruiser and fired on the Battleship –failing to damage both!  The Fresnel Cruisers tried to target the Sub, but with all the Frigates in the way, couldn’t get a good Line Of Sight to it.  The Prussian Torpedo Bombers that launched last turn made an attack run and finally sank the CoA Battleship!  The CoA Drones attacked but failed to damage anything and the game ended as we quickly packed everything up…

Losses:
PE:         475 pts
CoA:      465 pts

A DRAW!

WOW!  A game doesn’t get much closer than that!

I took another fleet list while Graham took the same list as last time.  I am REALLY loving the new Prussian Sub and Support Cruisers.  They have great Synergy and the Strike Bombers are fun, too!  The Carrier was the main addition to the box set, providing an extra wing of Tiny Fliers and the opportunity to rearm them.  While it sank, the Carrier did reload and re-launch 2 wings (though 1 wing didn’t have the opportunity to activate).  I dropped one Strike Bomber from 5 to 4 so that I could take 2 Escorts to help protect the Carrier, though in all honesty, it was the Frigates that screened the Carrier most of the game.

The Antarcticans had the same fleet as last time.  I have to say, listening to all the whining about Energy Beam Weapons being under-powered or useless, I’m not seeing it and neither is Graham.  The only option he had that I would question was the MK I Fresnal Cruiser.  The Accumulation Generator didn’t work once and for the ship to be useful, it needs to be far more reliable than that.  Graham was also happy that he FINALLY got to use the Particle Accelerator (TWICE!) on his Battleship.  Usually, when he uses the Energy Beams, the PA is too far away or at the wrong angle to use.


So what did I do right or wrong?  I think the first mistake was leaving the Carrier very exposed on the left flank.  Fortunately I got 1st initiative and was able to screen the Carrier with the Frigate Squadron before it took fire in the 1st turn.  The next thing, I got into a Knife Fight with most of the Heavies on the right side of the table.  Finally, and it was sort of unavoidable as we got rushed, I got fixated on the Battleship which should have been sunk right away on Turn 4.  After the second failure, I was too committed to stop trying to sink the Battleship.  I needed the points it would give.

Anyway, a great game!

********************************************************************
Legiocon is on Feb 22 & 23 in Winnipeg MB  Canada!  I'm planning to do a Dystopian Wars Day on the 23rd!  Watch this space for more info!

Just found out Legiocon was cancelled for this February.  If you're interested in 40k, check out 40Kegger in the events page!

Wednesday, January 1, 2014

Product Review: Battle for Valhalla Set: Part 2 (The Models)

So, seeing as I don’t have any of the models from the last version of Firestorm Armada, I guess I needed to put some models together so that I could play-test some rules…

The Models:
Dindrenzi Federation:
I started with the Dindrenzi because, honestly, they were on the table after the last photo shoot.  They needed to be done anyway!  ;)

Thraex Frigates
Nice thing about this model: it’s 1 piece!  There were 3 in the box and all I had to do was clean off a little bit of flash (excess resin) around the edges and “carve” off the pour channels on the rear of the model.  I used both a file and a sharp X-Acto knife for this.  Model sits well on the stand and we’re ready to prime!
Cleaning the butt end

Underside after all flash cleaned off

Top View

Total prep time: about 15 minutes for all 3 models

Secutor Cruisers
This is technically a 4 piece model, though one of those pieces is just the flight stand mount point.  All the Cruisers and the Battleships for the Dindenzi used the same piece.  Very little flash to clean off the main hull unit, though I did have to go between the Railgun channels on one Cruiser to clean up some excess resin in one corner. 
Cruiser Bits!

The two engine pods also had a little flash that needed to be cleaned off so they would attach to the hull correctly, but it was all done with a sharp knife.  Once I had the engines cleaned up, they were glued onto the hull with super glue and clamped.  A minute or two later and the assembly was safe to handle.
Looking at the bottom of the hull, it was easy to see where the final piece, the mounting plate, was to go.  Unfortunately, the mounting hole is off to one side, so I had to do a quick “balance” test to decide which way to mount the plate.  In the end, I chose to put the mounting hole forward, the model seemed to sit on the flight stand best that way.
Finished Cruiser

Total assembly time: 30 – 45 minutes for all 3 models

Praetorian Battleship
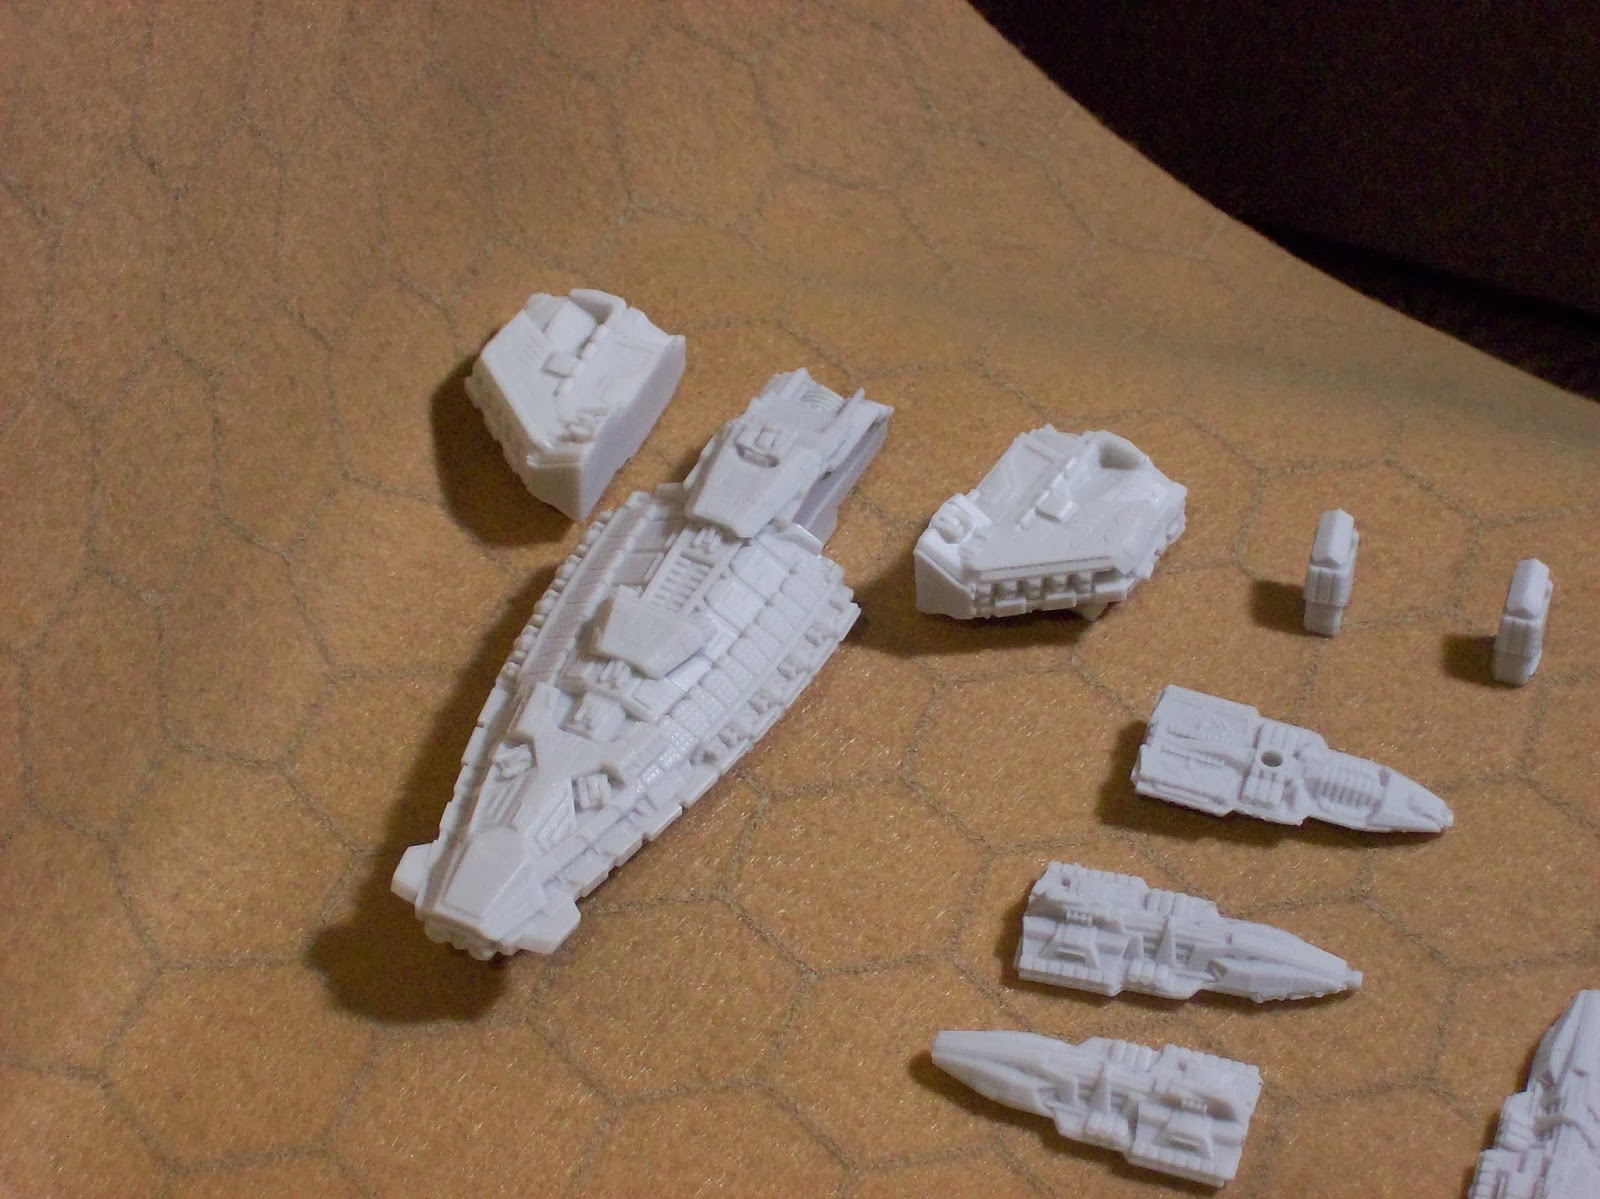
The “Big” Boy!  This is the most complicated of the ships in the box.  The model comes with a hull piece, a Bridge platform, 2 engine pods, 2 engine exhausts, 2 “Detail” strips and 2 Mounting Plates.
Lotsa Bits!!!

First, I had to clean off the main hull.  Most of the flash was minor at first.  Then I realized that this strange looking “detail” on the upper back hull was in fact the Pour Channel for the resin!  I ended up chopping it off in stages using side cutters and then a sharp knife.  Next, as I was checking the hull from the side, I realized I could see light through some of the detailing.  This turned out to be more flashing; 6 small squarish holes on top and a longer channel on the bottom.  After carving out the flash with a sharp knife, I realized the smaller “Detail” strip fit into the longer channel on the bottom.  I had no idea where it went before then!

Putting the last detail strip on (after the engine pods were done)

Next were the engine pods.  Again, very little flash on them.  They were clearly marked “L” & “R” to help identify which went where.  When I went to test fit the pods, they were a little large for the recessed “socket” they were to fit into.  I basically ran a knife blade at an angle of about 45 degrees along the edge to be mounted towards the Hull until they fit (very little shaving – I barely could see it, but I’m blind anyway).  Once both pods fit, they were glued and clamped for a couple of minutes. 

Cleaning the Engine Pods

While the glue set, I cleaned the flash from the engine exhaust ports and the Bridge platform.  The exhaust ports had a recessed area that they fit into quite well.  The Bridge, I just eye-balled the platform to center it and it all seemed to go together well.  Quick glue and we’re done!

The Finished Battleship

Finally, the mounting plates.  There were 2 to mount, but again, no description how to mount the off-centered plates.  I grabbed the flight base, lined up the holes to where the plates were to go.  We mounted the holes both inwards and that appears to be correct.  This, however, was also a point of frustration for me.  The two mounting plates are on two different levels on the model.  In order to use a 2 – poled flight stand, I’ll need to make custom stand with 2 lengths that won’t be usable with any other model (unless I get a second Praetorian).  Otherwise the model looks good.

The uneven mounting plates

Total prep time: about an hour without modifying the flight stand

The Terran Alliance

Armsmen Frigates
Like the Dindrenzi Frigates, the Terran Frigates are all one piece.  Very little flash to remove.  The Pour Channel was on the nose of the Frigate.  With a sharp knife, the excess was cleaned off very quickly.  Again, the model sat well on the flight stand.

Total prep time: 30 minutes total for all 4 models (I wanted to take my time as this would affect the nose appearance if I rushed).

Teuton Cruisers
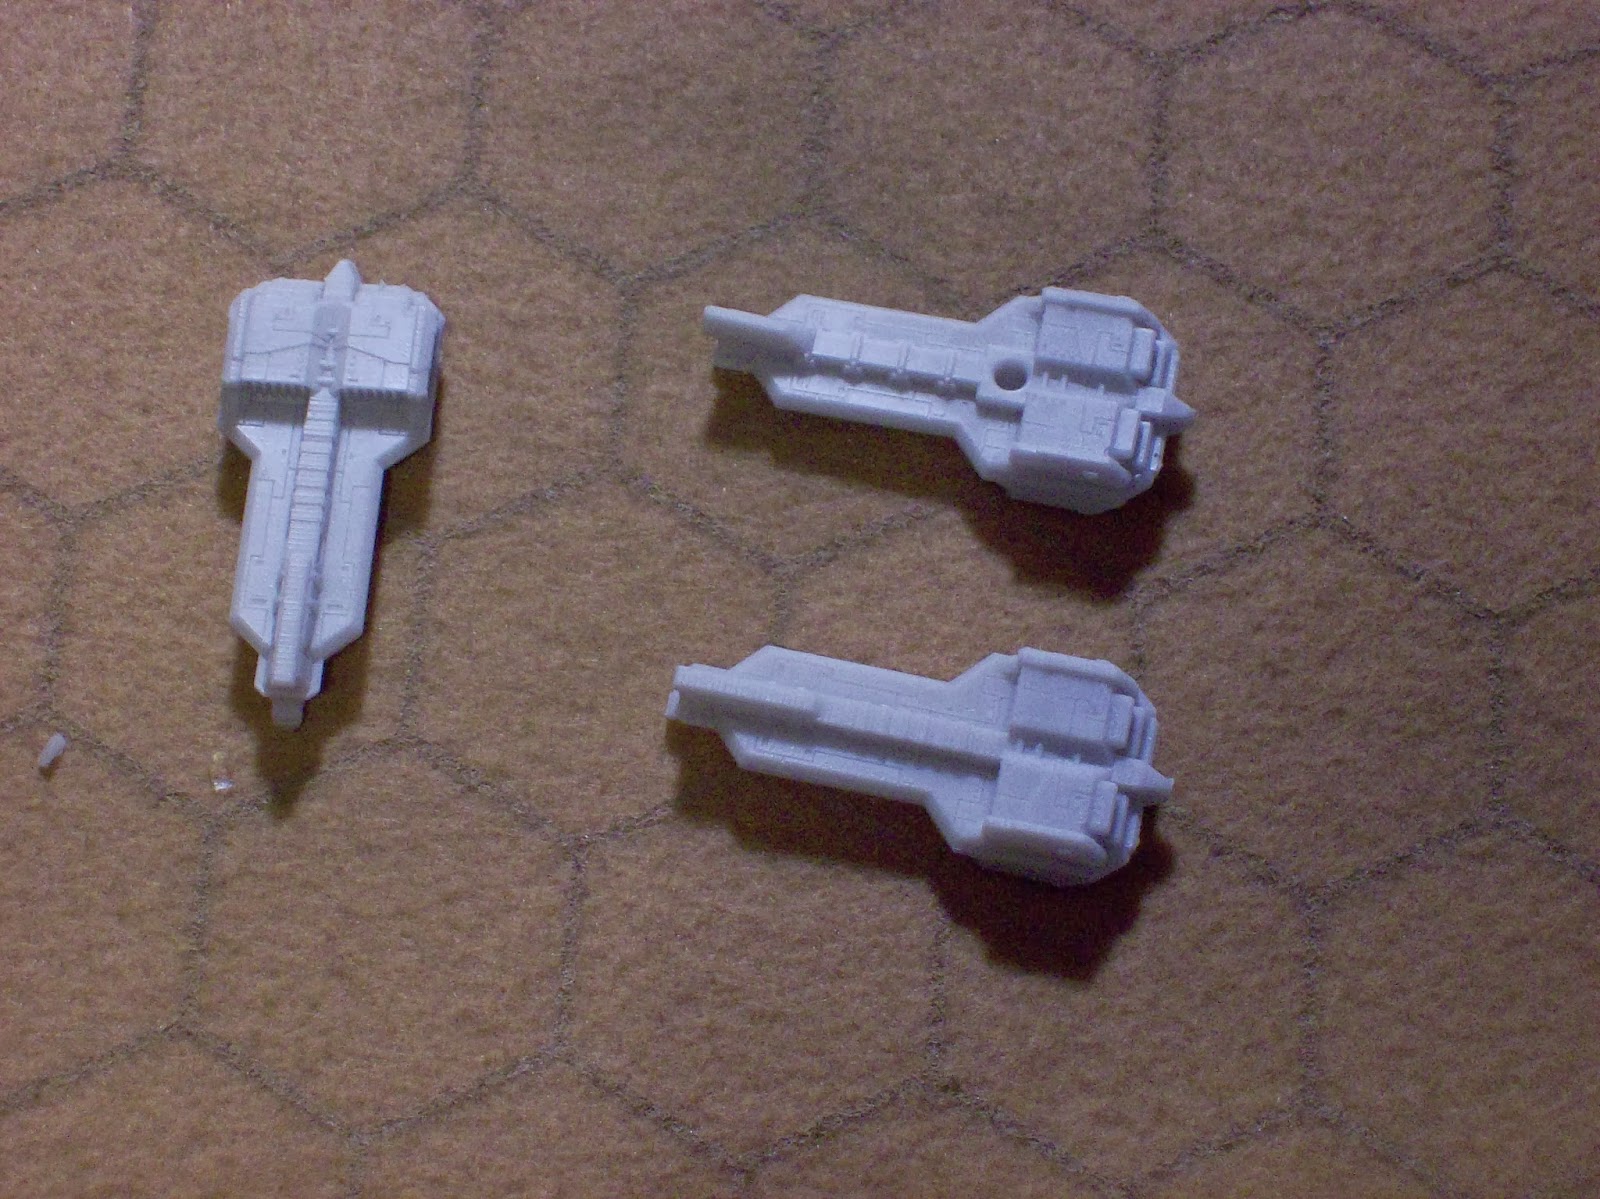
Very simple model with only 3 pieces: an Upper Hull, a Lower Hull and a Mounting Plate.  Very little flash on the Lower Hull or the Upper Hull, though the Upper Hull pour channel was very obvious.

Cruiser Parts

 I snipped off the excess with side cutters and then trimmed clean with a knife.  In the photo, you can see 2 circular impressions on both hull pieces.  There’s speculation on the Spartan Forums that these impressions were meant for modelers to use small rare earth magnets so that the hull parts could be swapped for the Heavy Cruiser part.  As I don’t have those parts, I just glued and clamped the 2 hull halves together.

 The Mounting Plate also has an off-set mounting hole for the flight stand.  I found by putting the hole towards the rear the model balanced better on the flight stand.


Total prep time: 30 minutes total for all 3 models

Tyrant Class Battleship
Another nice looking model.  The Tyrant consists of the Main Hull, 2 Engine Pods, 2 “Rudders” and a double-holed Mounting Plate.

Battleship Bits

Very little flash to clean on each of the model parts.  The Engine Pods are marked “L” & “R” in the depressions that the “Rudders” fit.  Once the flash was cleaned, both pods fit easily and were glued, then clamped into place. 

Engine Maintenance

After the glue had set, the “Rudders” were glued on top and the mounting plate was glued on the bottom.  Very quick setup compared to the Praetorian and, more importantly, the Tyrant sits on the flight stand with no further modifications.


Total prep time: about 45 minutes

What’s Next?
I’ll wash all the models before I prime and paint them.  I’ll need to put all he flight stands together and customize one of the stands for the Praetorian’s stand. 

For the Terran fleet, I look at the models and I see all those classic white spaceships from the 70’s.  The Star Wars Imperial Cruisers, Space 1999 Eagles, even the original Battlestar Galactica.  I can’t help but think the Terran models need to be White or Off-White.  To help make the models brighter, I’ll be priming them with white.

For the Praetorians, I’d like something darker, but not too dark.  I’ll start off by priming the models black to help the colours stay dark.  I don’t want to leave the models black as that would be hard to see or photograph under limited or poor light.  I was thinking something like GW’s Tin Bitz or dark bronze metal.

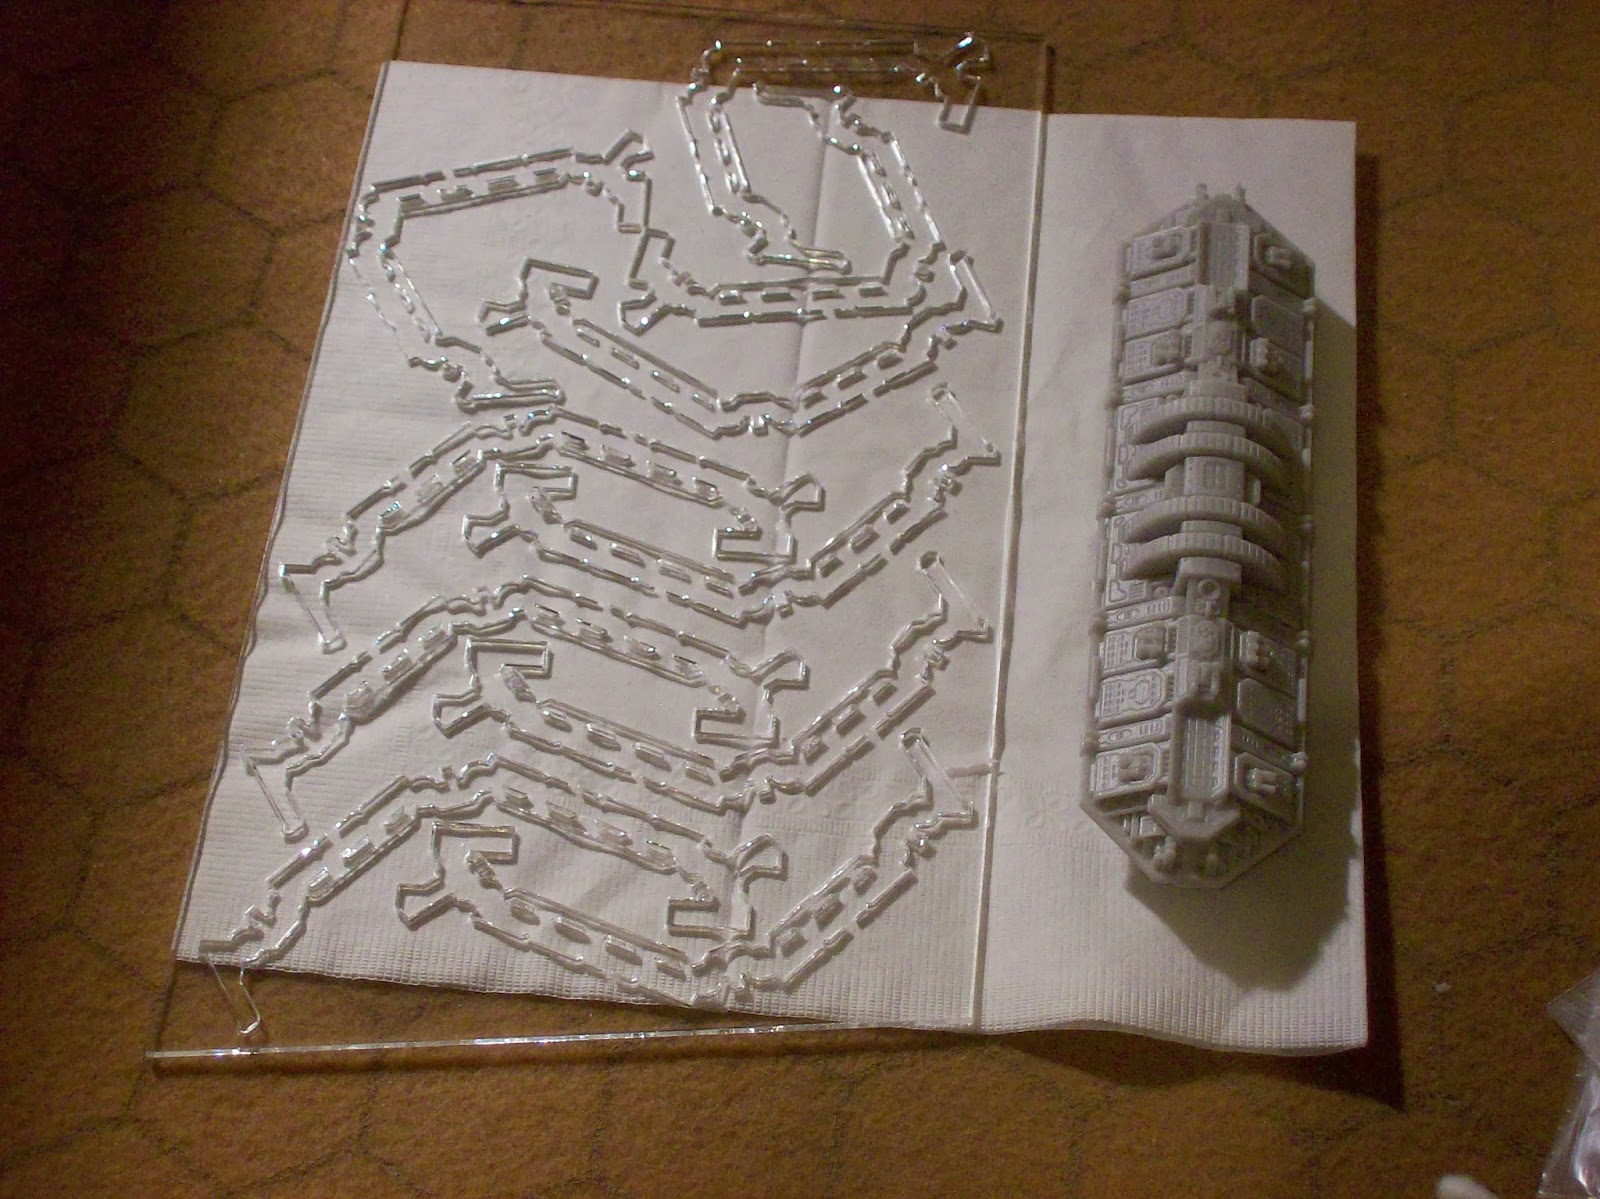
I haven’t mentioned the space station Valhalla in this report.  I haven’t started it yet because I’m concerned that the legs won’t hold the primer or paint properly without some prep work.  The legs are made from a shiny sheet of some sort of poly.  I’ve popped the legs out of the sheet, but want to test the paint on a leg or two before I assemble the model.


Hopefully I’ll have some battle reports for your enjoyment soon.  Meanwhile, Happy New Year!

Saturday, December 28, 2013

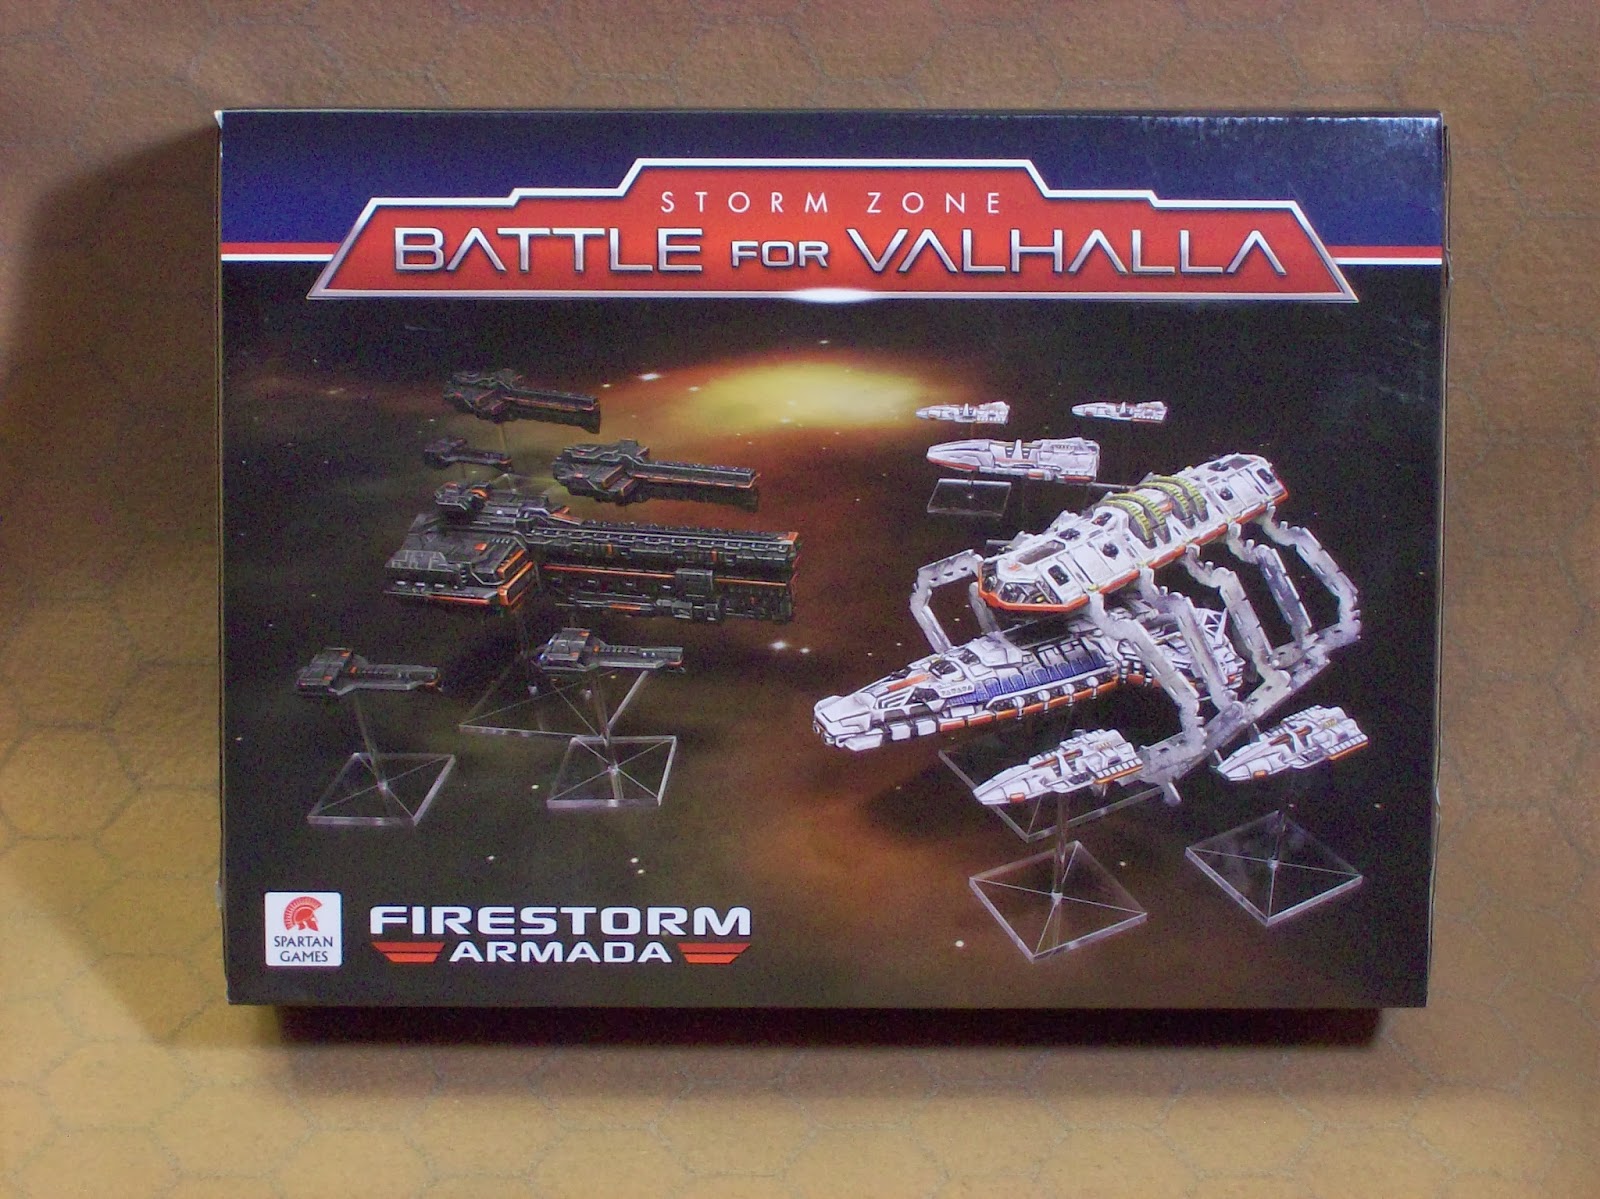
Product Review: Spartan Games “Battle for Valhalla” Set – Firestorm Armada – Part 1

My Wife Loves Me!  She Really Does!!!  She was really nice to me and I got a really nice Christmas Gift!  It’s nice to have a wife that supports my habits!  ;)


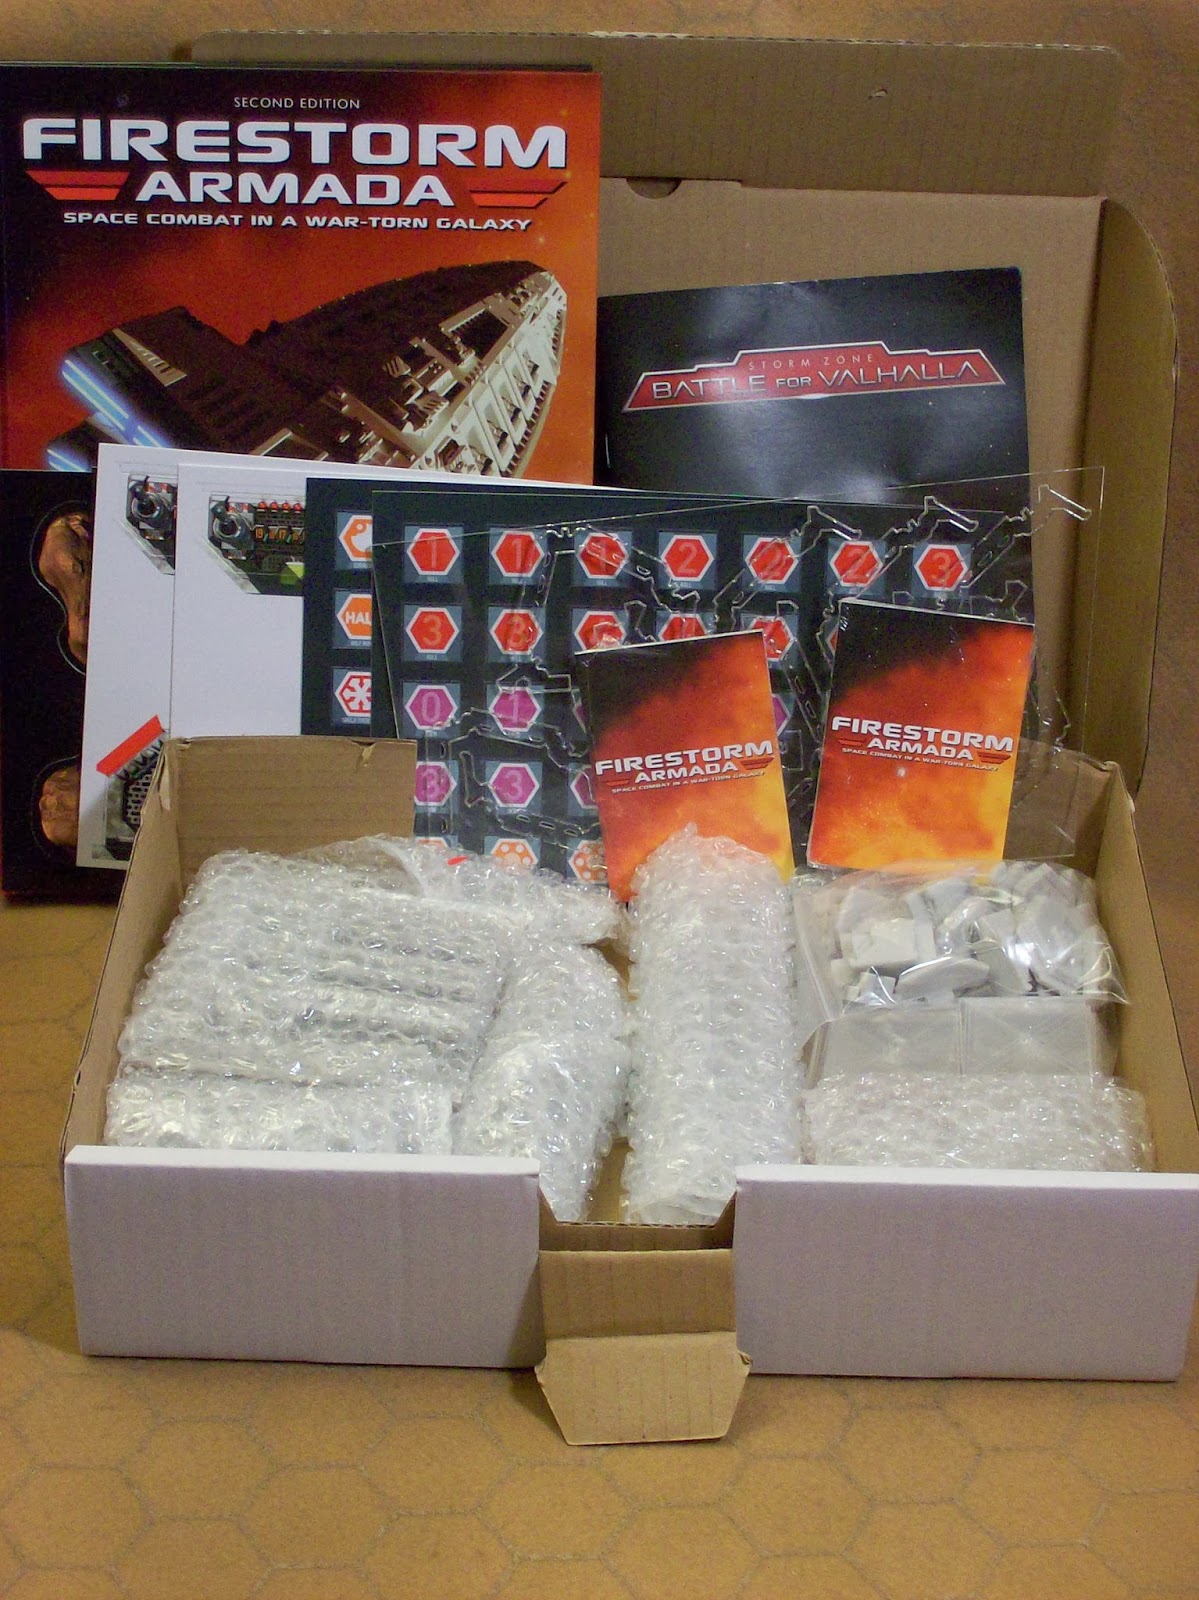
So, what’s in the box?  LOTS!!!
  • Hard Cover Copy of the Firestorm Armada Rules – Version 2
  • Soft Cover Scenario Book with escalating (training) missions using the models of the set
  • 6 full colour cardstock pages with counters, asteroids, turn templates and the new “Battle Logs”
  • 2 sets of dice – 1 normal, 1 smaller to fit into the new Short Range Spaceship (SRS) tokens
  • 2 Sets of Tactical Ability Cards (TAC) – 1 generic, 1 of race-specific cards


Opening the Box!

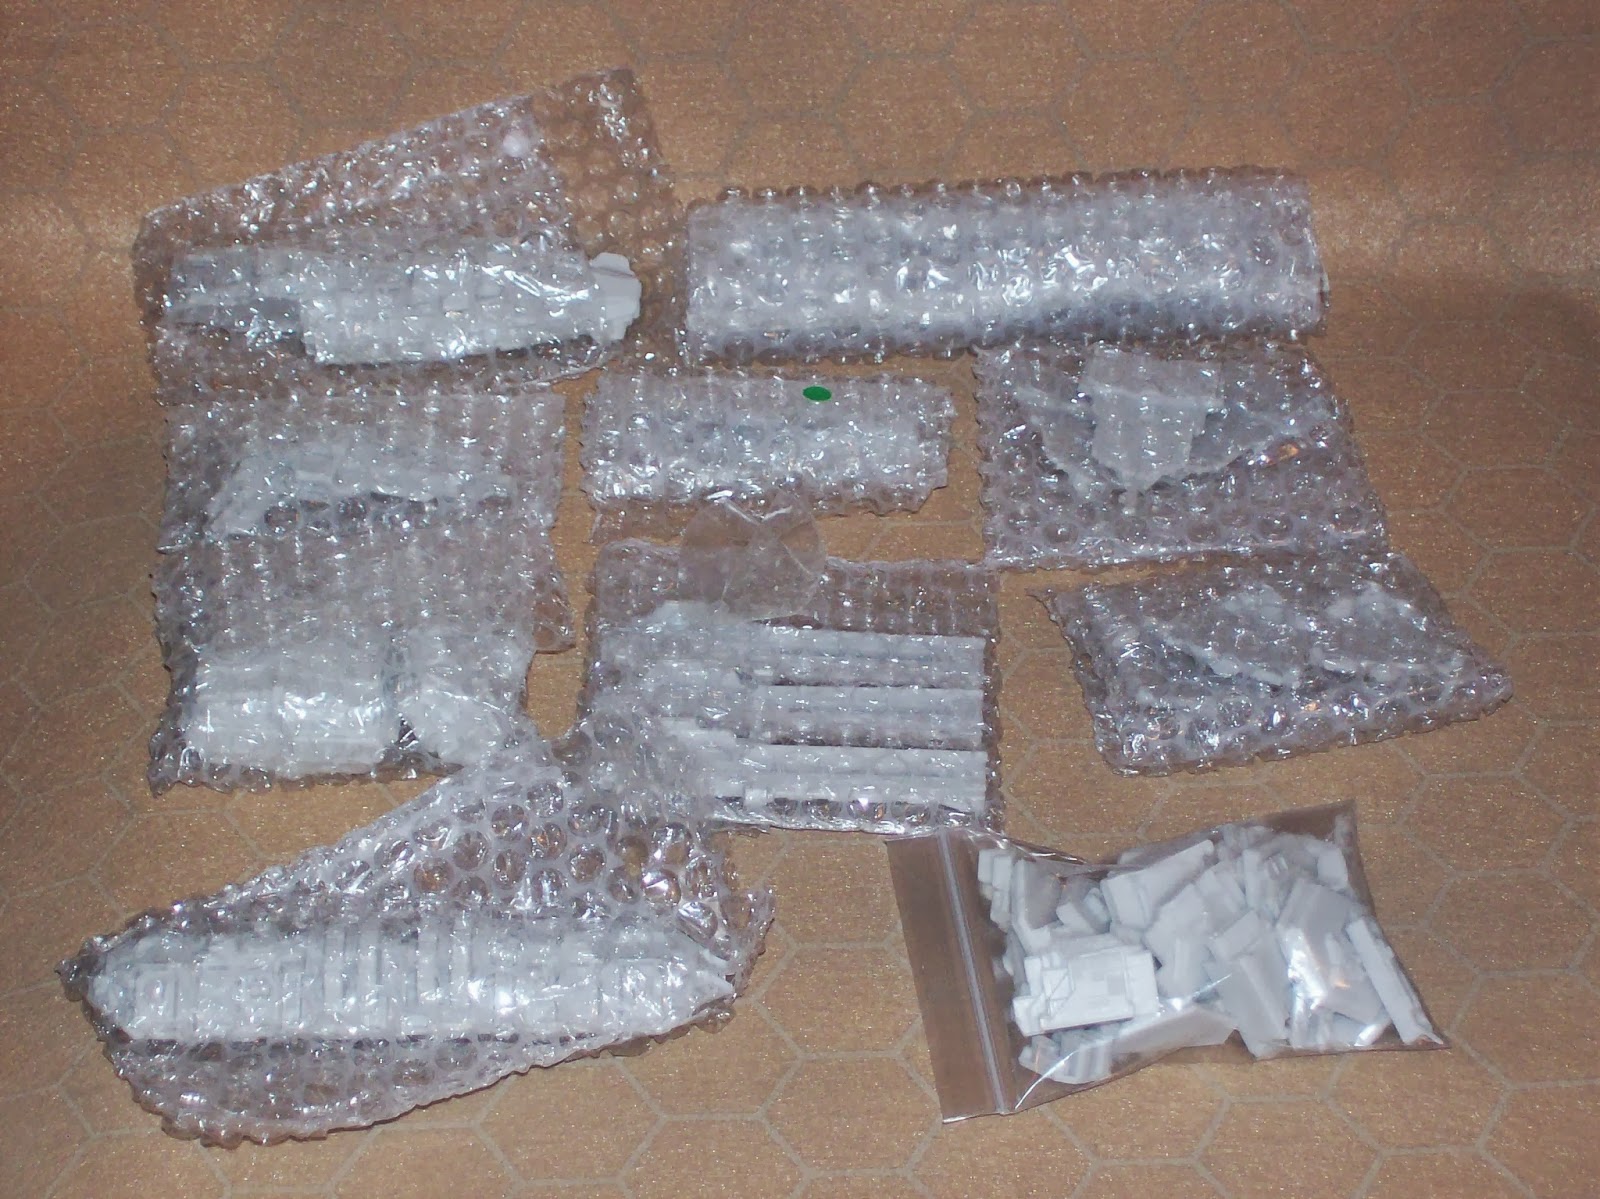
Lotsa Bubble Pack!


And 2 fleets:

Terran Alliance:
 1 Tyrant Battleship
·         3 Teuton Cruisers
·         4 Armsmen Frigates
·         4 Large SRS Tokens
·         4 Small SRS Tokens
·         The Valhalla Research Station
The Terran Fleet

Two-Piece Cruisers

Single-Piece Frigates

The Tyrant Battleship (with Frigates)

The Valhalla Station


Dindrenzi Federation:
·         1 Praetorian Battleship
·         3 Secutor Cruisers
·         3 Thaex Frigates
·         2 Large SRS Tokens
·         2 Small SRS Tokens

One-Piece Frigates

Three (Four?) Piece Cruisers

The Praetorian Battleship

Various SRS Tokens

And, of course, a ton of flight stands for everything (except the station – which is free-standing)

All the resin parts were nicely wrapped in bubble pack and the over-all impression I had when I first opened the box was “WOW!  Nicely packed and FULL!!!”

Something of special note: All the colour cardstock was die-cut!  I just had to punch out the various bits!  No cutting with scissors!  Bravo!  I hope Spartan continues to do this with all the box sets!

Impression of the Models:
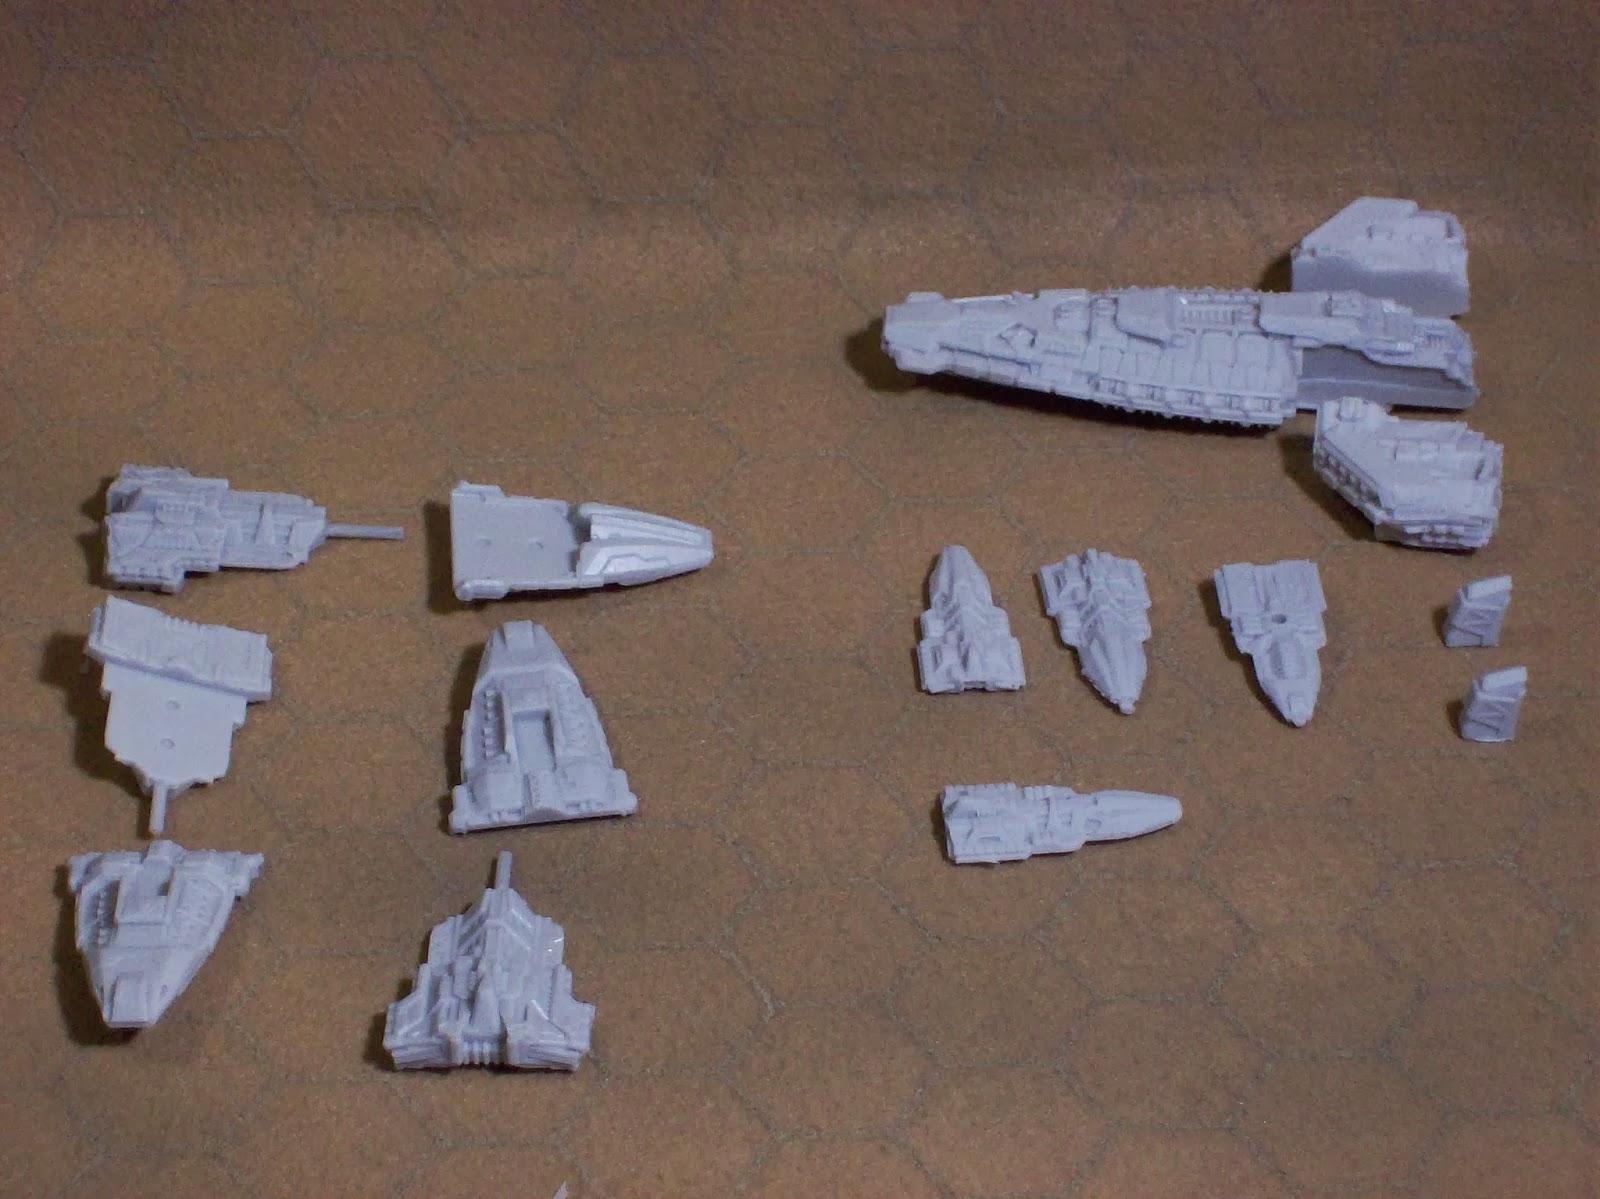
As you can see in the photos, I haven’t yet started assembling anything (YET!).  Overall, the detail is excellent for all the ships.  Very little flash, though there will be some clean-up required to add the engines to the larger Battleships.  The worst of the flash seems to be on the SRS tokens, on the bottom edge, so I’m quite happy with the quality. 

If I do have a complaint, it’s that there are no instruction diagrams.  This is a common problem with several manufactures.  I suspect the issue here is that when the product is packaged as individual blisters or as the new Patrol Boxes that Spartan is pushing now, it’s obvious what goes where.  Unfortunately, here you have 2 different fleets and a lot of bits for both are jammed in with the SRS tokens in a single Ziploc bag, so you have to sort through the parts and guess where each bit goes.  In honesty, I’ve already figured out where most of the bits go, just by comparing photos on the box cover.  There is one small bit I haven’t figured out yet, but that’s not too bad…

I’ll try to let you know what I think as I assemble and paint the fleets.

Firestorm Armada V2 Book: First Impressions
First, a confession: I’ve never played a Firestorm Armada game before.  Like many people, I’ve downloaded the PDF file of Ver 1.1 directly from the Spartan Game’s site, so what you’ll see here is my first impression of the book and rules.

The quality of the book is excellent.  While only 120+ pages, the hard cover is excellent quality and the pages are all full colour and the text is easy to read.  Some gorgeous photos and some good example diagrams dot the test as you progress through the rules, though sometimes they don’t always seem to be where you’d thing find them.  The book does have an index (though I’m not sure how good it is; after playing a few games and having to reference things, I’m sure I’ll find out).

The sequencing of the book is very “British” in style.  The rules are not laid out in a point system for reference like some “American” games (such as the notorious Star Fleet Battles).  The sections of the book are laid out in a fairly logical, sequential order:
  • ·         The story behind the game (“Fluff”)
  • ·         Basic Game Concepts (where to measure from, dice rolling and modifiers, model stats and definitions, etc.)
  • ·         The Turn Sequence and brief explanations
  • ·         The Movement Phase
  • ·         Combat
  • ·         Weapons
  • ·         Firing Options
  • ·         Boarding
  • ·         End Phase
  • ·         Rules for Short Ranged Spacecraft (SRS)
  • ·         Model Assigned Rules (MAR)  (All the Special Rules that give the different fleets their flavor).
  • ·         Scenarios
  • ·         Generic Fleet Lists (Basic Battleship, Cruiser and Frigate for each race/fleet)


If you’ve experienced a Spartan Games rule set before, then you’ll be familiar with the layout of the rule set.  One of the things that has improved is that Spartan has added page references any time they reference a subject that’s covered in more detail elsewhere.  This makes cross referencing much faster as you don’t have to jump back to the index or the table of contents for everything.

The Rules:

Well, Firestorm Armada uses most of the same basic rule concepts as Dystopian Wars:
  • ·         Alternating activations between players
  • ·         Exploding 6’s: a natural 6 counts as 2 hits and gains another dice roll
  • ·         Roll to see how many hits and if you exceed the Damage Rating (DR) or Critical Rating (CR) you cause damage
  • ·         Weapons have Range Bands to determine how many dice you roll, depending on distance


So, what has changed between V1 and V2 of Firestorm and Dystopian Wars?

First, the fleet organization and “Battle Size” definitions have changed.  Instead of basing your fleet organization on the percentages of a battle size, now you “pick a Fleet type”: Patrol Fleets (800 pts. or less), Battle Fleets (801 – 1200 pts.) or Grand Fleets (1201 – 2000 pts.).  The various fleet lists (downloadable from the Spartan Website Download section) then define what you’re allowed to take in each of the 3 “Tier”.  Each Tier is approximately the same as the Large / Mediums / Smalls of the previous version (though some Tier 1 choices are composed of Medium ships)  For example, the Terran’s fleet list limits the player from taking more than 2 Tier 1 (Heavy) choices in a “Patrol Fleet”, and a further limitation says only 1 of those could be a Battleship.

A new feature is that most Medium and Large Vessels now have “Hardpoints” and “Upgrades” introduced in the fleet lists.  A Hardpoint allows the player to add capabilities to their ships, creating some (limited) customizations whereas Upgrades tend to be MAR changes to the ship.  Both features add cost to your basic ship.

The STAR cards are gone; replaced by the TAC cards.  And they aren’t random, they’re chosen in advance (though you are limited on how many cards and which cards you chose as some are race-specific).

There are two different “Weapon System” Fire Phases, one for Direct Fire and one for Indirect Fire.  Direct Fire weapons must all be fired and resolved before you can shoot the Indirect Weapons.  Both types of weapons are fairly well defined so there should be no confusion there.  Also, you still must declare ALL attacks before you fire your first weapons.

Another change is that there are different weapon “types” defined.  The significance of this is that different types have different Range Bands.  Instead of all Range Bands being multiples of 8, they are multiples of 8”, 10” or 12”!  As an extra; many weapon types have a bonus rule that grants an advantage for using that type of weapon by itself under certain conditions.

While Linked Fire and Combined Fire are still firing options, Split Fire was removed and instead given as a Model Assigned Rule: not everyone can split their weapons fire from a single mount anymore!

Another huge change is the handling of Short Range Spacecraft (SRS: fighters, bombers, etc.).  Besides the new tokens, SRS must stay within Command Range of their Carrier UNLESS they are making an attack run.  That attack run is limited to the distance that the SRS wing can go in a single movement phase!  No more launching bombers and sending them around the moon to ambush from the other side in 2-3 turns!

The final change I’ll talk about is the new preferred Victory System using the Battle Log.  The Battle Log is used to track each fleet’s progress as they destroy enemy vessels and squadrons, complete objectives or lose their own fleet’s vessels.  The first player to reach the designated winning point value wins the game.  Patrol Battles go until 10 pts., Battle Fleet Battles go until 15 pts. and Grand Fleet Battles go until 20 pts.  What is unique is you can “give up” points to gain advantages or re-gain the use of TAC cards, though you still need to re-gain those points to earn a Victory later.  The old “Victory Points” system based on vessel point costs is also shown in the book, but the new scenarios are based on the use of the Battle Log to determine Victory or level of victory.

Overall, I found the rules fairly straight forward to follow and understand, though there are a few points I needed to re-read and I’m looking forward to an FAQ for couple of issues.  The organization of the rules is sort of sequentially-based so there were a few places you need to jump to a different section to work out how things would work in a true battle situation.  The Quick Reference pages in the back of the book has all the tables listed in the book, but I’d like to see a quick weapons table listing the range band and “Coherence Effect” as some Upgrades will change the weapon types and a list of SRS capabilities included.  Someone will make up another reference chart, I’m sure!


Anyway, I’m looking forward to getting things assembled and testing out the new rule set soon.  I hope you’ve enjoyed this review and got something from it!

Good Luck with your dice!