Thursday, June 12, 2014

Product Review: Dystopian Wars V2

So, now that it's been released and I actually have an official copy, I can talk about Dystopian Wars 2 from Spartan Games!

As a Beta Tester, it's certainly been an interesting experience.  Sadly, I'm under a "Non Disclosure Agreement" (NDA), so I can't tell you much about how things were done done or why.  Just present the end product.


So What is Dystopian Wars?

Dystopian Wars is a Table Top Miniature Wargame based on an alternative Victorian Age Steam-Punk Timeline.  New scientific discoveries have been found within the ruins of a civilization in Antarctica, including Flying and Anti-Gravity devices, Energy and Electricity based weapons, etc.

With all this wondrous technology, however, mankind's greed is as bad as ever.  A Great Global War has started, this time in the 1860's and battles are fought pretty much all over the world for resources, technology and pride. (There is very little honor, in spite what the leaders think.)

At "present" there are 7 "Core" Nations.  Britannia, Federated States of America (the South won the Civil War), Prussia, France, Russia, Empire of the Blazing Sun (Japan) and the Covenant of Antarctica (an enclave of scientists still working to reveal all the mysteries of the ruins located there).  A number of Minor Nations as well as some Mercenary companies and the Infamous East India Company have forces that have been released with others hinted to be released.

What's interesting about the game is that the forces can be Naval, Air Force or Army Based.  In fact, most forces comprise of a mixed force of 2 of the 3 branches of the military.  While it's not normally practical to join the Navy and the Army, there's no reason why the Air Forces can't combine with either or act on its own.  Usually games are played as "Naval" or "Land" Battles.  (I play "Naval" games, in case you hadn't checked the history of this site!)  ;)

The game uses an alternating activation turn.  Instead of all one player's forces move and shoot followed be the other player doing all their moves and shots, players activates 1 unit; move, shoot and board (close combat), then the other player activates one of their units and repeats the process, alternating until all the units on the table have been activated.  This makes planning and timing critical.  If you don't move Unit A before he moves Z, then it'll be blasted, but you might lose Unit B and Victory Points if you don't activate it first...  You really do need to plan your strategy and tactics knowing that you may not get to do everything the way you want to.

The other unusual feature is the "Exploding 6" concept.  All dice are 6-sides dice.  You roll a number of dice (representing the firepower of the attacker) and each success is a "hit", unless it's a 6.  A 6 counts as 2 hits AND (usually) rolls an extra dice, rolling as many times as the player rolls 6's.  The cumulative total of hits is then added up.  Damaged is caused by having enough "hits" to exceed a Damage Rating (DR) (usually 1 Hit Point of damage) or exceed a Critical Rating (CR) (usually 2 Hit Points and a secondary effect).  Exceed the CR 2 or more times in one attack and the damage will stack!


What has changed Between DW1.1 & 2?

Lots of tiny changes that will make a BIG impact overall!

The first minor change that everyone will notice is that when you divide anything, you round results UP!  This isn't a minor thing as this usually affects the number of dice you roll.  The more dice, the better the results (you hope)!

As well as rounding up, the way you calculate the number of dice in a "Linked" volley is different.  Linking was when you fired multiple weapons from multiple mounts or vehicles at a singer target to get more dice and a better chance of damaging your opponent.  Before, all the dice from a "Designated" (single) weapon, then half each additional weapon's dice for that vehicle.  Each additional Ships' dice totals were added up the same way and halved to contribute to the "Primary Shooter" (rounding each pool down).  Under V2.0, you get full dice on a single weapon, then throw all the other dice into a pool, and cut the pool in half (rounding UP)!  This is much faster and can make a difference where a ship in a squadron is damaged and linking with multiple other ships!  There could be No Difference in the totals if you're lucky!  Again - MORE Dice are GOOD dice!

An annoying factor in DW1.1 was that Line of Sight was NOT the same both ways.  It was possible to screen a large ship with a number of small ships, then the large ship could (and would) shoot the enemy small ships  and the enemy smalls could not shoot back!  Thankfully, this is changed!  If I can see you, you can see me!  Vehicles can fire with no penalty over other vehicles 2 size classes smaller than themselves OR smaller than their target!  While the height of Hills and Towns can "stack" and affect play over "land" by adding and subtracting to your Size Class, this doesn't usually affect Naval games (which is usually blocked or not blocked).  "Primary" Class weapons can shoot with over an object a single Size Smaller than themselves but count as Partially Obscured and suffer a penalty (1/2 your attack dice).

Previously, when playing a "generic" mission from the book, both players knew what the other's mission was.  This lead to some dishonorable tactics like hiding the last small choice behind the entire fleet, etc.  This usually resulted in players automatically declaring they would play the Default 70% of the Force's Value as prized, derelict or destroyed.  Now, missions are secret - your opponent draws a mission card or rolls a dice and does not tell the opponent what mission they drew UNLESS they decide they don't LIKE the mission and then publicly declare to go and destroy / prize / derelict 70% of the enemy's force value.  Now the opponent needs to try to guess and counter what mission you drew, hide what objective they drew, and/or go for his own objective.

Finally, Spartan Games is committed to the use "Living Lists".  At present, the 7 Core Nations Force Lists are available as a free download from the Spartan Game site, with promises that the Minor Nations and Mercenary Companies will join them soon (they're still in Beta Testing).  Rumor has it that Fleet Books will be available for purchase in the future, but in what form, and how many, I can't speak ('cause I don't really know anything but rumors here)!

One important thing to note about the new fleet lists: all previous models are supported!  Nothing was dropped, though some have vastly different statistics and primary purposes.  So while you may want to buy new models, you don't have to throw anything old away, either!

Bigger Changes of Note!

The whole concept on Base-To-Hit has changed.  In DW2, you start off with your base to hit value - a "4+" on surface level.  This Base changes depending where you are on relation to the Surface.  We now have 3 flying levels (Flying, Obscured, and a new Stratospheric).  Flying is Base 4+ to hit, Obscured is 5+ and Stratospheric is 6+.  Also, we have the Submerged level and Deep Diving Levels going down.  Again, 5+ & 6+ to hit.  Now you add your modifiers for various weapons capabilities or limitations as well as Model Assigned Rules (MARs) as positive and negative modifiers, not set values.  In V1.1, to Hit values were based on MARs, resulting in confusion if conflicting rules and MARS came into play.  This way, believe it or not, is more clean.  Interesting to note, while being Obscured in the clouds helps aircraft by being a 5+ base to hit, it also means they're at 5+ to hit someone else, unless they're shooting at someone higher!

Speaking of MARs - there's less of them!  First, all those Nation-Specific MARs got renamed a more Generic name so that the same effect is the same MAR for everyone.  This allowed them to cut down some.  Next, they moved Weapon Characteristics and Munitions to their own section.  So if it was a MAR that only applied to weapons before (such as "Concussive" or "Piercing"), chances are it got moved here.  Same thing was done with Model Functions and Classifications.  If it applied to a vehicle "type", it got put there.  This will result in some extra page turning & searching as players re-learn the book organization, but helps reduce and organize special rules a bit better.

Tiny Fliers are no More!  Instead, we have Support Aircraft Squadrons (SAS).  While the various special rules have kept the same names, how they work has usually changed!  Watch yourself the first few times you play!  Also, no need to track Fuel Usage per V1.1 anymore!  While most people used to take only the Torpedo Bombers or Fighters in Naval Games, the re-write of the Dive Bombers make them a more attractive choice now.  Usually, Dive Bombers get +1 to hit surface targets and Torpedo Bombers +1 to hit Submerged Targets.  Finally, Torpedo Bombers now have to be within 4" to drop their ordinance (putting them into Ack-Ack range of at least the target)!

Instead of just refueling Tiny Fliers, Carriers have been revamped and are valuable and useful commodities!  Besides giving you "extra" squadrons of SAS to deploy, Carriers can restock ordinance (Dive Bombers and Torpedo Bombers still get only 1 attack before they have to reload), replenish squadrons back to their original size (max 5 tokens per Squadron, but if deployed smaller, it cannot be increased in size) or REPURPOSE the squadron!  (Dang, I don't need those fighters, I wish I had Bombers - oh wait!  Now I CAN!)  This is done via Carrier Points.  Based on what you want to do, each function is worth a number of Carrier Points.  If the flight is within 4" of a Carrier when it activates, the Carrier can spend points to "fix" the fliers.  It is not uncommon for a squadron of bombers to make 2 attack runs in a 3-4 turn game now!  Of course, this makes the SAS squadrons and Carriers much more of a target, so protect them well.  If a flight squadron is completely destroyed, it cannot be replenished.  Antarctican Drones and their Carriers operate differently, but they too have their own limitations and weaknesses.

Remember STAR cards?  They were pretty much despised everywhere because of their random nature.  They're gone.  Instead we have Tactical Action Cards (TACs ).  Each player starts with a deck of 16 cards that can be modified depending on the force the player takes (Spartan says special cards will be released for special formations, famous characters, nationalities, etc).  Once the final battle size is determined, a player Chooses which cards to use from their deck, the number being determined by the size of battle.  Now IF a player uses a TAC card, his opponent gets the points listed on the card!  If an opponent wishes to stop the card's effects, they can dispose of an equal or greater value of cards (giving those points to the original card player).  So, you can keep the cards as an offensive or defensive (or any combination) mechanism!  Sadly, the cards are not available for download yet, but they are available in the new fleet boxes coming out soon.  Spartan has recently announced the option to purchase the cards from their website.

Assault Rules have minor changes for the most part.  What really was done was that the rules were rewritten to explain more clearly how the process worked.  One new change to assault is that the Boarder, if he failed to Prize or Derelict a ship, but caused more hits than the defender gets to roll a Critical Hit.  On the other hand, if the Defender has more hits, the defender gets a Second Round of Auxiliary Weapon Counter Attack against the Boarders as they try to flee!  This could be very costly for an attacking player.  No more "Just For The Heck Of It!" boarding!  Also, Crew Types are re-introduced and their modifiers are explained.

=====================================================================

Other Rules Changes include Reserves, Flanking and Advance forces all being part of the main rules (they had been introduced in one of the Campaign books for V1.1).  All fleets got or are getting new models, most including a new Fleet or Assault Carrier (Fleets have 9 Carrier Points while Assaults have 6) and Heavy Battleships.  All fleets got "tune-ups".  Some people may not appreciate all changes to their fleets, but most changes seem sensible.  Usually it was a case of point cost adjustments and a weapon stat here, an Assault Point there, minor changes that make the entire nation's choices more useful and individual units more definable.  Game sizes tend to be more points, but most things are more expensive so the number of models is about the same.

The players I play-tested with and those that I've had a chance to demo the game to in the past week like the changes.  It's still a fun game and the rules have been cleaned up nicely.  The Models are great and Spartan appears committed to extending the range and still supporting all their old models as well.  Overall, a great buy for those with the older V1.0 or 1.1 rules!  If you've never done Dystopian Wars before, I strongly recommend you check it out at your Local Store or Gaming Group!

Keep those dice hot!

Thursday, May 15, 2014

Product Review & BatRep: Check Your 6! – Jet Age

Long time between posts and suddenly I got 3 already in 1 week!  WOW!

So, took a break from Beta Testing and Graham and I decided to try “Check Your 6! Jet Age”.  The rule book has been out for quite a while, gathering dust on my shelf.  So this is the first time we ever played this game.

The Rules:
Basically, this is the classic “Check Your 6!” WWII game, updated with higher speeds, multiple Combat Altitude Bands, Radar and Missiles.

All players plot their movement in secret.  Then moves are made, starting with Out-Of-Control aircraft, slow Aircraft (bombers, etc), Green Pilots (Skill Level 0), then progressing through the Skills up to Aces (Skill +4).

Now the 2 games change a bit.  Due to Radar and “Beyond Visual Range” missiles, you try to first spot the enemy (using either Radar or Visual Spotting.  If you spot, you can attempt a Radar Lock and fire a Radar Homing Missile (RHM), or attempt to launch an Infrared Guided Missile (IRM), or just shoot him with your guns IF your plane has any!  (Have to remember, there are periods where nations thought that guns were obsolete and didn’t include them!)

Not only do you roll to see if missiles hit, you also roll to see if they MALFUNCTION!  Older types have a greater chance of failing than newer types (Vietnam was notorious for this, which is one of the reasons why they re-introduced guns).  Missiles also have a Minimum and Maximum range – also a good reason to have guns for those knife-fights!

IF you happen to attack with a missile, there is a chance it missile launch be detected (your opponent rolls for this) and if spotted, he may perform Evasive Manoeuvres, making it harder to hit and causing him to do Extreme Manoeuvres next turn.

Missiles that do hit have a chance to either do a Proximity (near) hit or Direct hit – having different numbers of dice for each.

Damage, Lucky Hits, Guns etc, all perform the same as the original CY6!  So, let’s play!

Like the original, CY6! – JA already has a number of scenarios and Campaign Books to help you plan missions or campaigns!

The Mission:
First Kill: Phantom          (Star and Pyramid Campaign book)
(This mission is also in the Jet Age rule book, but has been update in the Campaign Book.  I chose this mission as it was fairly simple and not too many aircraft.)

Date: 9 December, 1969, 1800 hours
Egyptian Ground Control detected an Israeli Reconnaissance Plane (RF-4E) and are directing a flight of 4 Mig-21F-13 Fighters in for the intercept.  Two Israeli F4 Phantoms are waiting to escort the Recon Flight home…

Israeli Forces:
RF-4E Phantom II has a recon pod and 1 Aim-9B Sidewinder IRM, as well as Wing Tanks, making it “Half Loaded”.  The plane will enter on the west (short) edge of the table, Low CAB, TAL2, speed 5.
2 X F-4E Phantom IIs, each with 2 AIM-7E Sparrow RHM and 4 AIM-9B Sidewinder IRM, plus Wing Tanks (making them also at Half Load).  They are loitering in the North East table corner, Low CAB, TAL4, Speed 5.

All planes have Rotary Cannons & all planes have Skilled Crew (+1)

Israeli Mission:
Get more Victory Points!  Damaged Fighters are worth 1VP, Destroyed are worth 4VP.  Bonus points for shooting down Veterans.  A Bonus of 2 VPs if the RF-4 goes off the table within the 15 hexes of the North-East Corner (Sector F, Edge 6)

Egyptian Forces:
4 X Mig-21F-13 Fighters, each with 2 AA-2ATOLL IRM and a Long Range Heavy Cannon (LRHC).
3 Crew are “Green” Crew (0), one is a Veteran Pilot (+2)

Egyptian Mission:
Get More Victory Points!  (Sound familiar?)  Also, the Egyptians get a Bonus +1VP if the RF4 exits the table from any other edge than the Israeli’s.

Planes will start off “hidden” (I will use extra tokens to represent double possible locations until they are spotted), flying in the Western side of the map, Surface Low CAB (Ground Level), TAL3, Any speed.

The Game Begins!
First, both players roll a D10 to determine an “extra” special mission rule, just like the original CY6!

Israelis rolled that the RF-4E suffered “Mechanical Problems” – it would suffer double reduced Agility at top speeds.  Egyptians rolled “Open Formation”, allowing them to deploy 2 MIG-21s in the bottom South-East table corner.
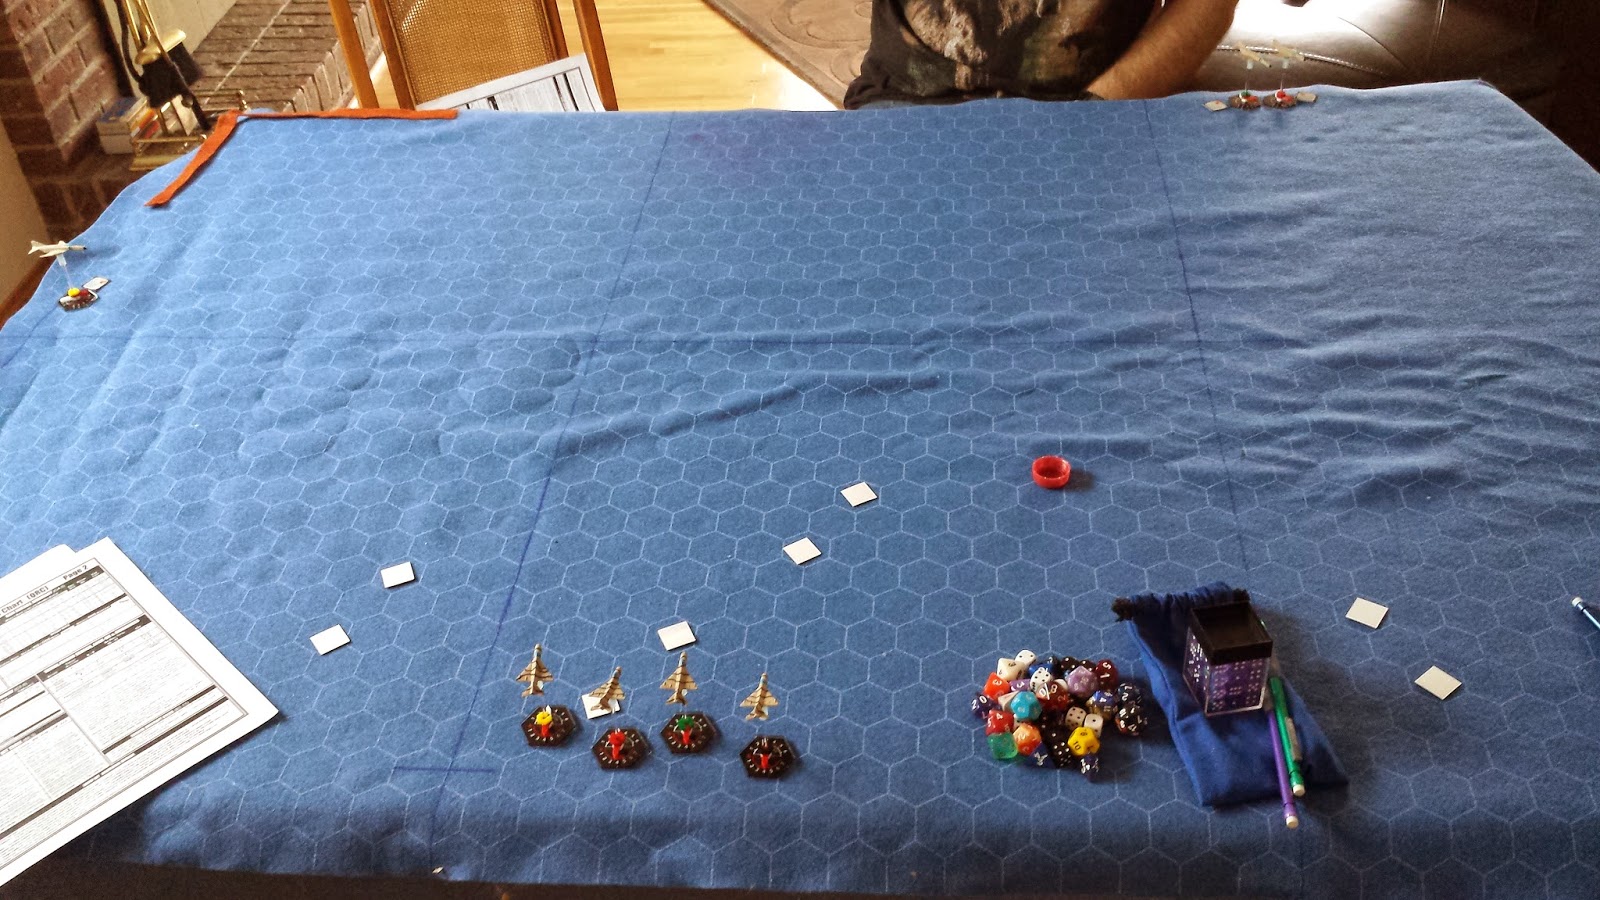
Initial Deployment
MIGs are represented by 4 of 8 white squares


Turn 1:
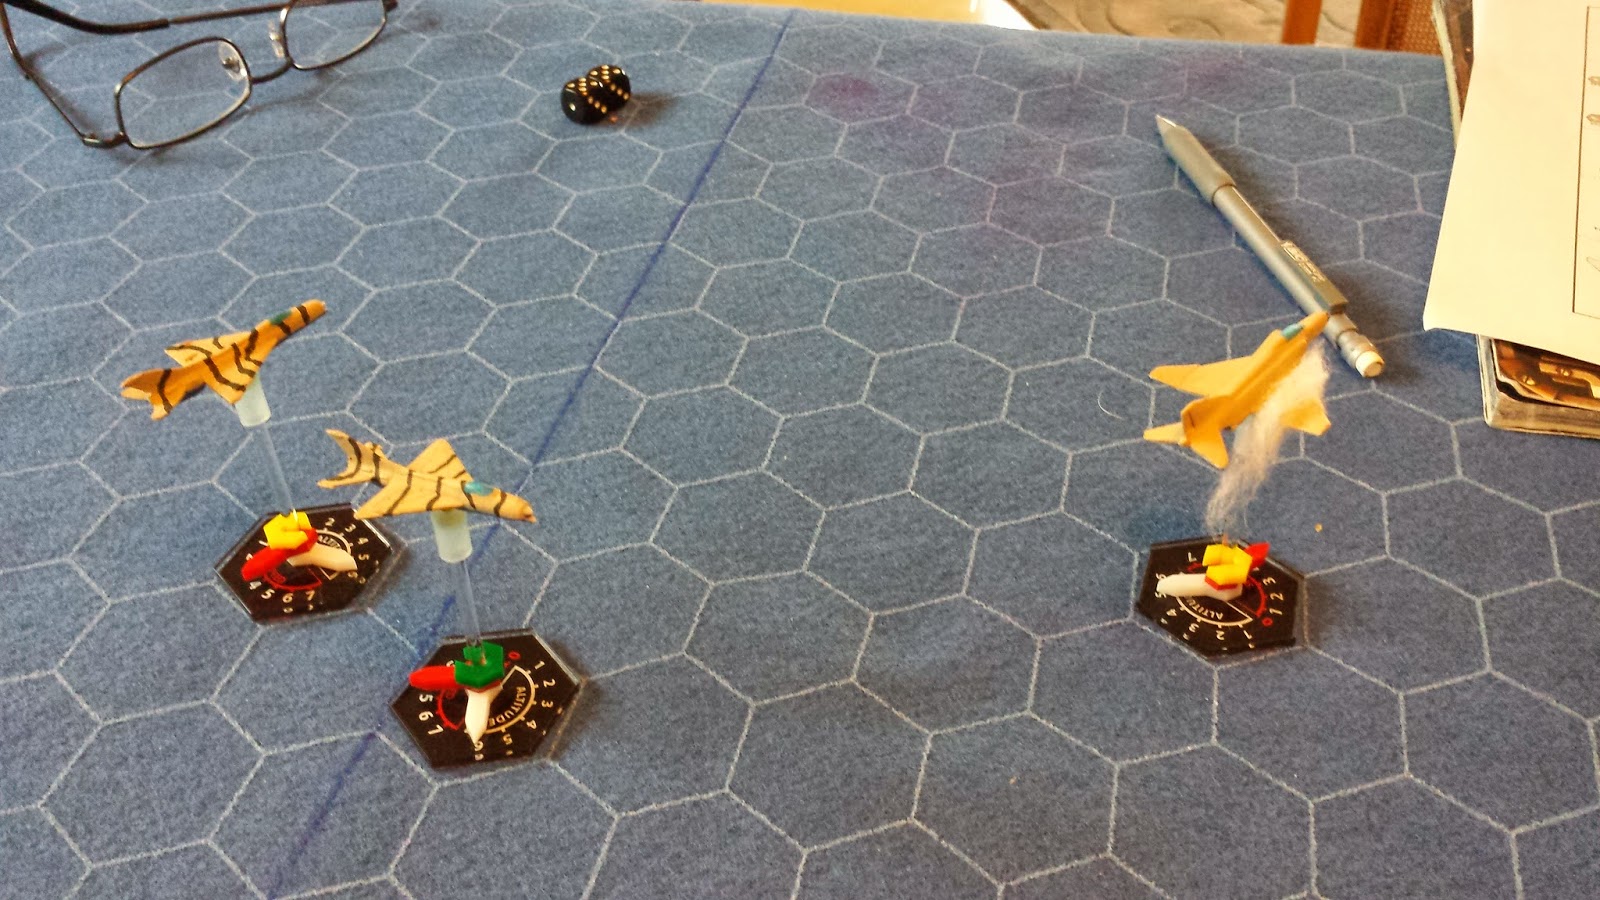
The Egyptian MIG21s all started to climb, hoping to conserve energy as they approached the enemy.  This turned out to be a mistake!  The Israelis spotted all the hidden MIGs in the first turn!  Re-reading the rules, if I had stayed at TAL 3, the Israeli Radar performance would have been greatly reduced!

The 2 F4s managed to get Radar lock on the 2 MIGs in the South-East corner, but not able to get “Lock-And-Fire”, so they couldn’t shoot this turn.

Going on…
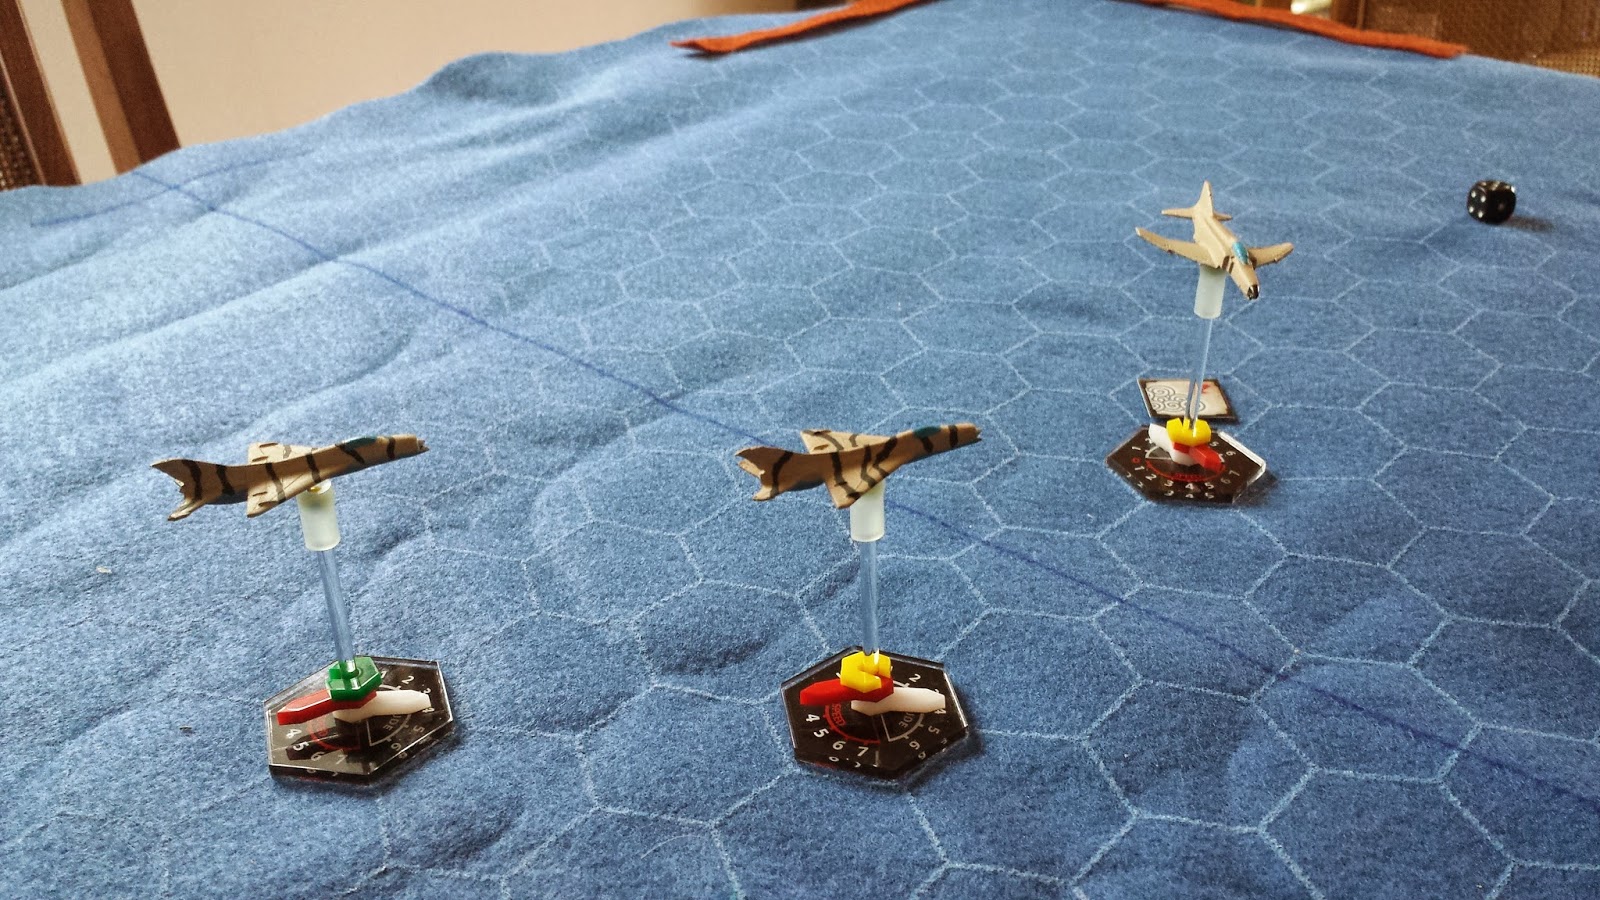
The MIGs all sped up and moved forward, one looking to get in the tail cone of the RF4, another aiming for an intercept angle while the 2 in the South-East went head-to-head with the F4s.  Turned out to be a good decision – the MIGS (Black & Red) flew in too close for the F4s to use their Radar Missiles!  The angle was wrong for Heat Seekers (this time period, they were only useful if launched at the target’s rear arc).  The Israelis, having spotted the MIGs dropped their tanks so they were no longer at “Half-Load”

Intercepting the RF4


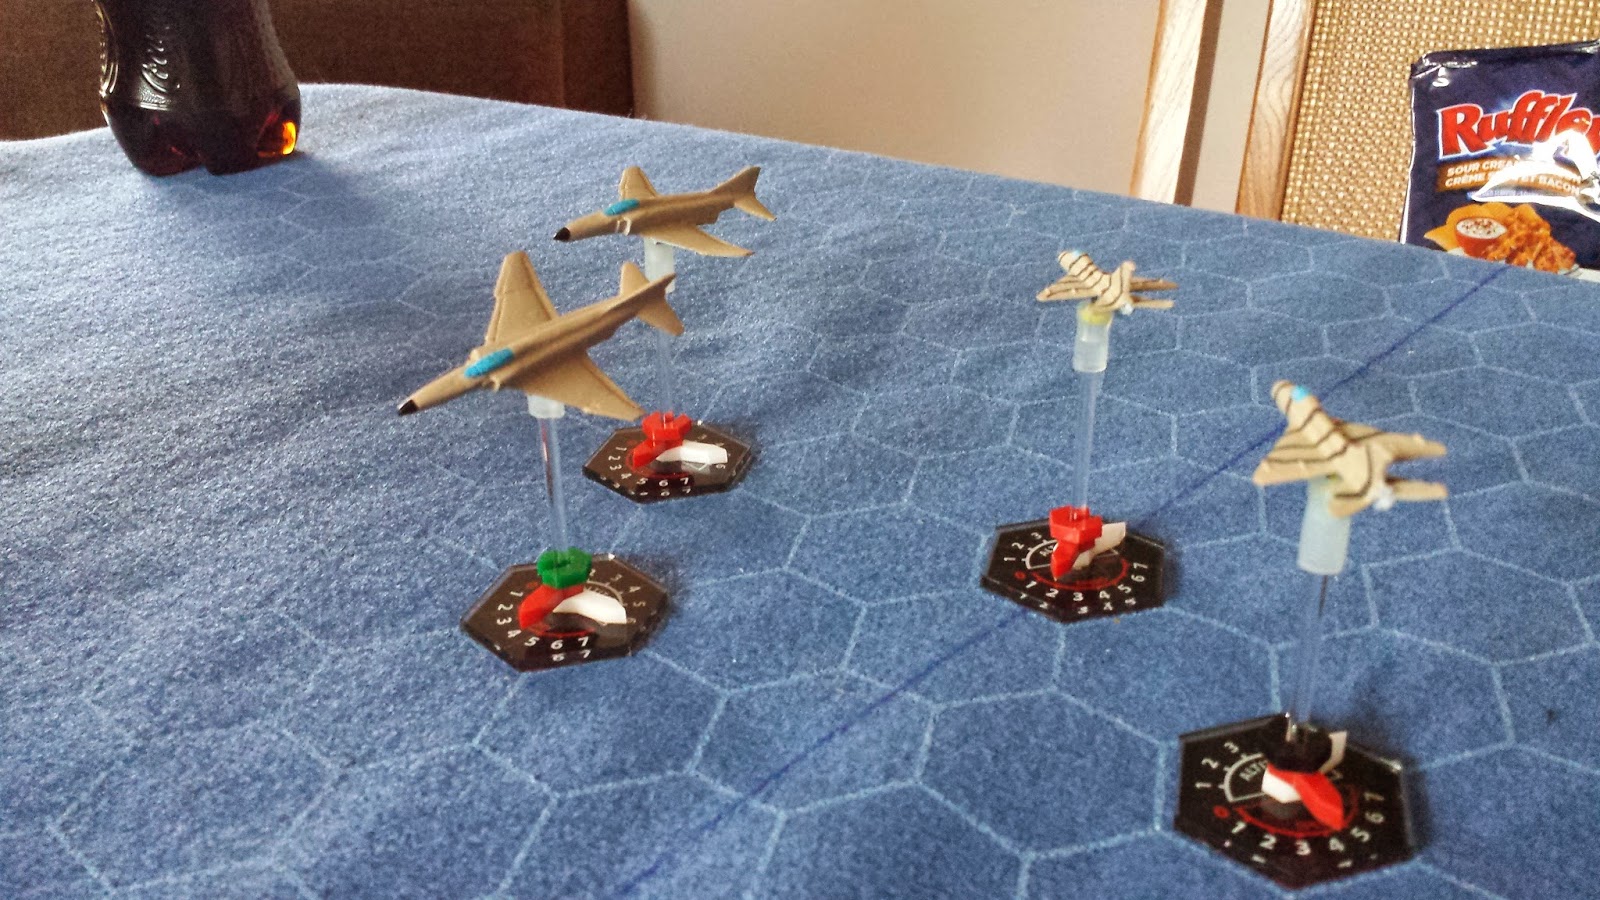
Eastern Hairball about to begin...


The fight quickly developed into 2 separate dogfights.  In the West, MIGs Green & Yellow fought with the RF4.  In the East, the 2 F4s (Red & Green) got into a tight turning circle with Migs Black (the Vet) and Red (Green Skill!).  Due to the tight turnings, both Radar Locks were broken.

Breaking Radar Lock!


First shot of the game was F4 Red taking a gun shot at MIG Red in turn 4, but missed.

By Turn 5, all the planes on both sides were flying at CAB Surface Low, TAL6 – all good altitudes for a gun fight!  Eastern fight was a tight-turning counter-clockwise circle.

Turn 6 had the MIGs in the FR4’s rear arc, but having done Extreme Maneuvers, the missiles couldn’t be fired! 
"Almost got him!"

 The Eastern “Hairball broke apart as both sides attempted to break the stalemate at the same time.

Turn 8, both MIGs in the west finally got off AA2 Atoll (IRM) Missile launches on the RF4.  The RF4 managed to spot 1 launch and dodged it, but the missile from MIG Green got a direct hit!  Sadly, Graham failed is Robustness Roll by 1, so only suffered Airframe Damage instead of being destroyed. 

RF4 Takes a HIT!

Meanwhile, in the East, F4 Green managed to get a Radar Lock On & Fire at MIG Green at a range of 21 Hexes, but missed by 1!

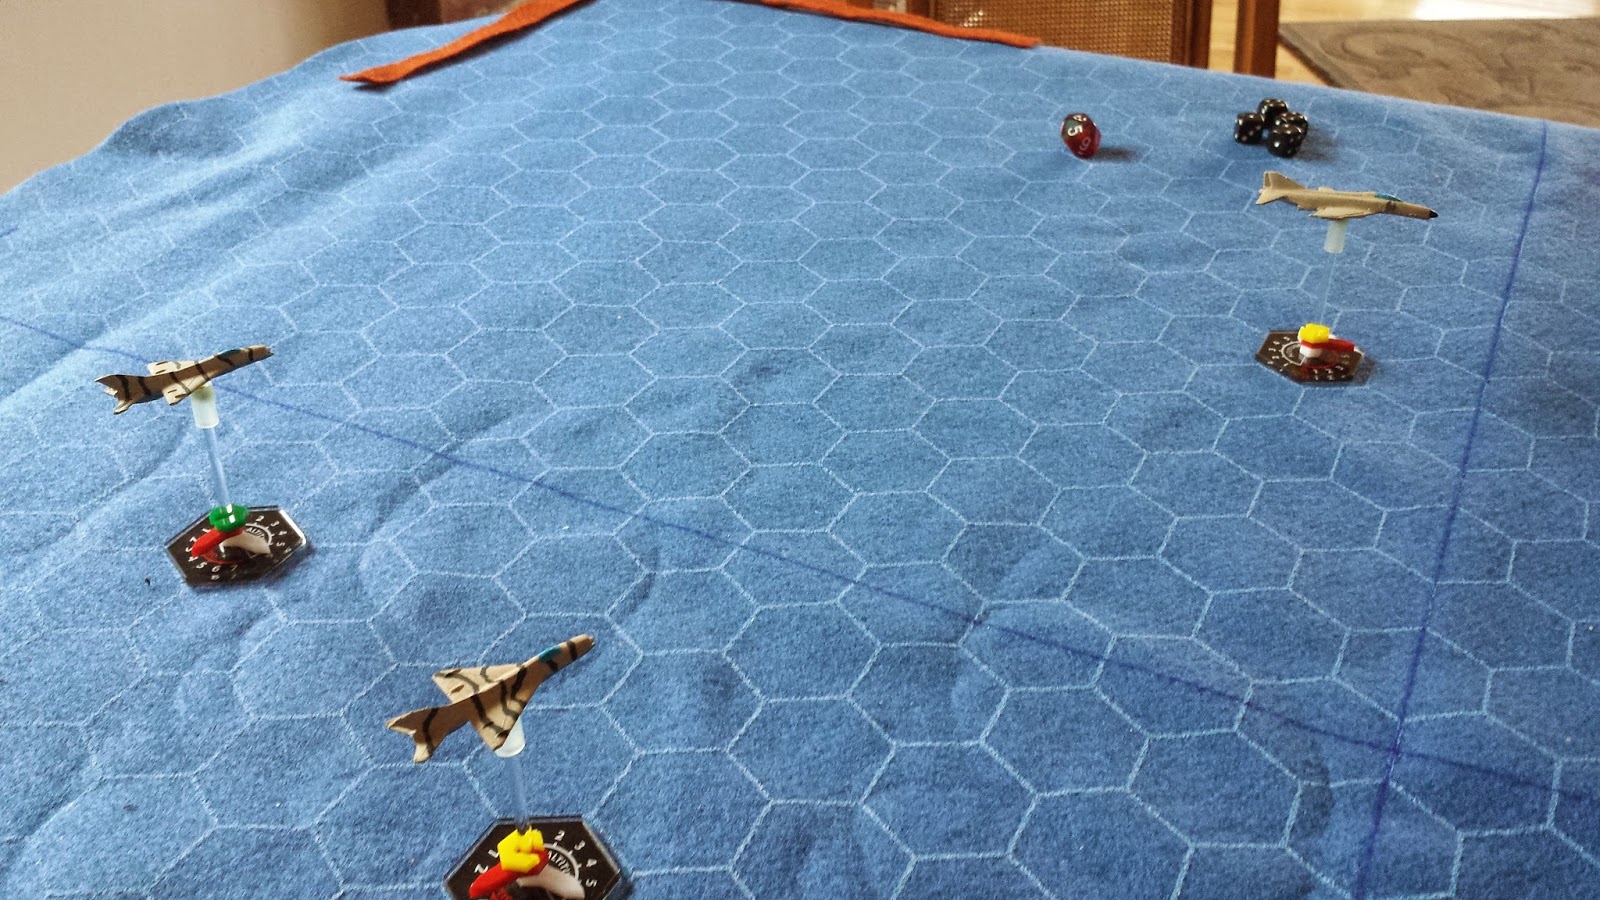
Turn 9 had the RF4 spin out of control as a result of his Evasive Manoeuvres last turn, falling a TAL level in the process and rolling a random hex side for facing.  Sadly, the rules state you cannot fire on an aircraft that is out of control.  MIGs Green and Yellow circle the stricken RF4, just in case…

The Vultures circle the Out-Of-Control RF4!

Turn 10 and the RF4 recovered from his spin, darn!  In the East, the climbing, diving, turning hairball continued, but F4 Green failed to hit MIG Black with guns.

Turn 11, MIG Green got a Missile Shot at RF4, but missed.  RF4 doing another Evasive Manoeuvres next turn.  On the other side, MIG Black and F4 Green go Head-to-Head with guns, both missing!

Turn 12 and the RF4 tumbles Out-Of-Control again!  (Dropped to TAL2!  If he falls 2 more, he crashes!)  In the East, MIG Red snaps a shot off at F4 Green, missing by 1!

Turn 13 and the RF4 continues to tumble!  The Hairball of the East continues as MIG Red Runs out of Ammo!  MIG Black missed a shot at F4 Green.

Turn 14.  DARN!  The RF4 recovers at ALT1!  MIG Black missed another gun shot at F4 Green.

MIG 21 Vet Runs Out Of Ammo?!?!?

Turn 16 and the RF4 managed to get off the table, but on the wrong edge!  Automatic 1VP for the Egyptians!  Meanwhile, the MIG Black took another Gun Shot at F4 Red, but ran out of Ammo!  NOoooo!!!

We roll to see what happened to the RF4 and because of the damage and flying off the table into Enemy Territory, it crashed, counting as a KILL for another 4 Points!  5VP for the Egyptians!

Turn 17 had both the Black and Red MIGs breaking from the Hairball, heading South-West as Green and Yellow MIGs head towards the F4s, having chased the RF4 away.  F4 Red failed to do a Lock On.

Turn 18 and MIGs Black & Red do a 180, heading back towards the F4s while MIGs Green & Yellow close in with the F4s, Head-to-Head.

Turn 19 and MIG Black fired a missile at F4 Red, but the missile malfunctioned!

Turn 20, the F4s had had enough and kicked in Afterburners, heading for home.  MIG Yellow fired an AA2 Atoll at the departing F4s, missing by 1!

We realized the F4s would escape next turn and called the game!

Egyptian Victory!  5 – 0!

================================================

WOW!  Good Game!  This was definitely a game of chance!  In the end, only one aircraft was hit and could have made it home successfully except for a bad dice roll!

If I kept records correctly, we fired off 6 Missiles of various types, and only 1 hit in the entire game.  Meanwhile, 9 gun shots resulted in NO hits!  Really bad rolling on both our parts!!!  My Dice are back!


Game Rules Impressions:

Having read many accounts of air combat in this era, the results of the missile reliability is pretty close to historical, so I would say the game is reasonably historic in its results.

The game system is pretty simplistic, allowing a short learning curve and quick, but fun games.  If you’re looking for a game that has lots of detailed Electronic Warfare, concerns of Fuel Consumption or lots of Beyond Visual Range fighting, this probably isn’t the game for you.  There’s not much detail here.  For example, while the MIG 21 has a different Maneuvering Chart than the F4, they both have the same +2 Agility Rating (Agility ranges from 0-3).  The Finesse points are all generalized for a more simple game play.  It’s Pilot Skill that usually wins the battles here – not performance factors of the aircraft.

While the game covers Jet Age from Korea through Falklands, the Aircraft Listings is not as complete as I would like.  They’ve concentrated on aircraft that are known to have participated in actual combat.  Some of the Cold War Warriors and weapon systems are not included.  (The CF100 “Canuck” for example or the Multi-Rocket Anti-Aircraft “Shotgun” Pods that were used for a very brief period.)  This makes it difficult to do “What If…” scenarios.  They even forgot to include the F18 Hornet in the 1st Printing of the book, though they included the stats in the Errata. 

On the other hand, like the Original WWII books, all the campaign books for Jet Age seem to be complete.  All major aircraft for particular warzones and battles seem to be included.  At this time, there are books for Korea, Egypt – Israeli wars from 1966 – 1973. And the Pakistani – India wars.  The Rule book also contains mini-campaigns for Vietnam, Falklands and Angola.  Between them all, there are a wide variety of missions and time periods to choose from.

One thing we noted during game play, is that you need to be careful doing classic Zoom Climbs.  While you can plot a Jet Climb that will let you climb 4 TAL levels in a single move, this will stall most aircraft.  Even Afterburners don’t help most aircraft from reducing speeds to dangerously slow speeds under these conditions.  So forget the “Viking Takeoff” with an F16 or F15 and expecting to keep accelerating straight up, forget it.  Those of you hoping to do some “Specialized Manoeuvres” that are aircraft-specific, forget it – those manoeuvres just don’t exist.  On the other hand, you can do High-Speed Yo-Yos (over 2 turns or more) or multiple Scissors, etc.  You can even do that “Maverick Stall” from the movie Top Gun, but I wouldn’t recommend it… 

Overall, this is a good to great introductory Jet Air Combat System for those who don’t want to get too detailed or over your head.  I look forward to playing more games soon!


Hope you enjoyed the read!

Monday, May 12, 2014

WUBBLE Blood Bowl Game 3: Sandhill Serpents (Lizards) vs Da Basha Boyz (Orc)

Sorry!  My Pictures didn't turn out this time!  I'll try to do better next time!

So, after a couple weeks (or a month), I finally got a chance for another Blood Bowl Game with the ragged Sandhill Serpents!  Up until now, the Serpents have had 5 Dead or Retired Due To Injury players.  I was starting with 2 Journeymen Skinks (#7 & #14), just to get my required 11 players onto the pitch.

Da Basha Boyz have played a game or 2 since we last met, so I’m sure they’ve gained a skill or two.

So, doing all that Pre-Game stuff:
Basha Boyz had a Team Value of 1110, whereas the Serpents had only 920.  This let the Serpents buy an extra re-roll and a Bloodweiser Babe (+1 to recover my KO’d players) for team inducements.

Da Boyz had 14,000 fans show up to the Serpent’s 13,000, giving Da Boyz the +1 FAVE rating and a total gate of 27,000 screaming fans!  We therefore rolled to play the match at Naggarond Arena, in a BLIZZARD!!!  (-1 on all “Go For It” rolls and only Quick and Short passes allowed.)

Sandhill won the coin toss and elected to receive the ball first!

First Half – First Drive:
Da Boys blew the kick – giving the Serpents a “Touchback” (gave the ball to a Skink in the back field).  Cheering fans were so enthusiastic that Da Basha Boyz got an extra re-roll.

The Blizzard made things so slippery, that a Skink tripped and fell near the line of scrimmage, before all the moves were done to form a pocket around the ball carrier.  Quick Turnover to Da Boyz!

Orc Blitzer #4 “Grabba Doug” blitzed the ball carrier, scattering the ball!  A little pushing and shoving later and Black Orc Blocker #5 “Derp”slipped on an ice patch and stunned himself trying to throw a block!  Another Turnover!

As the Serpents start to move around, Saurus #2 “Krak Kee” threw a block and knocked himself down as well as his target – Another Turnover!

Back and forth the pushing, slipping and sliding went – with quick turnovers and lots of players knocked down.  Finally, Orc Blitzer #4 “Grabba Doug” earned some Star Points by Badly Shaking Skink 11 “A Dder” – causing the Skink to miss the rest of the game.  Finally Orc Lineman #7 “Zerp Da Lucky” skidded across the goal line, getting Da Basha Boyz on the board with first Touchdown!

First Half – Drive 2:
The Serpents didn’t let the Touchdown go unchallenged.  Two Turns later, Skink #12 caught an accurate pass and ran unopposed across the goal line!  Touchdown!  1 ALL!!!

(I’m embarrassed!  We forgot to roll on the Kickoff Table AND nothing significant was recorded!  I do remember the ball landed within 1 square of the Line of Scrimmage, barely avoiding another Touchback!  A Skink managed to run up, grab the ball from under the eyes of some orcs and dodge successfully back out with the ball, then did a Short Pass the next turn.)

First Half – Drive 3:
Well, this was just the last 2 turns of the first half.  After a High Kick that the Orc Thrower failed to catch, the Serpents managed to stall the Orcs long enough to wind down the clock without any significant injuries.

Second half – Drive 4:
Lizardmen kicked off to the Orcs and the fun began right away!  Da Basha Boyz won an extra re-roll due to Brilliant Coaching.

It was a slow, rough knock-em down bar brawl, but after 6 turns, Orc Blitzer #3 “Bob Hitta” crossed the goal line with the ball, getting the 2nd touchdown for the Da Basha Boyz!  In the process, they managed to smash another Skink’s Collar Bone, knocked out 2 other Skinks and another skink injured himself trying to dodge away from the Orcs!

(Technically, this was turn 6 – we had 2 more turns to play.  However, I had to pick up my wife from work and we had been delayed when my opponent’s 2-year-old Cheerleader kept us hopping all through the game.  Gotta love kids but sometimes they slow things down.)  ;)

Great Game!

=======================================
Well, that was rough.

2-1 for Da Basha Boyz, they also gained another Fan Factor (7 total now) and the troll “Pretty Pete” won MVP while the team went home with 60,000 Gold Pieces.

The Serpents went home with only 20,000 Gold Pieces, but had suffered another disabling injury to a Skink.  At Strength 1, Skink #13 would be retired.

HOWEVER:
This poor team has been so brutalized, I can’t catch up.  I didn’t get enough cash to replace my last casualty so I would need to get ANOTHER Journeyman (3 total on the team) and it’s just not viable anymore.

So with a heavy heart, I’ve decided to retire the Sandhill Serpents at this time.  I’ll have to come up with a new team now and start from scratch, but at least it will be worth 1,000,000 Gold Pieces, whereas the Serpents had dropped to less than 850,000.