Admiral Von Shtupp
looked out over the tranquil seas of the Caribbean from his Command Ship, the Elbe-class
Fleet Carrier SMS Graf Zeppelin. After having been reinforced, re-supplied and
repaired at their new base, the Prussians were out on a search and
destroy mission against their old foes, the Kingdom O Britannia.
Von Shtupp wanted
revenge after the humiliation he suffered from his last battle. This was going to be his opportunity. Now, Von Shtupp’s task force was sailing
through the island chains, acting on a tip from some local islanders that the
British were searching for an easy attack route to the Prussian’s base and determine
how weak the Prussian Defenses were. Von
Shtupp intended to demonstrate the latter were not weak at all...
“Admiral! We’re approaching the point of
interception. What are your orders?”
“Launch all Dive
Bombers. I want to launch an all-out
effort as soon as we know where the British are.
Have the Kaiser Karl form up beside us and deploy the rest of the fleet on
both flanks. Have all ships go to High
Alert.”
“Yes Sir! Will you be coming into the Command Centre
now?”
“Not yet. I want the pilots to see that I’m watching
them as they launch. It helps to inspire
both them and myself to fight our best.”
“Yes Sir. I’ll go inside and send out your orders.”
Von Shtupp was already
looking back over the rail, listening as the great Carrier’s elevators and deck
crews started preparing the Dive Bombers to launch.
“Soon. Very soon I will have my vengeance…”
==================================================
So, the Grudge Match was on!
The same Prussian Fleet (more or less) was facing off against the same Kingdom
of Britannia fleet (more or less) that humiliated the Prussians not so long ago…
(Maybe humiliation’s a little too strong a word, but I
wanted revenge anyway!) ;)
We decided on a 4’ X 4’ play surface to help speed up the
game (we were a little limited for time).
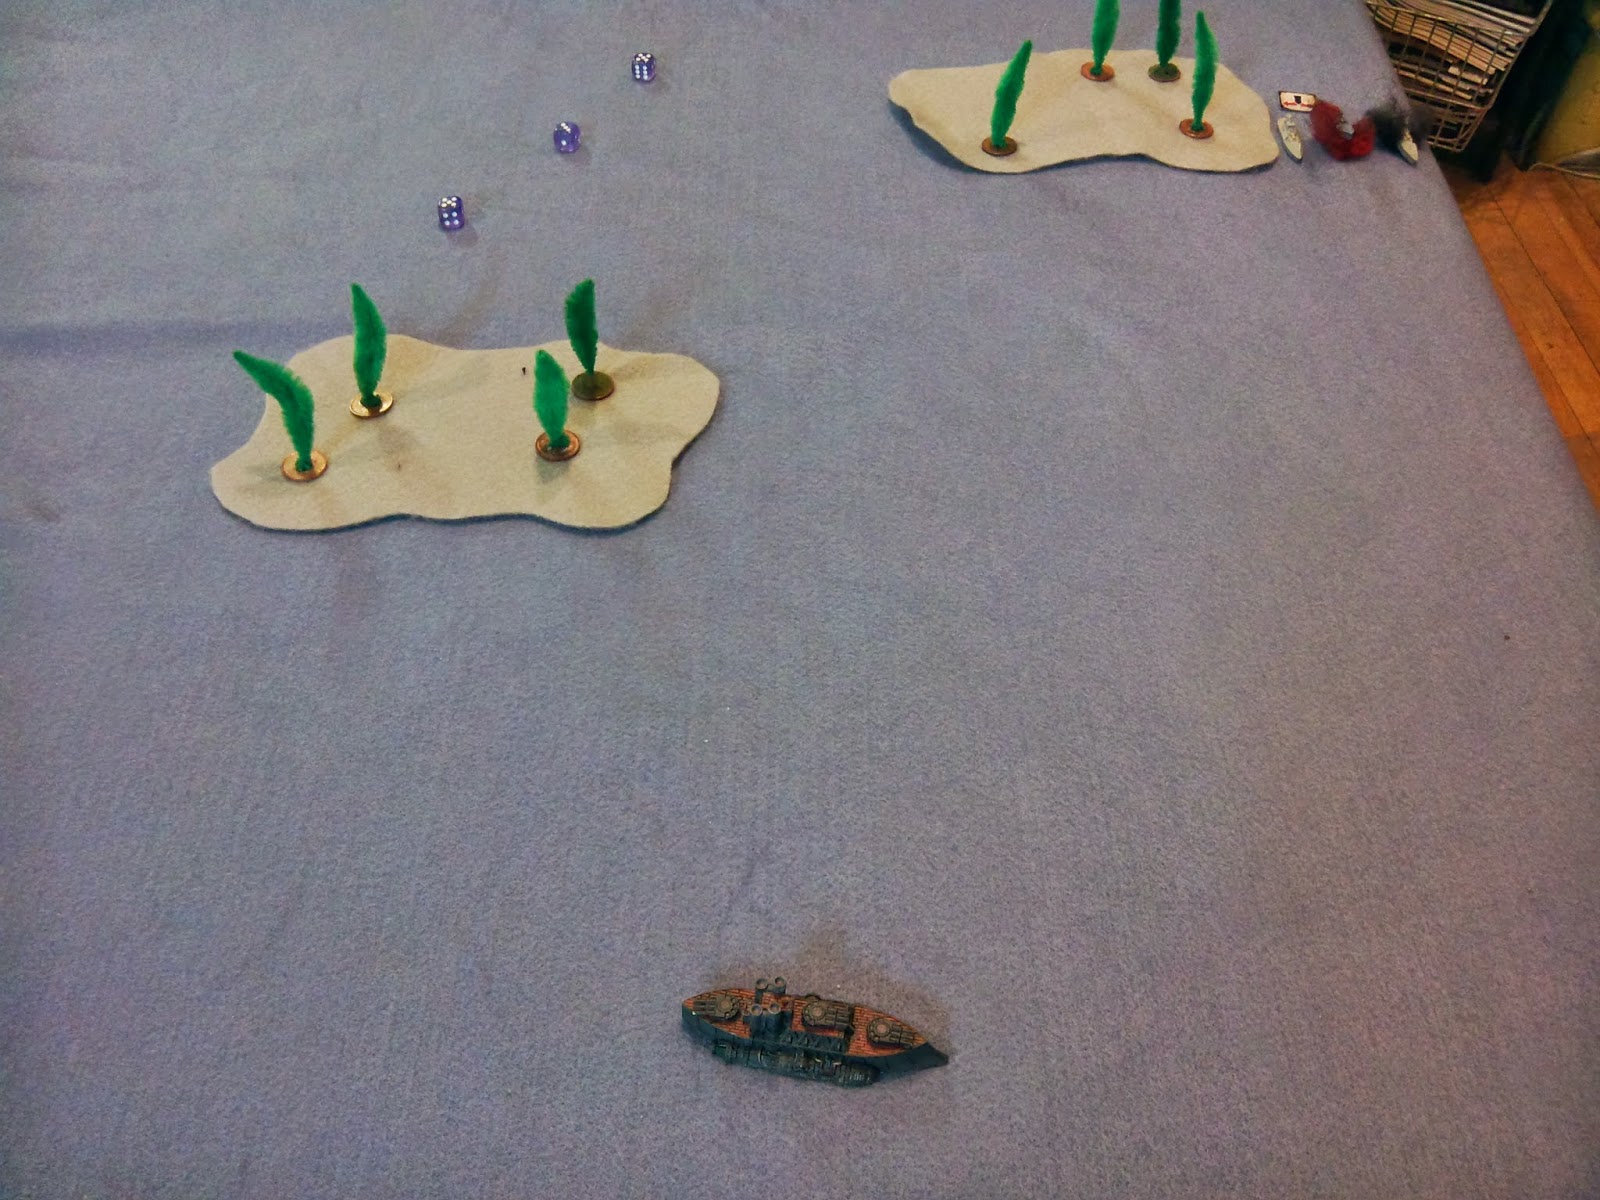
Our battle zone consisted of 4 Massive islands, 2 on the south edge on
opposite corners, one in the North-East corner and the last was a little
off-center in the middle of the table.
The British won Strategic Advantage and the Prussians the
Operational Advantage. British deployed
their forces on the North table edge, the Prussians the South edge.
Neither force had any Advance, Flank or Reserve Forces. As we had Operational Advantage, the
Prussians made the British start deployment.
Deployment of the
Kingdom of Britannia (KoB)
(West to East)
(West to East)
- 1 X Hood Battle Cruiser
- 1 X Hood Battle Cruiser
- 4 X Attacker Frigates
- 1 X Ruler Battleship with Guardian Generator
- 2 X Fighter SAS (5 Tokens each)
- 1 X Ruler Battleship with Guardian Generator (Commodore’s Flag Ship)
- 2 Squadrons of 4 X Attack Frigates, 1 Squadron behind the other
Deployment of the
Prussian Empire (PE)
(West to East)
(West to East)
- 3 X Saxony Corvettes
- 1 X Konigsberg Battle Cruisers
- 3 X Uhlan Cruisers
- 1 Fighter SAS (5 Tokens)
- 1 Kaiser Karl Heavy Battleship
- 1 X Elbe Fleet Carrier with 2 Dive Bomber Squadrons (1 with 5 tokens, 1 with 4 tokens) (Commodore’s Flag Ship)
- 1 Fighter SAS (5 Tokens)
- 4 X Arminius Frigates & 4 Saxony Corvettes (interlaced)

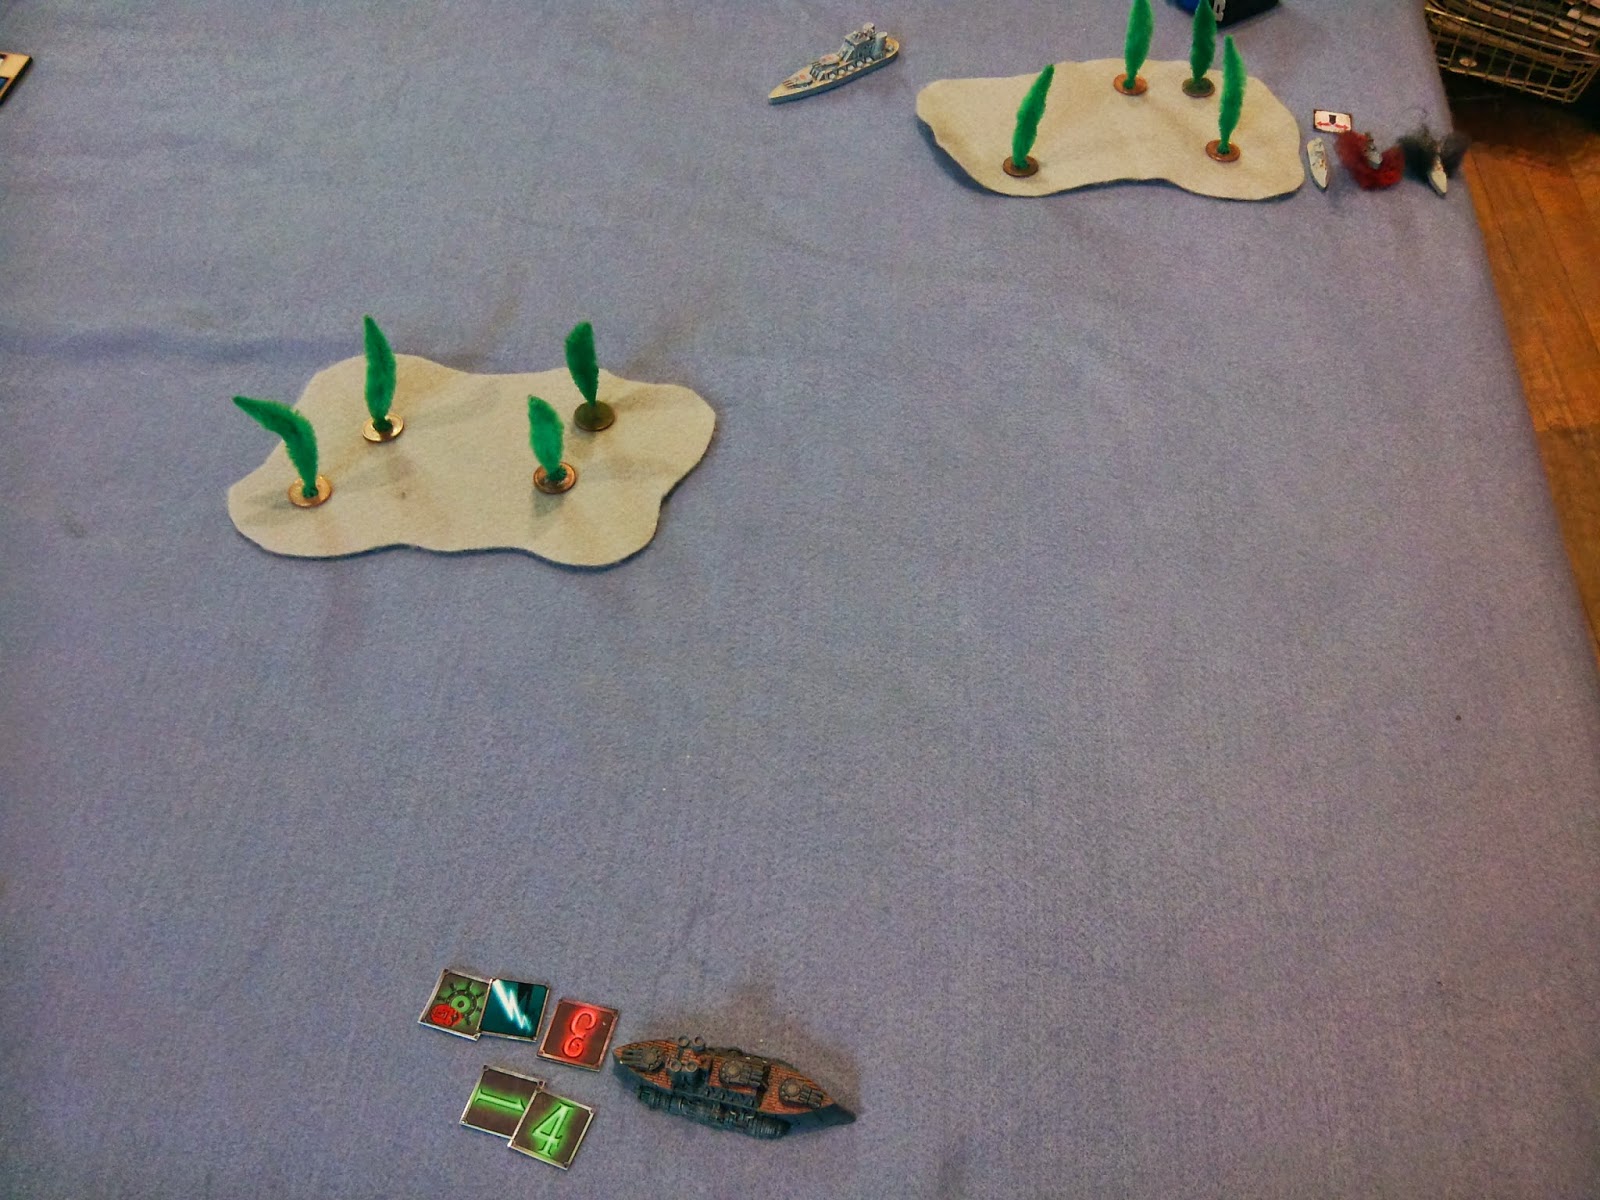
Start of Game
Both players drew their Mission Cards but the Prussians drew
“Commodore’s Discretion”, allowing the Prussians to choose whatever mission
they wanted. Bwa-Ha-Haaaa!!!
Both players then go through their decks and selected their
6 TAC cards. Then, we were ready to
play!
Turn 1
In the TAC phase, BOTH players played “Lost Orders”,
allowing each player to randomly draw a card from the other player’s TAC hand. The KOB lost “Radio Intercept” (Grants +d3 to
an Initiative roll) and the Prussians lost “Devastating Barrage” (One attack from
a Squadron gains Devastating Munitions Type.)
As a result of this double back-stabbing – both players ended up with 20
VPs!
Prussians won the Initiative.
To stall for time, the smaller Prussian Dive Bomber SAS
moved forward. A British Battleship moved
forward and turned its great turrets towards the Prussian Carrier, but failed
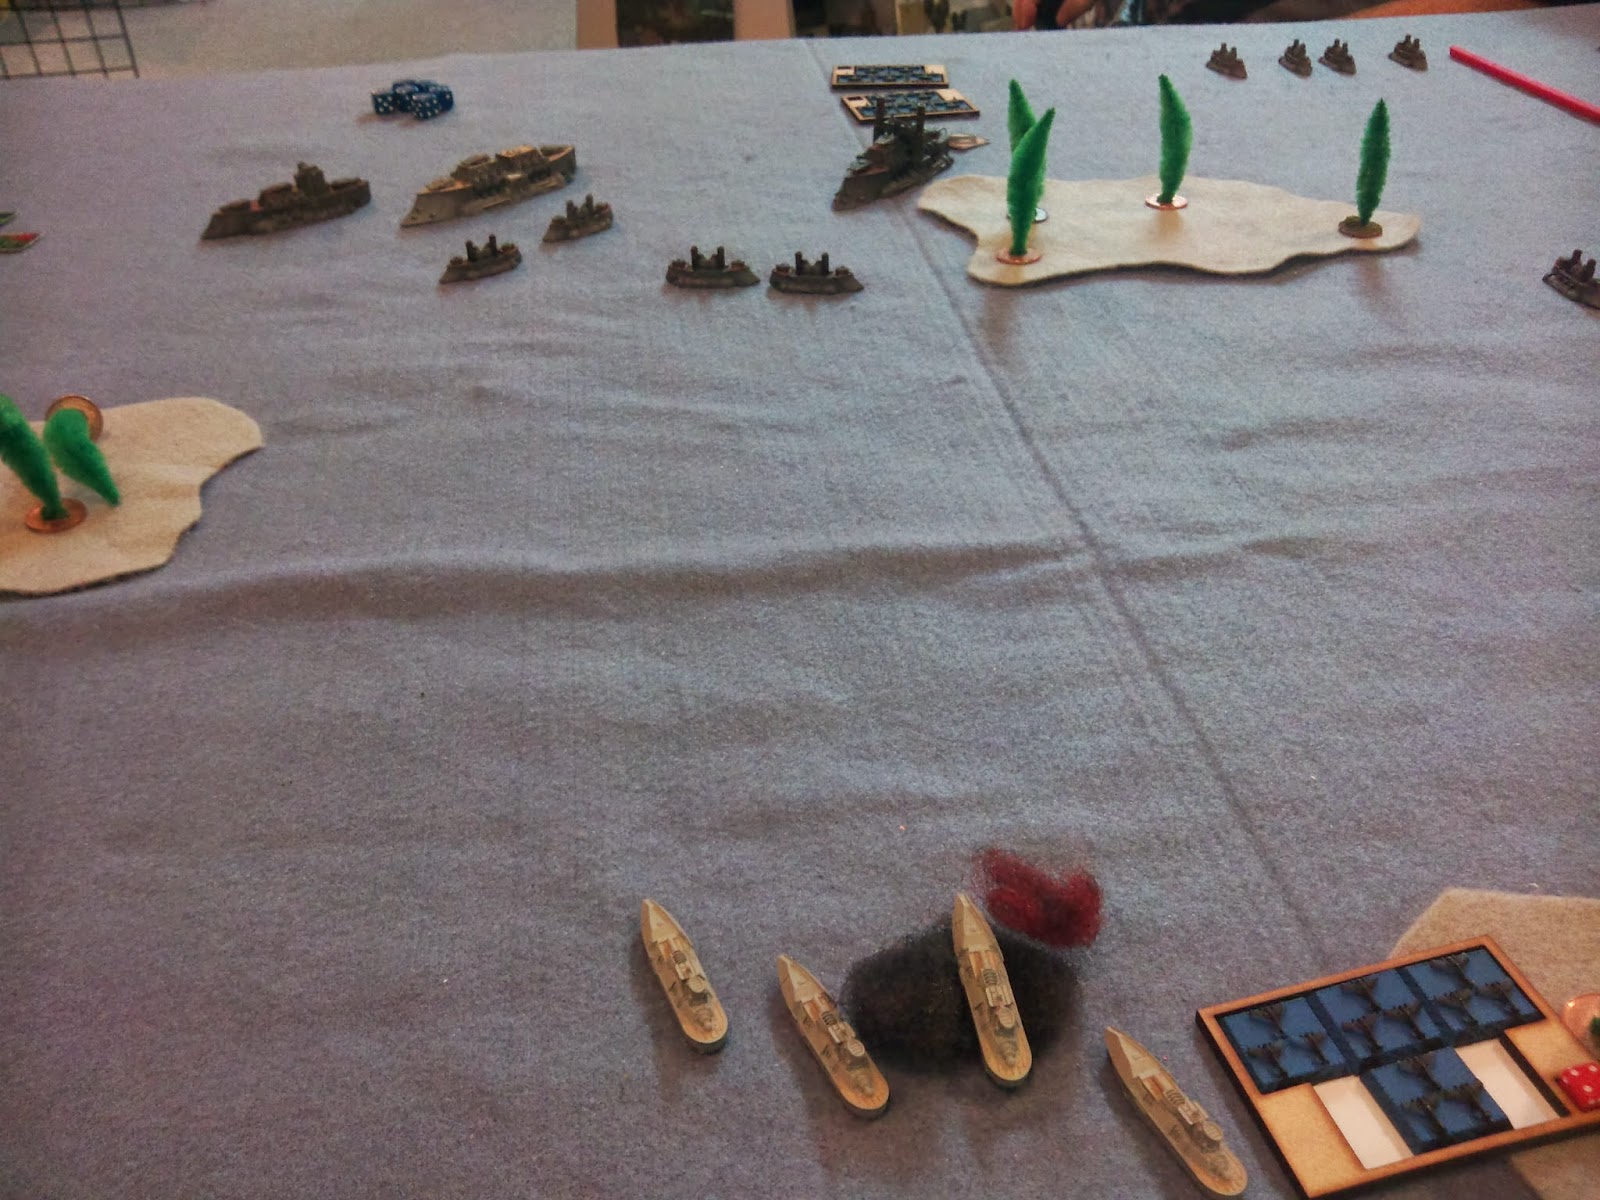
to damage it. The Prussian Corvettes on
the left moved forward, trying to stay in the shelter of the westernmost
island. The British Battle Cruiser
proved they didn’t do a good enough job; moved forward and blasted 2 Corvettes
into splinters while rear turret failed to damage one of the Prussian
Cruisers. First Blood to the
Britannians!
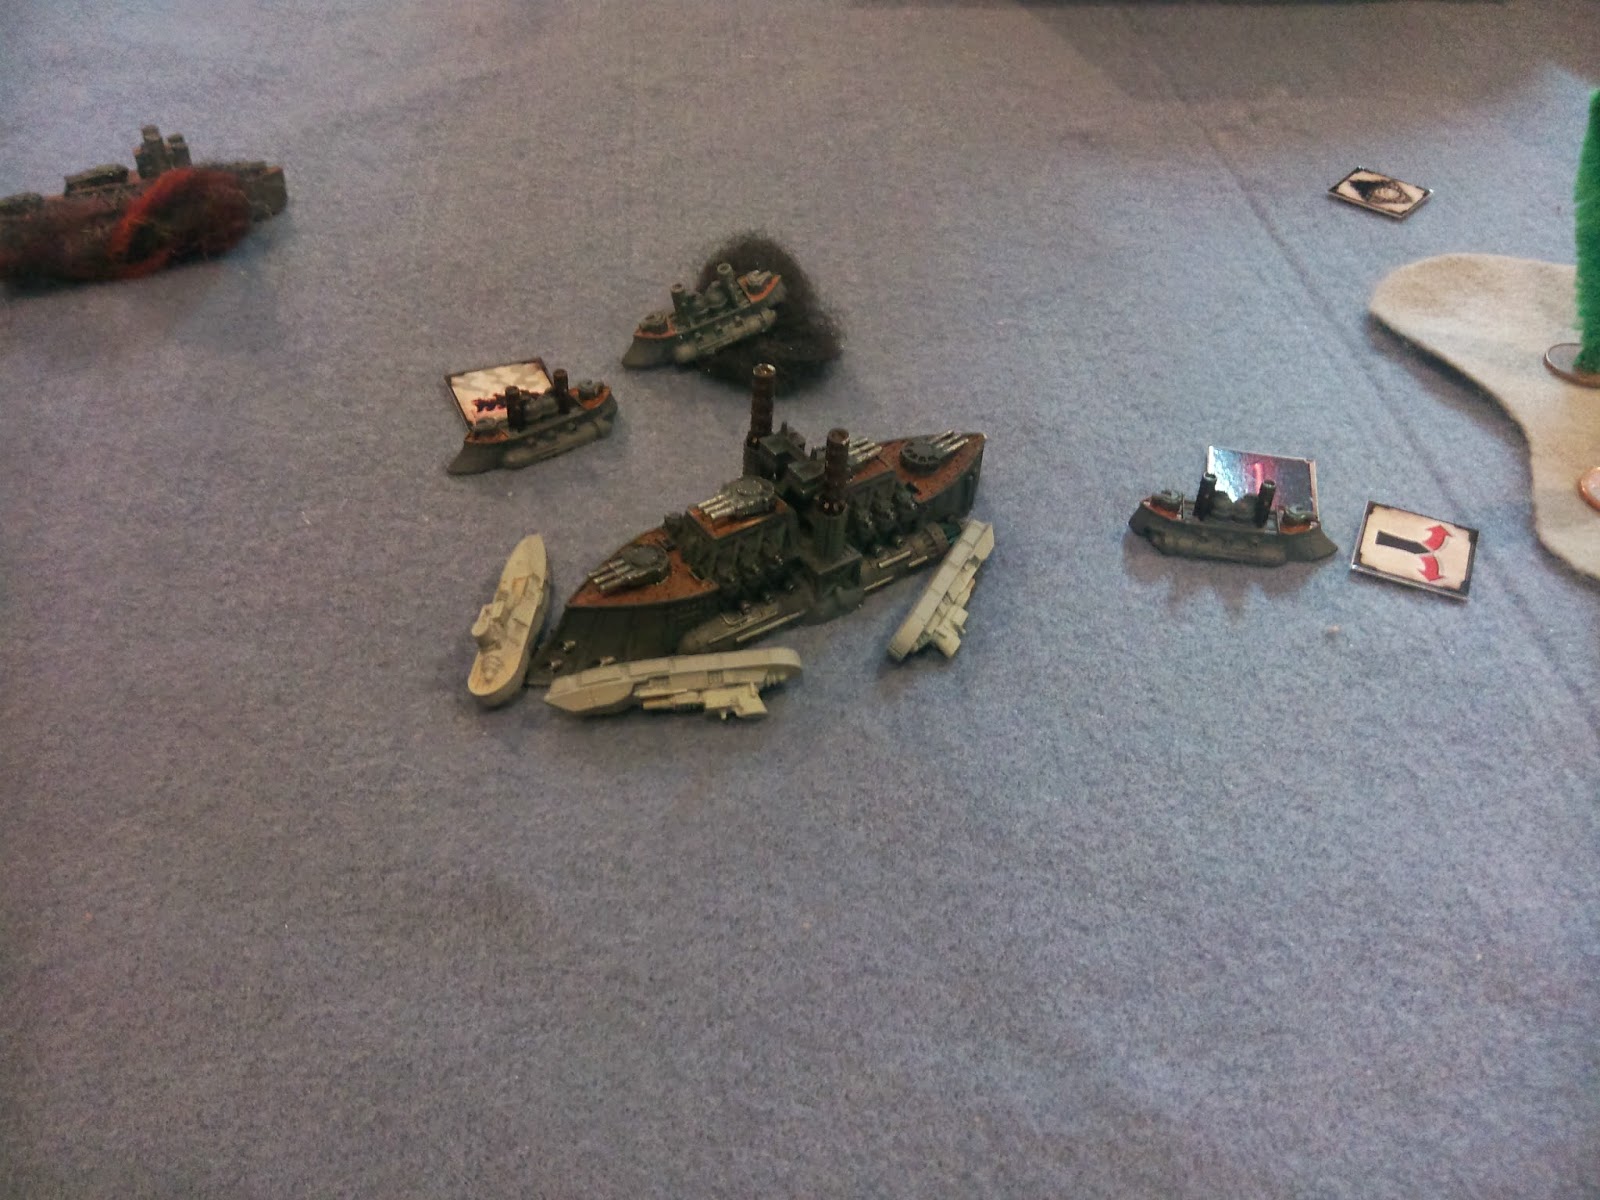
Prussian Corvettes Take Fire
Breaking tradition, the Prussians activated the Battle
Cruiser! The Tesla Generator granted the
ship an extra 1 inch movement. Moving at
full speed, the Battle Cruiser managed to peek around the island and draw
Line-of-Sight to the British Battle Cruiser between the islands. While the turrets failed to damage the British
ship, the broadsides managed an HP of damage and the Speerschleuder got a Crit
(Nav Lock) as well as adding a Lightning Rod and zapping away an AP! Who needs turrets? More importantly, this was the first time
ever that the Prussian Battle Cruiser caused any damage!!! WOO-Hoo!
Laughingly, my opponent decided to designate this Battle Cruiser as the HMS Hood.
The other he designated as HMS
Anson.
Prussian Battle Cruiser FINALLY does Damage!
The British Commodore’s Battleship moved forward from behind
the island, though only enough to expose the two front turrets. The Battleship fired its torpedoes at the
Prussian Cruisers, but all were stopped by the concussion charges. The Turrets fired at but failed to damage the
Prussian Battleship.
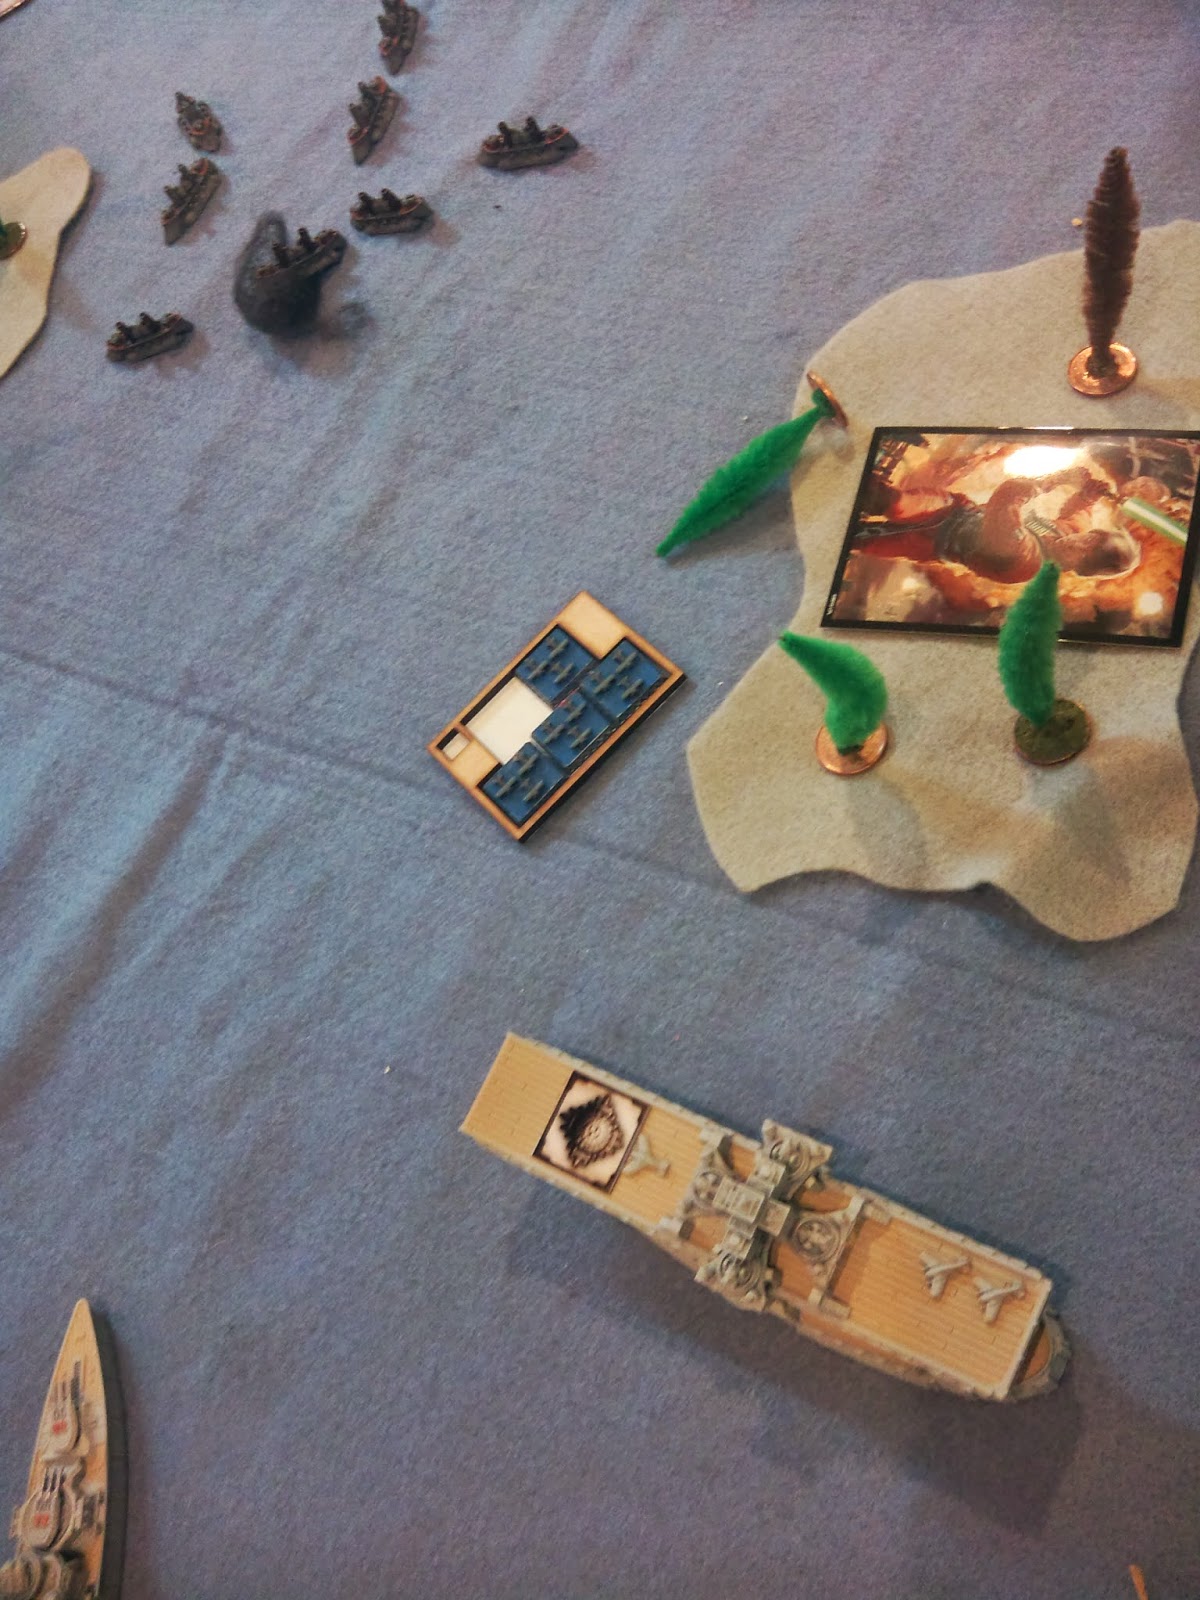
Prussian Dive Bombers moved to the left towards the central
island. British Frigates in the east
moved forward from behind the island.
Prussian Corvettes moved forward on the west of their island, but their
guns failed to damage anything. The central
set of the British Frigates moved forward from behind the Battleships and fired
at the Prussian Corvettes and sank 1. The
Corvettes passed their Disorder Test.
British Frigates Sink a Corvette
The Prussian Carrier started its activation by re-purposing
a squadron of Fighters as Dive Bombers.
The great ship moved forward and tried to draw Line-of-Sight to the
Commodore’s Battleship, but couldn’t get the line it needed. Suddenly, realized it had clear Line-of-Sight
with its Teslas at the other Battleship and a Battlecruiser. Making a choice, the Carrier fired its
weapons at the Battle Cruiser (easier to damage). As man-made lightning arched towards the
hapless ship, the Battle Cruiser suffered a Crit (Guns Damaged) as well as adding
a Lightning Rod and zapping away an extra AP.
British Fighters moved forward towards the islands on the
west, while more Prussian Dive Bombers also made their way westward. Another flight of British Fighters flew
straight ahead, keeping to the Starboard side of the Prussian Carrier. Finally, the Prussian Fighters took up
station between the two Dive Bomber squadrons on the west, to provide a limited
escort. As the last British activation
of the turn, the last squadron of Frigates moved forward on the east of the table,
taking station behind the 1st squadron.
In their final activation, the Prussian Battleship moved
forward and turned to port, firing all turrets and broadsides at the British
Frigates. In a series of dismal rolls,
only 1 Frigate was sunk, and that by the Broadsides. The Battleship fired its Speerschleuder at
the Battle Cruiser. With the Lightning
Rod boosting the damage, the Anson
suffered a Crit (Generators offline) as well as putting a 2nd
Lightning Rod on the Anson and zapping away a 2nd AP! The Frigates passed their Disorder Test.
Kaiser Karl shoots at 4 Frigates . . Sinks 1!
End Phase:
The British repaired the Nav Lock on HMS Hood but failed to remove the Lightning Rod. On HMS Anson, they repaired the Generator and removed 1 Lightning Rod, but failed to repair the Gun Damage and remove a second Lightning Rod. That could prove troublesome later…
The British repaired the Nav Lock on HMS Hood but failed to remove the Lightning Rod. On HMS Anson, they repaired the Generator and removed 1 Lightning Rod, but failed to repair the Gun Damage and remove a second Lightning Rod. That could prove troublesome later…
On the Prussian side, the Disordered Corvette on the west
side of the map lost an AP and rallied.
VPs:
KoB: 80
PE: 50
KoB: 80
PE: 50

End of Turn 1!
Turn 2
This time, neither side played a TAC in the TAC phase. (I guess it was just too embarrassing after
last turn!)
Prussians won the Initiative!
Prussians started the turn activating the Cruiser Squadron.
(Really had to – otherwise the Battle Cruiser would have rammed their own
ships!) As the Cruisers raced through the
gap between the islands, they dropped mines to plug the gap. Then, forming a rough Line-of-Battle, the
Prussians turned their turrets and broadsides towards HMS Hood. If a flurry of
gunfire, the Hood was sunk with a triple
Crit!

Prussian Cruisers Sink the HMS Hood!
The British Battleship rushed forward to avenge the Hood, and turned to starboard slightly
to fire all weapons at the Prussian Cruisers.
All 3 Prussian Cruisers were hit in the volley. One Cruiser suffered minor damage, but the
other two Cruisers suffered Double-Crits!
One Cruiser suffered a Raging Fire (1) and Nav lock, the other Cruiser suffered
Nav Lock and Generators Offline.
OUCH!!!
The Prussian Battleship did a hard turn to port (~90
degrees) and sank the other Battle Cruiser HMS
Anson with a crit.

SMS Kaiser Karl sinks HMS Anson!
Elsewhere, British Fighters attacked the under-sized Dive
Bomber squadron and shot down all 4 tokens for the loss of 1. Prussian Fighters attacked the other British
Fighter SAS, shot down 4 tokens for the loss of 1. The surviving British token bravely attacked
a full squadron of Dive Bombers and died gallantly, not having shot down a
single Dive Bomber.
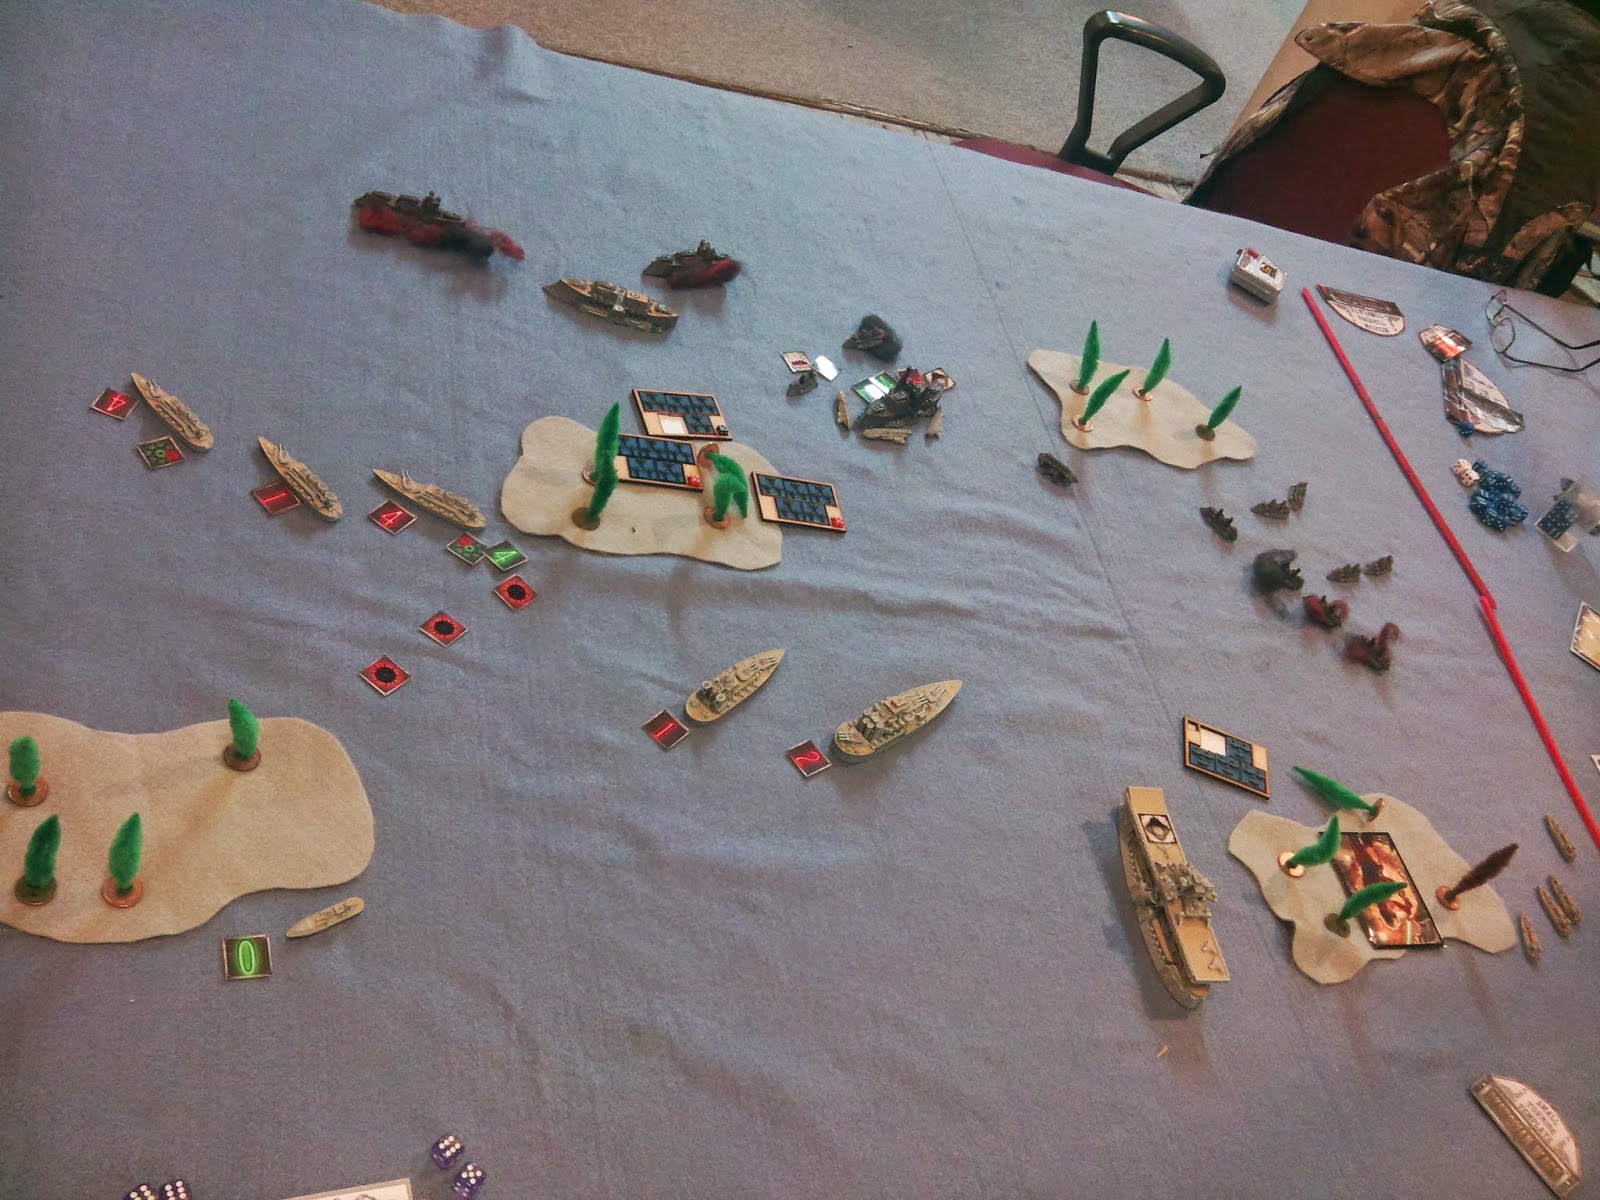
The Prussian Corvettes in the east charged forward at full
speed. Guns sank 1 British Frigate and
the Corvettes managed to board and leave a 2nd Frigate a derelict. The Surviving British Frigate failed its
Disorder Test.

Corvettes Sink 1, Derelict 1 and Disroder the 3rd!
The British Commodore’s Battleship moved forward at maximum
speed and sank all 3 Corvettes in a series of collisions that did not damage
the Battleship. OUCH!!! 60 VPs and he hadn’t fired a shot yet! Firing all weapons at the Prussian
Battleship, the British were shocked when the Prussian shields stopped 7 hits,
reducing a potential crit to just 1 HP!
"I said GET OUT OF THE WAY!!!"
The Prussian Battle Cruiser moved forward at full speed,
pulling up beside the Prussian Battleship.
Firing everything, the Prussian managed to crit the Commodore’s
Battleship (Hard Pounding – lost an additional 2AP). The lone Disordered British Frigate turned
and fired on the Prussian Battle Cruiser.
Though the guns did nothing, the torpedoes managed to do an HP of damage
to the Battle Cruiser.
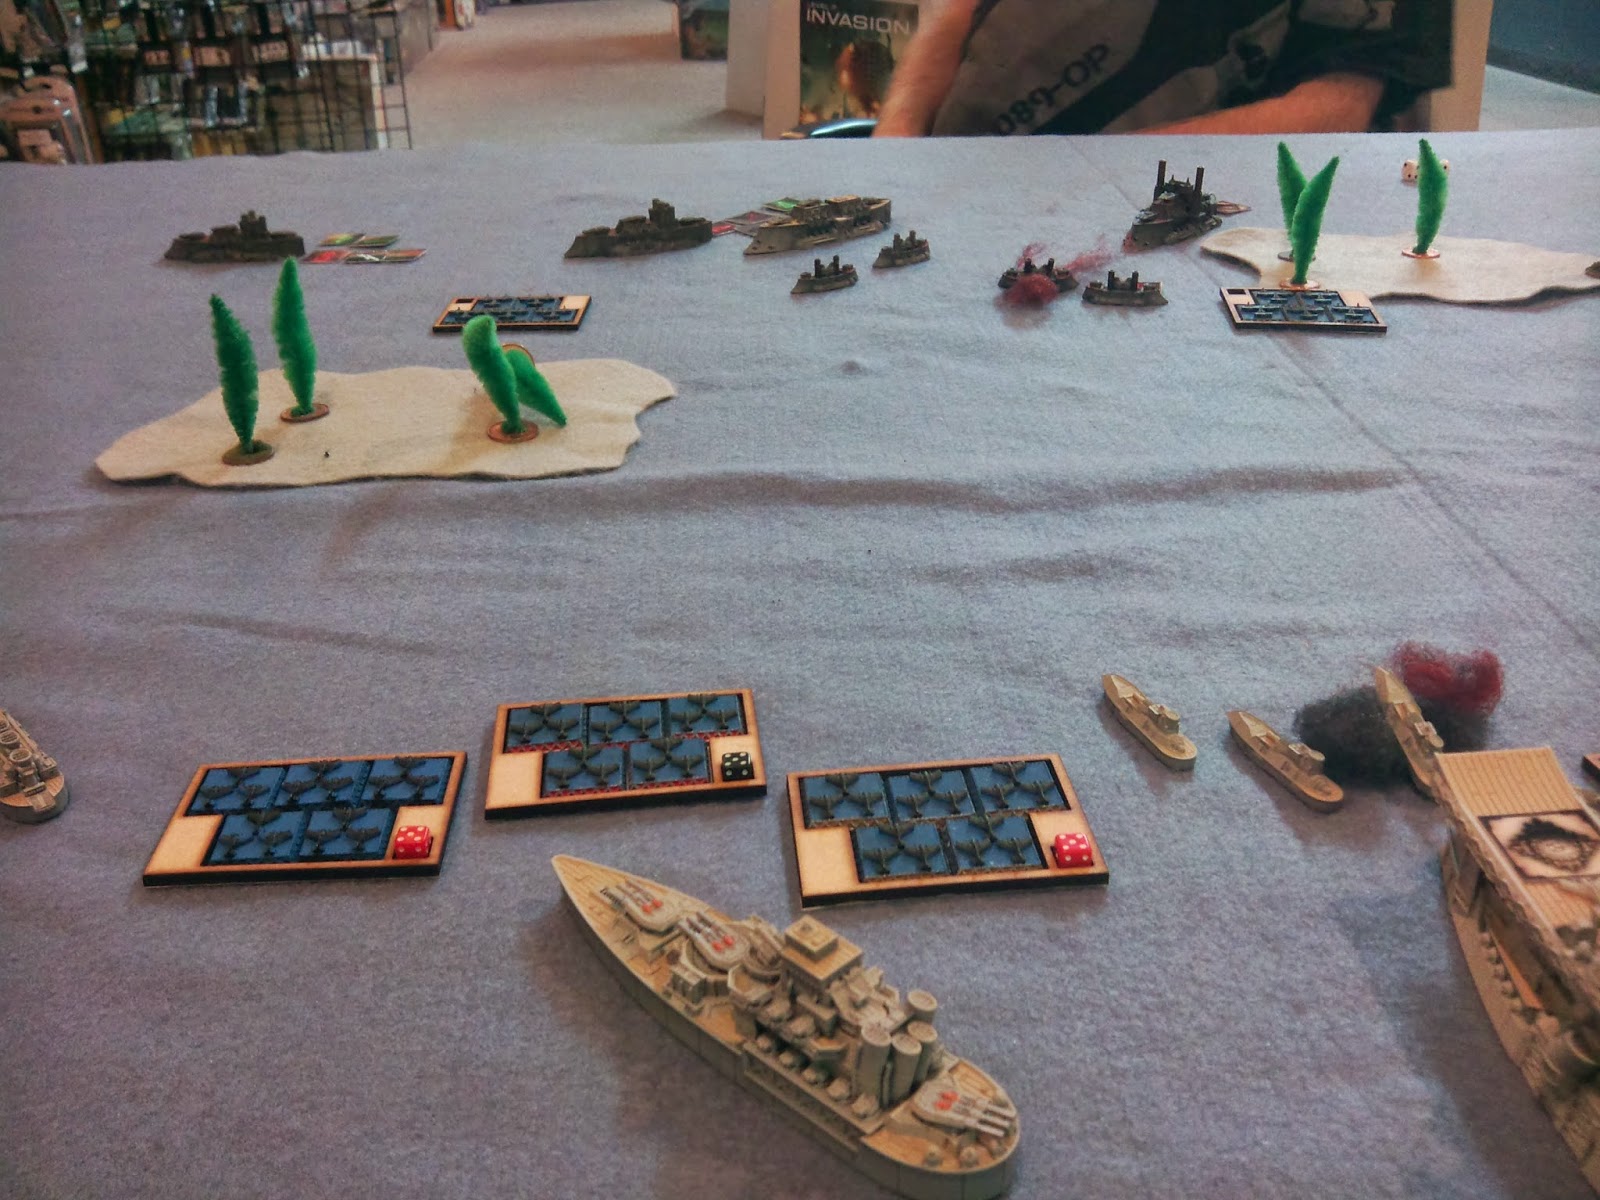
Prussian Dive Bombers moved forward, over the central
island, within easy attack range of both British Battleships next turn. British Frigates in the far east table side did
a U-Turn to starboard to form a Line-of-Battle to fire on the Prussian
Battleship. CC & Shields stopped the
torpedo attack and shields reduced the guns from a potential crit to another
lost HP to the Prussian Battleship.
The second Prussian Dive Bomber SAS moved forward to get in
range of both British Battleships for next turn. The last British activation was to move the
second Frigate squadron in the east to starboard, but there was no shots fired.
The Prussian Carrier moved forward. The Tesla & Speerschleuder failed to
damage the Commodore’s Battleship and AA failed to damage the Fighter SAS, but
were still able to sink a Frigate. The
Frigate Squadron passed their Disorder test.
Lots of shots, but only 1 Frigate Sunk!
Prussian Frigates moved around to the right side of the
eastern island and managed to sink 2 more Frigates. The Survivor passed its Disorder Test. Finally, the sole surviving Corvette in the
west zipped around to hide behind an island, into safety. (I hoped!)
End Phase
For the Prussians, they managed to repair the Generator on 1
Cruiser, put out the fire on the second Cruiser, but both failed to repair the
Nav Locks on both!
For the British, their damaged Frigate rolled a loss of 2
HP/AP during the Rallying Phase. Sadly
for the British, that removed the only AP and the last HP of the Frigate,
sinking it…
At that point, my opponent conceded the loss.
End of Turn 2 & Game
VPs:
KoB 140 Mission: “Free To Engage”: 70% of the enemy’s fleet – Incomplete
PE: 510 Mission: “Break Their Backs”: 50% of the Enemy Fleet & All Mediums (Both Complete)
KoB 140 Mission: “Free To Engage”: 70% of the enemy’s fleet – Incomplete
PE: 510 Mission: “Break Their Backs”: 50% of the Enemy Fleet & All Mediums (Both Complete)
==================================================
TACs Not Played:
KoB:
Battlefield Repair (D3+1 HPs
repaired in a Squadron) – 60 VP
Devastating Barrage (1 Attack from the Squadron gains Devastating Munitions Type (initial 6’s count as 2 hits and roll 2 Dice instead of 1)) – 40 VP
Stoke the Engines (Increase the movement of the squadron by D3+1”) – 40 VP
Espionage (Cancels the effects of another TAC in play) – 40VP
Devastating Barrage (1 Attack from the Squadron gains Devastating Munitions Type (initial 6’s count as 2 hits and roll 2 Dice instead of 1)) – 40 VP
Stoke the Engines (Increase the movement of the squadron by D3+1”) – 40 VP
Espionage (Cancels the effects of another TAC in play) – 40VP
PE:
Prepare My Personal Transport (If Commodore’s ship is sunk – place Commodore on any friendly Capital Class Ship within 16” (Prevents Disorder Checks for the entire fleet if ship is lost)) – 60VP
Battlefield Repair (D3+1 HPs repaired in a Squadron) – 60 VP
Espionage (Cancels the effects of another TAC in play) – 40VP
Lucky or Unlucky Shot! (Re-roll one or both dice after a roll is made on the Critical Hit table) – 40VP
==================================================
Well, the Prussians certainly got their revenge this time!
It was a good battle to demonstrate both the strengths and
the weaknesses of Battle Cruisers. While
the Prussian Battle Cruiser managed to do a lot of damage this time, the
British Battle Cruisers showed how vulnerable they were to return fire. Both HMS Hood and HMS Anson managed to do quite a bit before they took damage, then
folded quickly. As the previous battles
with my fleet showed, the Prussian’s Battle Cruiser were just as
vulnerable. Battle Cruisers are very
much a Glass Cannon. If they get the
chance, their attacks are impressive. If
they don’t, they are a single ship and easier to disable and destroy than most
full sized squadrons of other Mediums.
The Prussians were lucky this time – the British were not. If you take them, PROTECT your Battle
Cruisers!
I was much more aggressive with my Elbe Fleet Carrier this
time, too. While I did have 3 squadrons
of Dive Bombers out, none of them did anything (except a single Fighter token). They were in good position for Turn 3, but
the battle was won by then. What made
the Carrier useful was its weapons; Broadsides, 4 Speerschleuders and a
forward-facing Tesla Coil. The Elbe has
almost as much firepower as a Battleship.
Though risky to use it as such, the Prussian Fleet Carrier certainly was
tough enough to do it.
The Kaiser Karl Heavy Battleship was, once more, a very
tough nut to crack. Though it didn’t put
out that much damage (it missed most of the Frigates and only succeeded in
sinking a crippled Battle Cruiser), it was an effective Fire-Magnet (got to
love that Rugged Construction (2) AND Shields(2))! Definitely something to keep in my inventory!
The Uhlan Cruisers did a good job this game too. Good Fire-power and dropping the mines to
block the gap to prevent someone from flanking me around the island. The mines weren’t needed in the end, but it
helped give me some peace of mind. The
fact that two Cruisers took double-crits and were still able to float, denying
important victory points to the British shows the advantage of squadrons over
single ships. He could have tried to
blow apart just 1 Cruiser (and would have succeeded), but I would still have 2
ships and an activation. Sinking his single
Battle Cruiser(s) cost him both VPs and an activation he couldn’t afford to
give up – not even taking my mission (destroy all Mediums) into consideration.
On the British side, this was a tough fleet and the first
time this configuration had been beaten by me.
Two Battleships is tough for anyone to face. I think I was just lucky my opponent had such
bad luck this time and that I drew the “Right” mission to face it. The British drawing the 70% mission objective
meant he had to destroy or capture either the Carrier or the Battleship – both tough
nuts to crack. He simply ran out of
time. If he hadn’t lost that last
frigate trying to Rally in the end phase, I would have been under 50% and he
might have taken the chance to attack with both his Battleships in a
coordinated fashion. He might have been
able to pull out a draw.
Someone asked that I post the reasons why I chose the TAC
cards I selected in a battle. So, here’s
my cards and the logic behind them:
Radio Intercept: It’s a fun card to play. At only 20VP, it’s a good “First Turn” card
to play. You might get lucky and draw a
very important card from your opponent’s hand.
If he stops you, it’s a free 20VPs (or more).
Devastating Barrage: A good attack boost for only 40VP. I usually don’t expect to get this card to
succeed as most opponents are scared to let it go off. That means they have to block it (giving me a
“free” 40VP or more) or let the potential damage through, allowing a better
chance of at least a Crit.
Prepare My Personal
Transport: I’ve lost battles when
most my fleet failed their Disorder Test after the Commodore’s ship is
sunk. This is a “Hope I don’t need it
but nice to have just in case” card.
With my Carrier (already a high-value and Prime Target) being the
Commodore’s ship, I expected it to come under a lot of fire.
Battlefield Repair: Once again, it’s a very expensive card
with very important results that most opponents won’t allow to be played. I either try to wait until I’ve drawn out my
opponent’s “Espionage” card and most of their hand, or I play it hoping to get
some free VPs.
Espionage: This is one of those “Must Include” cards
that will appear in most player’s hands (usually only the brave go home without
it). Usually it’s used to “save” some
VPs (played against a 60VP cards) or just prevent an effect from another 40VP card. Most people won’t waste the card on a 20VP
card.
Lucky or Unlucky
Shot!: This is just in case I suffer
a Magazine Explosion or other critical effect on one of my critical ships. If it’s a ship that’s about to be sunk
anyway, there’s little point in using this card. The other (Primary) use is as a Cancelling
card – preventing other cards from working.
Hopefully, this helps those who want to know my mindset when
I choose my cards. I must warn you that
I’ll “shuffle” my choices to try something different…
Anyway, I hope you enjoyed the report! See you next time!


