First of all – Sorry!
I’m in the process of repainting my Russian Models and it shows in the
photos! :-}
Secondly, I’m not writing a story for this one. It’s hard to justify 2 “Allies” fighting each
other and there’s a flaw in the mission that made it less fair than it should
have been. I’m posting this as an
example of a flawed mission rather than a fair game.
Graham and I decided to go for 1000 points, but in spite of
the Russians and British being allies, we decided to fight it out anyway! I made 3 lists and made Graham roll a D3 to
pick which fleet he got to fight against.
He actually rolled against the fleet I wanted to do least of all. I was worried I wouldn’t have enough
activations and Britannia would win easily!
I had made up the table with the intention of testing trying
to advance through or defend a gap.
However, with 1000pts each, I thought we needed a 6’ table instead of 4’. This left a gap over 4’ which I thought was
too large. So I added another island in
the Gap – creating 2 smaller gaps.
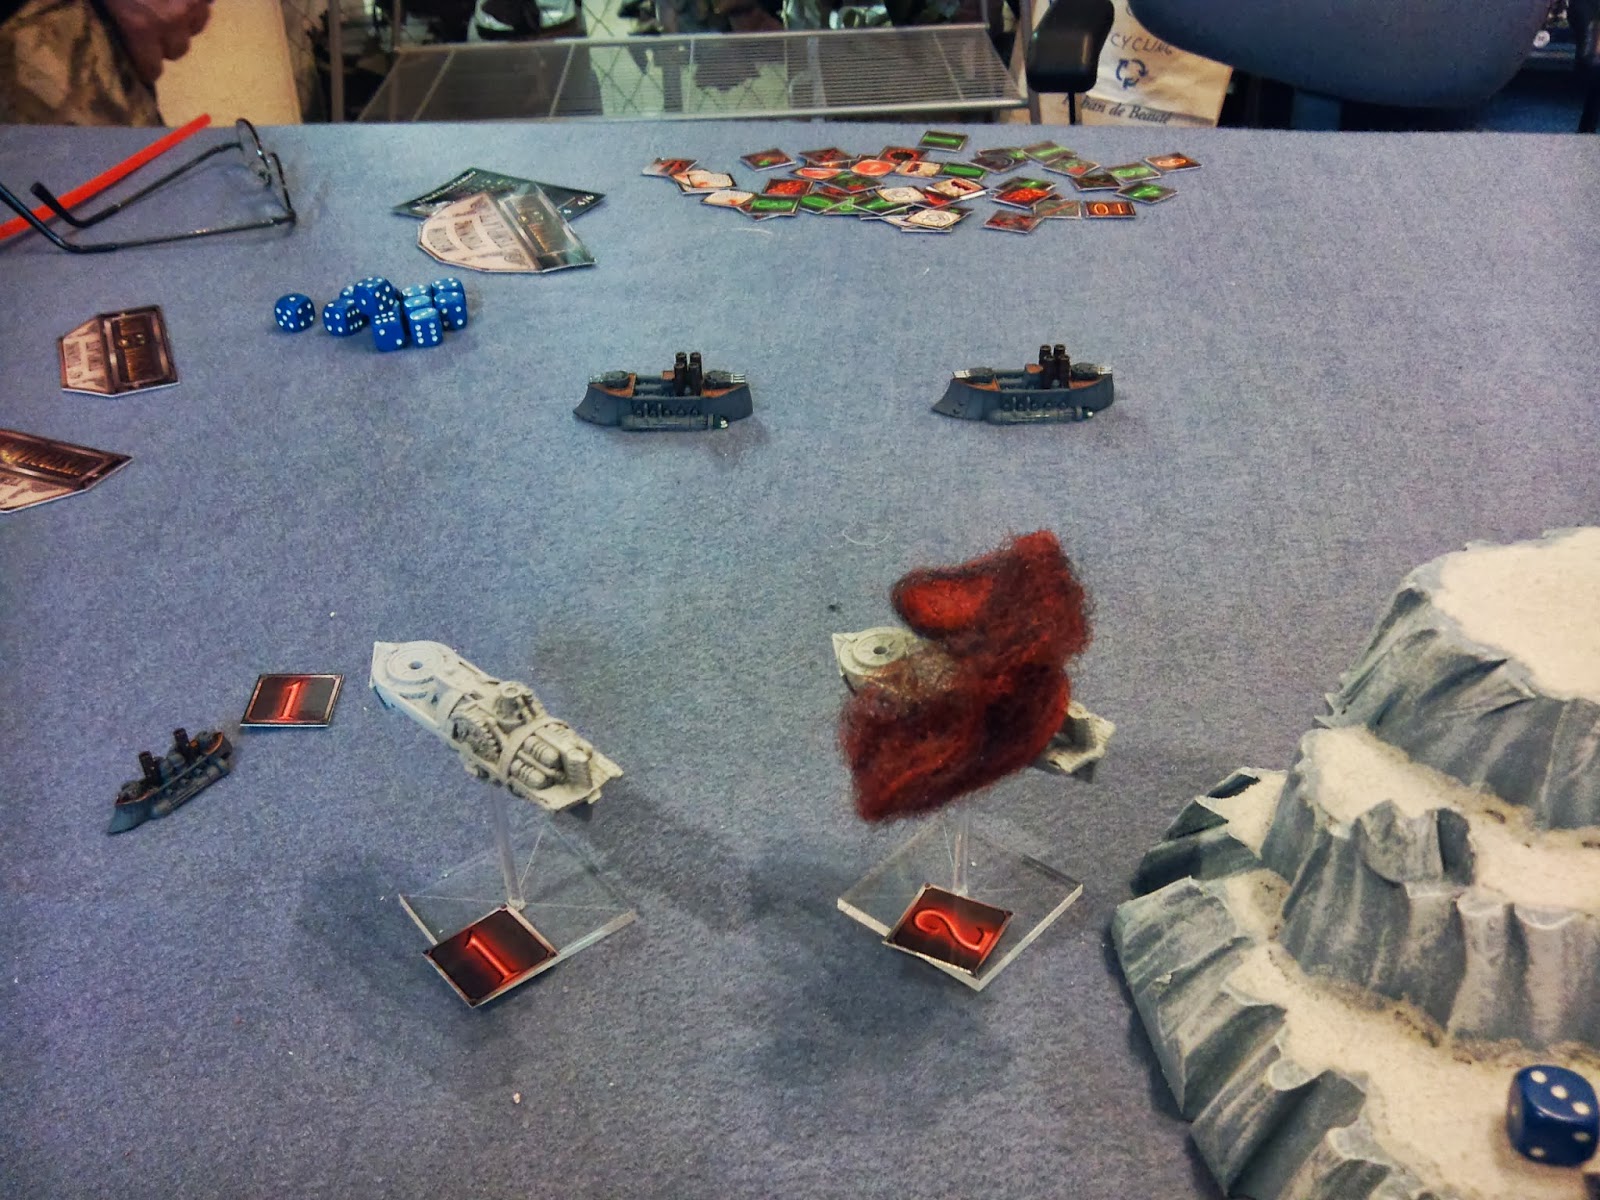
Russian Coalition deployment (Top to Bottom):

- Fighters
- 3 Novgorod Frigates
- 2 Saransk Medium Skyships (Obscured)
- Moskva Dreadnought
- Reinforced Cruiser Squadron (2 Suvorov Cruisers & 1 Tambov Gunship)
- 4 Novgorod Frigates
- Tunguska Large Skyship (Obscured)
- Fighters
- 3 Novgorod Frigates
Kingdom of Britannia deployment (Top to Bottom)

- 4 Attacker Frigates
- Fighters
- Majesty Dreadnought
- 2 Tribal Cruisers (2 Turrets each)
- Ruler Battleship (4 Turrets)
- Fighters
- Eagle Large War Rotor
- 4 Attacker Frigates
- Avenger Fleet Carrier
After deployment, Britannia rolled the default 70% of the
fleet points captured or destroyed.
Russians rolled “Destroy the Core Forces” (everything except the War
Rotor), so they decided to do the default 70% as well.

Turn 1:
Britannia won
initiative!
On the right, British Frigates
raced for the gap and tried to take their shots against the Russian Cruisers,
but found they were Out-Of-Range.
Russian Frigates showed their bravery by hiding behind the peninsula. The British Carrier launched a flight of Dive
Bombers, then moved and turned to the right.
Russian Fighters moved maximum speed and ended their flight over the tip
of the peninsula on the right. Sensing a
quick kill, British fighters on the right went max speed and attacked the
Russian Fighters. When the smoke
cleared, both sides had lost 2 tokens AND 2 EXTRA fuel – leaving both squadrons
with 2 fuel!

Russian Frigates start to move
towards the gap on the left. British
Frigates moved to intercept but failed to damage a Frigate. Concerned that the Russian Frigates were
outnumbered, the Russian Medium Sky ships drop from the clouds, moved forward
and left, fired their guns and sank 1 British Frigate! First Blood to the Russians!

British Cruisers turn to the left,
presenting their broadsides to the Russian Frigates through the gap on the
Right, but found they were Out-Of-Range.
Russian Fighters on the left move at ½ speed towards the Medium Skyships
to prepare to cover their movements. The
British Battleship turned and fired their turrets and broadsides at the Russian
Cruisers through the right-side gap, but fail to damage anything. The Russian Cruisers failed their Sturginium
Boost roll, so only moved forward 6” – leaving them Out-Of-Range to the British
Battleship!

The British War Rotor climbed to
the Obscured level and moved forward.
The Russian Large Skyship also stayed Obscured and moved forward maximum
speed. British Frigates on the left gap
moved forward at about ½ speed, holding their fire. Russian Frigates in the center move forward,
hiding between the Cruisers. The British
Dreadnought moved forward, turning to the right, but stopped early to prevent
ramming one of their own cruisers! The
forward turrets fired at the Large Russian Skyship but failed to damage it. As the final activation, the Russian
Dreadnought passed its Sturginium Boost test and moved forward at maximum
speed, the successfully used the Mimic Generator to copy the Torpedo Breaker
(2) generator from the Gunship.
End of turn, the only casualty was
1 British Frigate (25 points)
(Sorry – forgot to take a photo!)
Turn 2:
Russians won the Initiative!
Russian Cruisers failed their
Sturginium Boost, moved forward their maximum 6” and fired all turrets on the
British Battleship, causing a Crit (Hard Pounding – 4AP left). British Fighters on the peninsula again
attacked the Russian Fighters, but this time all tokens were destroyed after
both squadrons ran out of fuel. Russian
Frigates on the right popped around the corner and split their fire – mortars
at 1 British Frigate, Guns at another.
Surprisingly, both British Frigates were sunk! The British were so shocked that the
survivors failed their Break Test!

The British Battleship turned to
aim their Torpedo Tubes at one of the Russian Cruisers, then fired, first
turrets, the torpedoes. The Russian
Cruiser lost its Ablative Armor to the turrets, but the torpedoes were only
able to remove a single Hull Point!
Russian Frigates in the middle move forward, between the Cruisers, and
fired guns and mortars on the British Battleship, causing another HP loss. The Broken Frigate squadron on the right
moved into formation and fired separately on the Russian Frigates, sinking
2! The Russians passed their Break Test.

Russian Medium Skyships advanced
on the left, fired on the British Frigates nearby, but failed to damage
them! Concerned with the pressure on his
Frigates, the British Cruisers continued their turn and fired their broadsides
and turrets at both Medium Russian Skyships, damaging 1.

Russian Frigates on the left
advanced on their British Counterparts, firing mortars and guns at separate targets. This time, 1 British Frigate was sunk and
another was damaged, and this time the British pass their Break Test.

The British Carrier launched a
Recon flight, turned their Torpedo Tubes towards the Russian Gunship but failed
to damage it. The Russian Dreadnought,
making a turn in narrow space, focused its 3 main hull-mounted turrets on the British
Battleship and caused another Crit (Systems Offline) on the hapless vessel.

Seeking revenge for their lost comrades,
British Frigates on the left turned and focused their turrets and torpedoes on
the Russian Frigates, sinking 2. The British
AA was unable to damage the Russian Skyships.

The surviving Russian Fighters
moved towards the Dreadnought and Skyship due to the threat of the British Dive
Bombers. British Fighters “bounced” the
Russians enroute, but the British lost 2 tokens plus an extra fuel (3 left) for
no damage to the Russian Fighters. The
last Russian Activation was the Large Skyship.
The Skyship moved forward, firing 2 turrets at the British Carrier, 1
turret and the Broadsides at the remaining British Frigates. When the smoke cleared, the remaining
Frigates were sunk and the Carrier suffered Crit (Weapons Damaged).

With no further Russian
Activations, the British finished their attacks without worry of
counter-attacks. The Dreadnought
advanced and turned its turrets onto both of the Medium Skyships, damaging both
with long range fire.

The British Dive bombers advanced
at ½ speed toward the gap on the right.
Finally, the British War Rotor dropped from obscured, moved and turned
broadsides to the Cruisers, dropped 2 mines, then sank the damaged Cruiser with
a crit. The survivors passed their Break
Test.

In the end phase, the British
successfully repaired all their outstanding damage.
British Losses: 252 PointsRussian Losses: 165 Points


Turn 3:
British won the Initiative. (British rolled a 3 vs the Russian
Snake-Eyes!)
British Cruisers activated first,
moving to the left and turning to expose all turrets towards the Russian Medium
Skyships, causing a Double-Crit on one – blowing it from the sky. The surviving Russian Skyship passed its
Break Test.
Sacrificing the Medium Skyship,
the Russians activated the Large Skyship, which advanced, firing weapons in all
directions. The British Skyship took a
Crit (Hard Pounding, 4AP left) and the Carrier took a Crit (Raging Fire – 4 AP
left), though the Battleship escaped further damage.
The British Battleship turned away
from the conflict in the right-side gap and turned its turrets on the Medium
Russian Skyship and managed to Crit it (Hard Pounding – 0 AP & 2 HP left)!
Russian Fighters attacked the
British War Rotor, but failed to damage it while the Fighters lost 2
tokens. The British capitalized on the
Russian mistake and activated the remaining Frigates on the left, turned and
sank the last Russian Frigate on the left, then boarded the Medium Skyship and
kept it as a Prize!
Russian Cruisers moved forward,
Crit the British Carrier (Hard Pounding – 1AP left), and damaged the Battleship
(3 HP left), while the AA failed to damage the British War Rotor. The British Dive Bombers moved at Maximum
Speed and attacked the Large Russian Skyship, but failed to damage it. The Russian Dreadnought advanced between the Cruisers
and inflicted a Double-Crit (Engine & Weapons Damage – 2HP left) on the
British War Rotor.
The British War Rotor attempted to
make a bombing run on the Russian Cruisers and Dreadnought, but didn’t have the
movement to overfly the 1st ship (only just made it so the front ½”
of the base rested on the 1st Cruiser). Sensing an opportunity, the Russian Frigates
from the Center Squadron came around the Dread and Cruisers to board and
capture the British War Rotor!
The British Dreadnought advanced,
turned its turrets and broadsides and removed the Ablative Armor and an extra
Hull Point on the closest Cruiser. The
last Russian Activation was to hide the last Frigate behind the Cruisers and
Dreadnaughts. With immunity, the British
Carrier moved forward and torpedoed the damaged cruiser, causing a Crit and
sinking it. This left just the Gunship from
the Reinforced Cruiser Squadron (which passed its Break Test). The British Fighters just flew forwards into
the Russian Deployment Zone, just to waste an activation, and the Recon Flight
just floated around.
In the End Phase, the British put
out the fire on the Carrier and all the prizes all drifted forward.
British Loses: 570


Russian Loses: 465
Turn 4:
British won the Initiative.
The British Dreadnought moved
forward and fired on the Russian Gunship.
Sadly the Broadsides failed to get through the Ablative Armor so the
Turrets had to do the job – causing a single hit Point. The Russian Gunship moved forward and turned,
fired at the British Battleship and caused another Crit (Hard Pounding – 2 AP
left).
The British Carrier realized they
were headed straight for the mines dropped by their own War Rotor. Not having enough room to turn and avoid the
mines, the Carrier declared “All Stop” and moved forward their minimum
move. In desperation, the Carrier fired
their torpedoes at the Russian Dreadnought.
The Russian Dread used the Torpedo Breaker it Mimicked (Waaay back in
Turn 1) and redirected 2 torpedoes on to a Frigate (causing no damage), then
used its Concussion Charges to stop 6 torpedoes, saving the Dread’s Ablative
Armor.
The Russian Large Skyship advanced
at full speed. To avoid taking AA from
the British Dreadnought, the Skyship fired its turrets on the British
Battleship further away. Surprisingly,
the Battleship was sunk (I really didn’t expect it or count on do it). The Russian Skyship then successfully boarded
and captured the British Carrier (getting enough points to win the game).
At this point, the British just conceded
defeat.
British Loses: 892
Well, that was brutal!
Russian Loses: 465
Crushing Triumph for the Russian
Coalition.
Well, that was brutal!
Let’s look at the Russian side
first. While the Russian flank collapsed
on the left, the Russians were overwhelming on the right. I think moving the Medium Skyships to the left
probably was a major factor to the win.
Though the Skyships were destroyed, the British devoted SIGNIFICANT
resources on the left to destroy them.
As a result, the British Cruisers were out of position and couldn’t redeploy
to the right fast enough and a lot of fire was redirected to the left rather
than the right (where most the Russian Fleet was).
The Russian Large Skyship was a
significant threat and the Ablative Armor saved it from damage. I’m very tempted to get a second one! While it captured the Carrier and sank a
Battleship, they were really only targets of opportunity for the Skyship. It was the continuous pressure that the
Skyship applied on the British that was its greatest strength. It was in the fight from turn 2 onwards.
It was the first time for the Russian
Dreadnought, but in all honesty, a Battleship would have been just as
fine. I never did use the Beam Turrets. While I used the Mimic Generator, I could
have done the same with the Battleship OR used the Torpedo Breaker (3) – better
than what I copied from the Gunship. On
the other hand – the Dreadnaught did do damage and survived the game intact. I’ll reserve judgment for a while
The Reinforced Cruiser squadron
did quite well. Putting the Gunship in between
the other Cruisers protected the Gunship (and its turrets). I didn’t need to worry about broadsides on
the Gunship either!
Unsung heroes of the Russians have
to be the Frigates. They actually are
responsible for taking out most of their counterparts, not to mention capturing
the Large War Rotor and shaving off a point or two off the Battleship.
Graham went after the Russian
Fighters with a vengeance. I can’t say I
blame him. Last game I ambushed him
badly with a Hard Shell Attack using the fighters. There was no way Graham wanted to go through
that again. I can’t blame him.
On the British side, there were a
lot of problems. There were the usual
complaints about Russian Ablative Armor and I understand some of it, but I don’t
think I agree with most of it.
Part of the problem was terrain (I
have to agree with it after the fact).
It limited targeting for both sides but the Russians were able to deal
with it better than the British could as Russians are mostly forward firing whereas
the British really do need Line Of Battle to be most effective and they just
couldn’t maintain the formations properly with that small gap. It also forced the British into formations
getting in the way of each other.
Probably the best thing for the
British to try on this table would have been to force both gaps at the same
time at near-equal strength – we saw the Russian flank fold on the Left
Gap. The question is, would the British
have been able to join forces fast enough to win or would the Russians have wiped
out one side as the British came at them in piecemeal. I probably should have just left the center island off completely.
That would have probably been enough to make it a fair fight as the
British would have had the room to “Cross the T” while the Russians approached “Head
On”. It would then have been up to the
dice and maneuvering to decide the game.
So – I acknowledge it was an unfair
table for the British. I was just too
stubborn to see it at the time.
The only other real issue I saw on
the British Side was target selection.
The British were unable to shave away the Ablative Armor fast enough to
make an impact on the game. Part of that
was focusing too much effort on the Medium Russian Skyships on the left. Part of it was terrain – there wasn’t enough
room for all the ships to draw line of sight to the main Russian Fleet. There were some bad rolls as well. Quite a few shots failed to pierce the
Ablative Armor so the “follow-up” shots had to be redirected and used as
Ablative Shavers. The British Dreadnaught had to waste all their Turret Shots at least once to get 1HP of damage because the Broadsides just couldn't get the points required to remove Ablative. By rights, the one ship should have had at least a triple crit, but instead got a single HP. I can see why other players get frustrated with incidents like that, but I don't have another solution without giving the Russians Shield or Guardian Generators. We'll have to see what future changes there are to the Ablative Armor rules.
No comments:
Post a Comment