A friend of mine, Byron, got a hold of a Laser Cutting
System and started making his own buildings, walls, etc. from MDF boards. The problem we seem to have here in the
middle of the Canadian Prairies, is that by the time we order in similar
terrain products, it becomes cost-prohibitive.
Byron decided to start designing and selling some of his creations to
others as a low-cost solution for Canadians.
Anyway I’m taking advantage of his Generosity!
Byron, gave me the opportunity to get one of his new
creations. A Control Tower, intended for
28mm Miniature games. This is a “Prototype”
design. He was still playing with the
design before he made it available through his web site. But I saw one proto-type and begged to have
one for an Infinity Campaign I was planning.
For a Prototype, the kit was well done. MFD, in case you never used it, is like a
thin plywood, though it is compressed fibers rather than layers of wood. You can use White glue to put it together,
but I prefer a carpenter’s wood glue – just to be safe. The kit contained the legs of the tower (4
pairs of inter-locking pieces), a base plate, a tower platform, a roof for the
hut, 4 walls for the hut (1 with a door), rails or Parapet walls for the
Platform and a unique roof lock and parapet system consisting of 8 pieces.

Lotsa Parts!
The first thing to do, was to assemble the legs. When assembling the legs, first split the
legs into 2 sets. Narrow “pegs” are the
top, Wider Pegs are for the base. The
interlocking patterns can then be matched and you can glue a pair of legs
together, each pair split at a 90o angle. After gluing all 4 pairs of legs together
(and while the glue was still wet), I then glued the legs to the base plate and
pressed (not glued) the platform on top of the legs to ensure the angles of the
legs were right. I then put the assembly
to the side to let the glue dry. When
dry, I removed the Tower Platform.
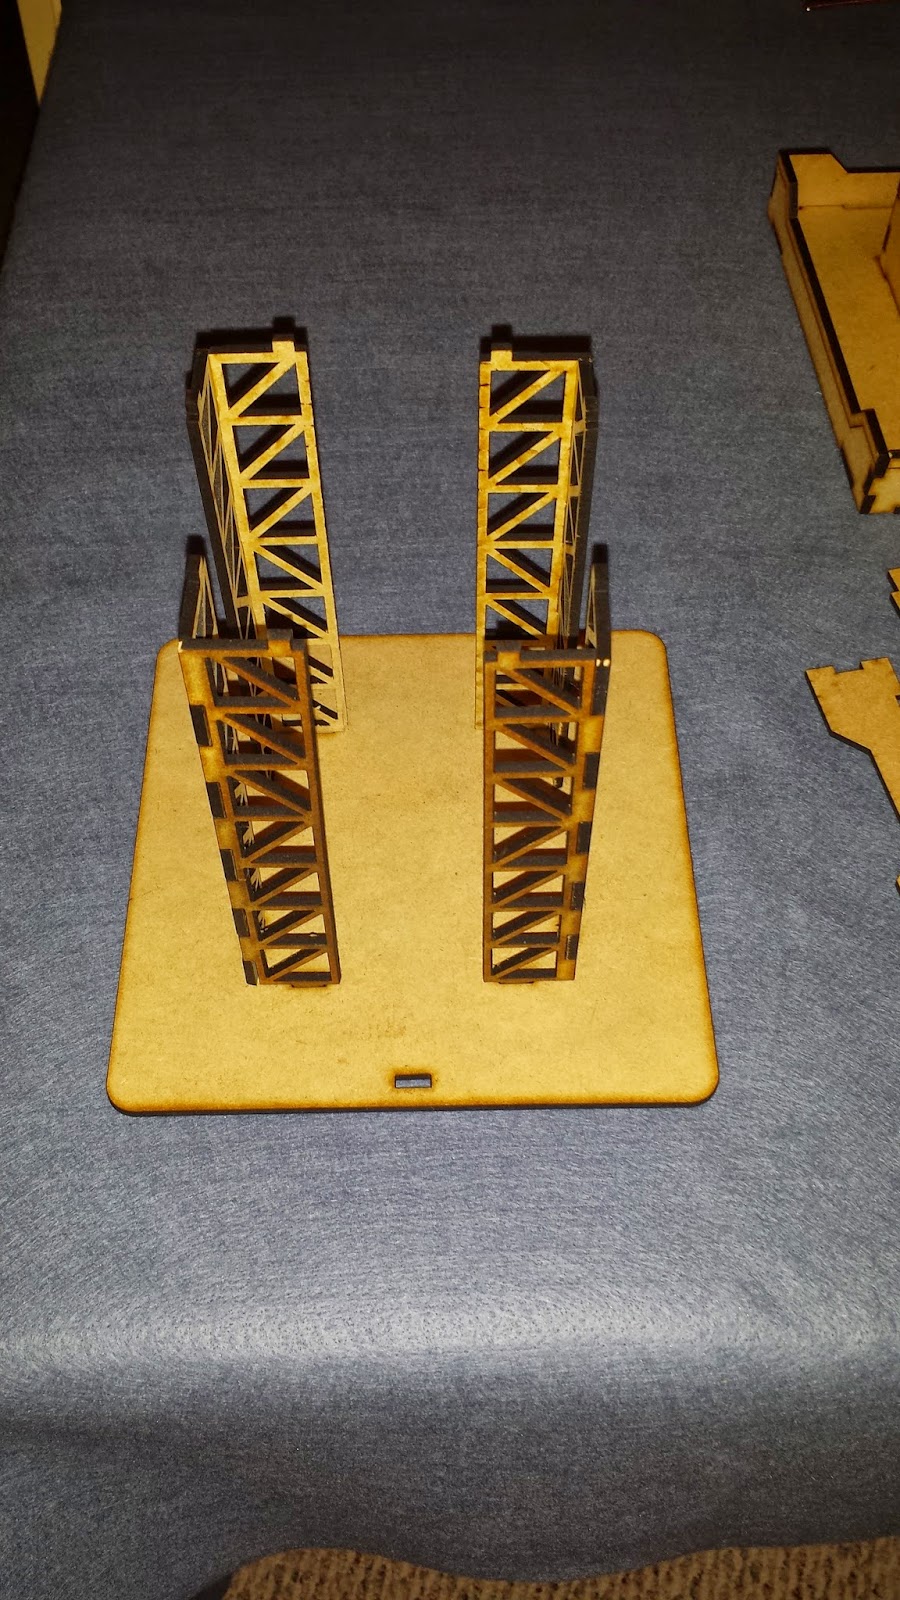
Legs Mounted on the Base Plate
I then started the roof of the Tower Hut. First, I separated the pieces as shown. Again, the parapet is interlocking – 2 sets
of interlocking parts. Each set is 2
pairs of parts. I test fitted everything
before I applied glue in the corners and the slots that would fit over the tabs
on the roof.

Before Assembling

Assembling first set of Parapet Walls
While the glue was still wet, I then again test fitted and
applied glue to the taller, outer parapet walls, this time adding glue to the
inner surface so it would adhere to the first layer of the parapet. I used “Magic Tape” (I intend to sand this
anyway), but you could actually use rubber bands to hold it together. I then put this assembly aside to dry.
Roof Assembly Completed
The reason for this “Double-Layer” of the parapet on the Hut
Roof was to form a unique interlock with the Hut Body. The Parapet will form a “keystone” lock with tabs
along the top edge of the Hut walls when assembled. This will make it easier to pull the roof off
to access the interior without disturbing the rest of the tower.
Once the roof was dry, I started on the Hut Walls. (Sorry!
I forgot to take pictures of this process!) Again, the walls of the hut were interlocking. I removed the door first (it was mostly cut
off – I just had to break/cut a small tab with a Xacto Knife). I then test fit the walls to ensure I was
gluing the correct parts together.
I had a stroke of inspiration before I glued the hut
together. To allow more flexibility, I
decided not to glue the Hut to the platform.
This would allow me to remove the Hut and use the tower as a Flak or
Weapon Platform as well as a Guard/Observation Tower. To do this, I laid wax paper on top of the
Platform, cut slits where the Hut Walls’ tabs would fit and then glued the
walls together on the edges only, using the Platform (with Wax Paper to catch
drips) and the Hut Roof to provide proper spacing and alignment!
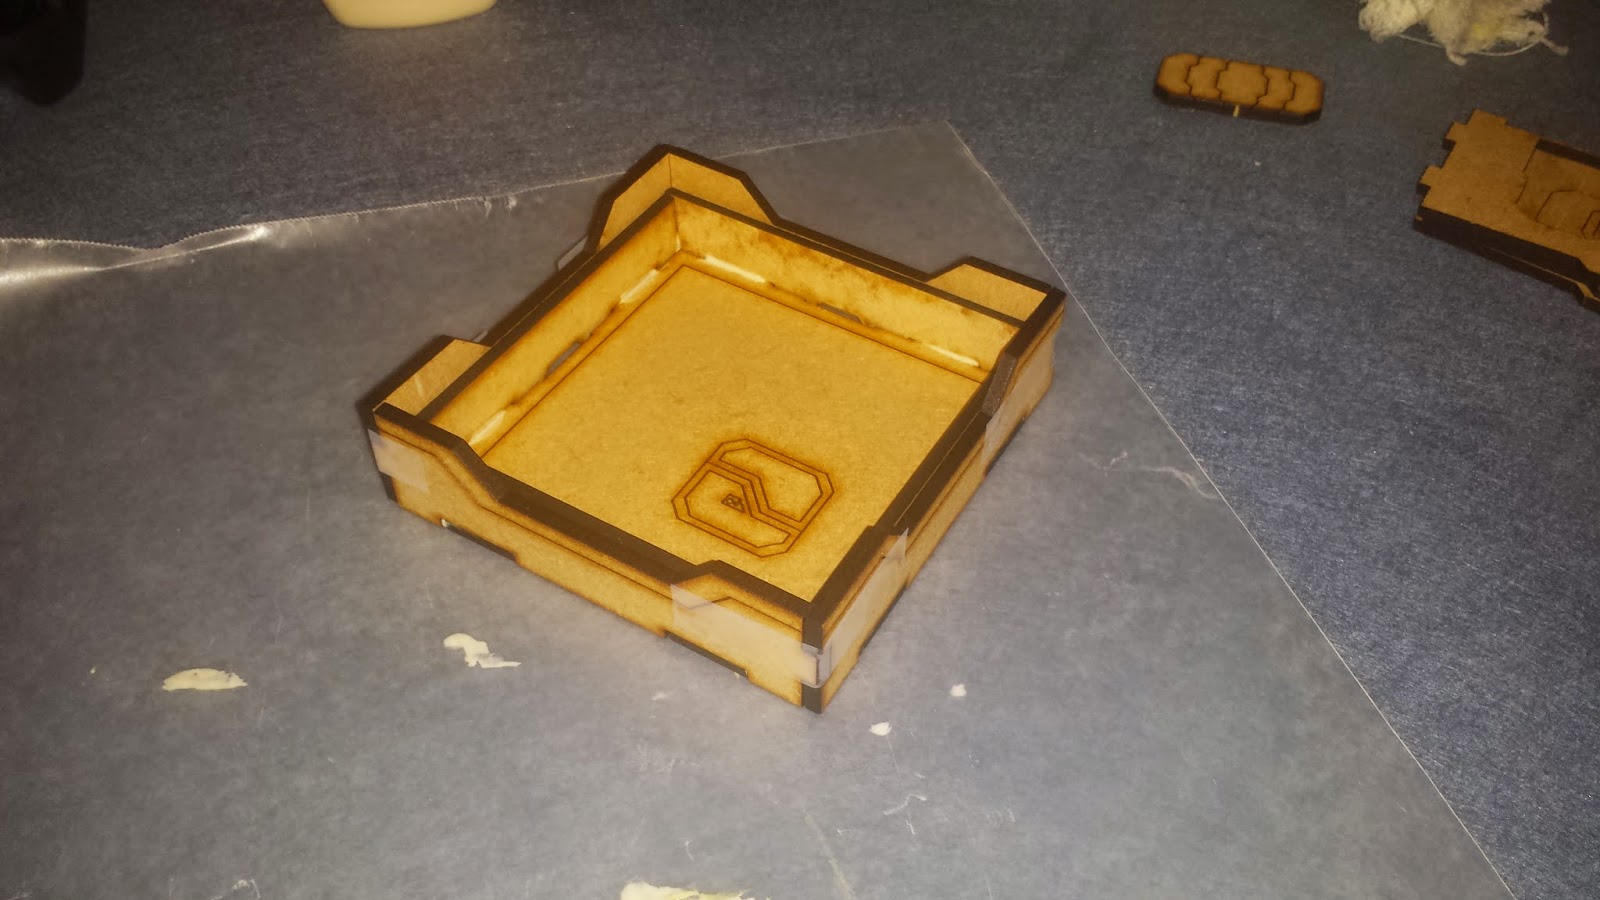
Once dry, I added the parapet walls to the Platform
floor. The platform had an indent for
placing a ladder (more about that later).
The long Parapet walls went on the other 3 sides and then 2 smaller
parapet walls joined the longer walls and ended at the edge of the ladder
access.
At this point, the main parts are assembled and you can glue
it all together at this point. The
ladder has a tab that glues into the base.
It has a unique cut, designed so that a typical 25mm-round based figure
(such as GW or Infinity) can be posed partway up the ladder. Depending on the balance and pose of the
figure, it works quite well, though you may want to keep some Blue-Tac handy to
stick under bases – just in case.

Finally Assembled and Waiting For Sanding & Paint!

A More Clear Picture
I’ve left the platform separate for now so that I can paint
the legs and platform building separately.
I told Byron of my idea of making the platform muti-purpose and he
suggested that he can cut the Platform without the burned floor pattern. I don’t think it’s necessary as if you don’t
want the pattern, simply flip the board over and put the pattern on the
underside where no one will see it.
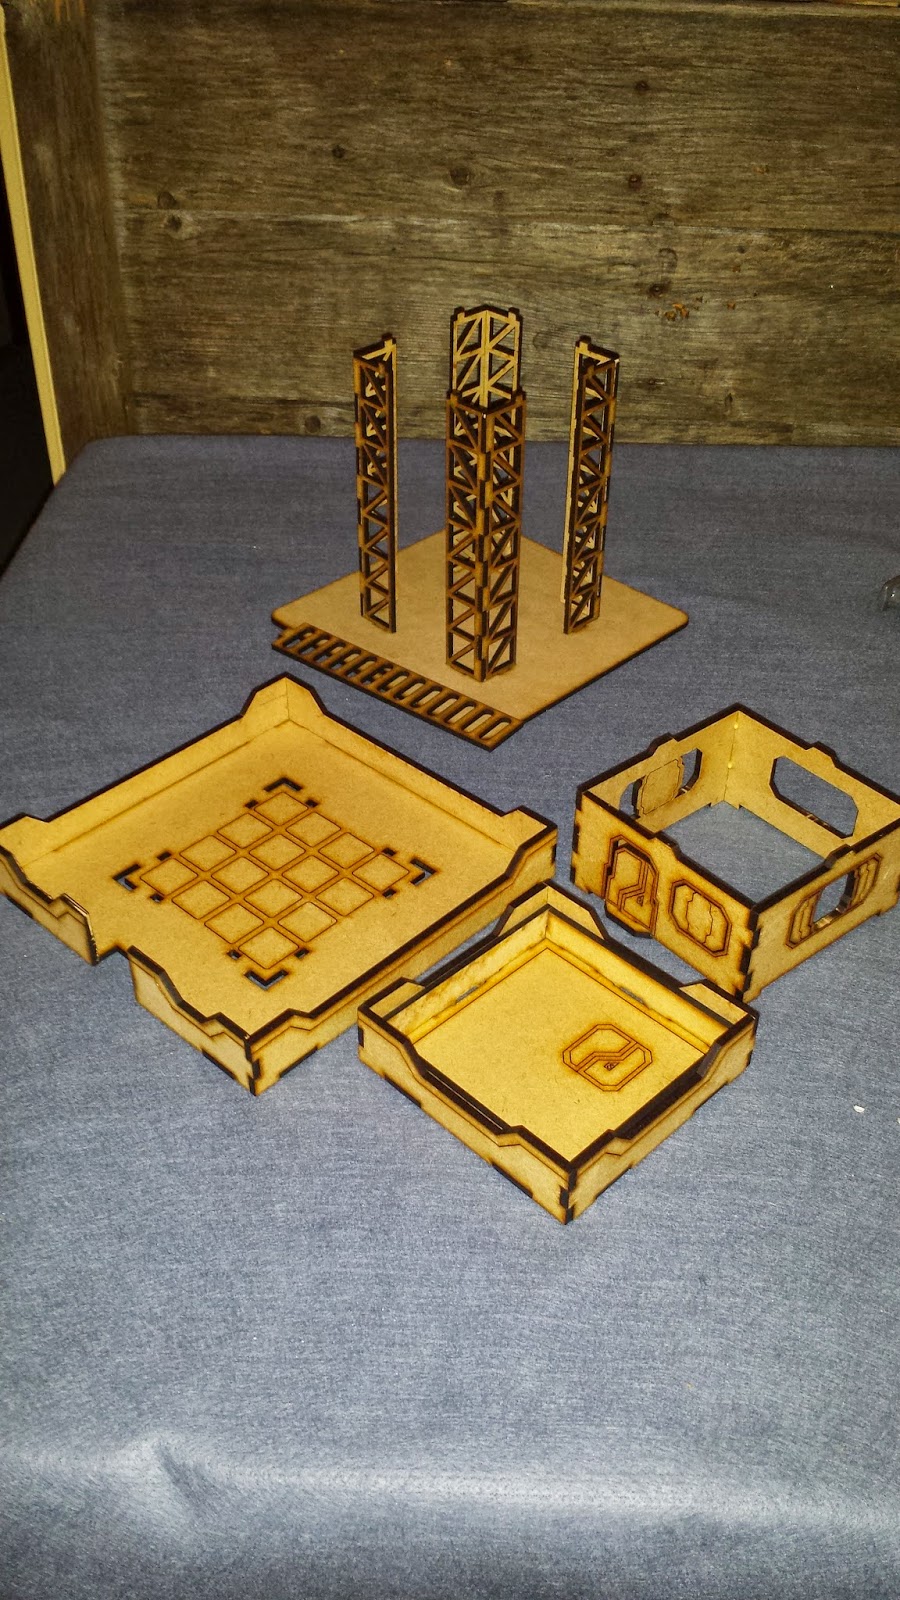
The Main Components, Separated
The tower stands about 6.25 inches from the base to the
platform surface, 8.5 inches to the roof of the hut, 9.5 inches from base to
top of the hut’s parapet. The Tower base
and platform form about a 7 inch square (inside the parapet). Lots of room for a 25mm or 30mm based
figure. The Hut forms another 4 inch
square, internal and on the roof.
Parapets are 1 inch tall in the corners, then drops to ½ inch along the
lengths. Kneeling figures should be able
to pose over the parapets midway between the corners while standing figures
should have lots of cover to peer over the corners.

Models Test-Fit the Tower
Overall, I like the ease that the tower went together. I’m going to seal the ends and sand most the
surfaces before I finish painting the tower.
While being so tall may make it difficult for some models to climb in a
single turn in most game systems, I like it as is. Byron probably could be talked into doing
shorter legs if you wanted them, but that would ruin the aesthetics, I
think. It will make a great center piece
for a Shipping yard, or a guard tower for a base. Construction is simple, straight-forward and
rugged. I hope Byron adds it to his
regular lineup soon! I want another
already!
Anyway, go check out SG2 Creations’ web site and
give them a try! If you have any ideas
for Byron to try, I’m sure he’d love to hear from you!
Thanks for the review Bruce. Yes, it's tall on purpose, so that it can see over things, which is why I made the ladder so that bases could slide into it.
ReplyDeleteIf you want shorter legs, not an issue at all, just let me know what height and I can cut you a set.