==============================================
So, Graham and I started the 6th Mission. Once more I forgot the camera, but managed to
take shots using my cell phone.
Japanese with 9 Betty Bombers (all Skilled) in a
V-Formation, trying to fly off the eastern board edge (Approximately 30 hexes
away), escorted by 2 groups of 3 Zero fighters (all Skilled Pilots) within 15
hexes of any bomber.
Americans with 5 Wildcats, 1 Veteran pilot, 2 Skilled pilots
and 2 Green pilots.
We rolled for Variable rules:
Americans ended up replacing the 2 Green pilots with a
single Skilled pilot (Group now had 4 planes: 1 Vet, 3 Skilled).
Japanese rolled to replace 2 Skilled pilots with 2 Green
pilots. I decided to put both green
pilots into 1 group with a Skilled flight leader.
Deployment:
Bombers were deployed as far forward as I was allowed for
the scenario. I placed the group of all
Skilled pilots about 3 hexes in front of the bombers, between the American
fighters and my bombers. I placed the
2nd group another 3-4 hexes in front of the 1st group of fighters. That way, in the event the “Green” group got
bushwhacked, the Skilled Zeros should be able to take decent shots at the
Wildcats. That was the theory, anyway…
Turn 1:
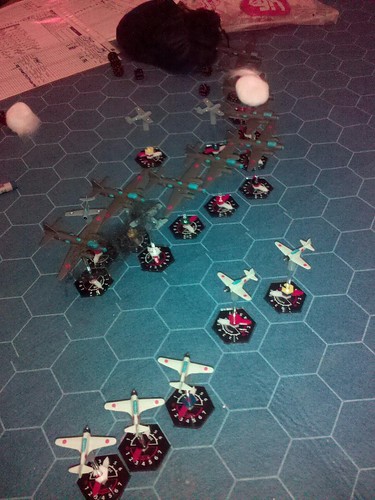
Basically, we moved closer.
I started side-slipping the “Green” Zeros to my right, while shifting
the “Skilled” group to the left. I hoped
to catch Graham in a pincher in the next turn or two. Bombers would continue to fly straight and
level, 2 hexes per turn throughout the game (unless mentioned elsewhere).
Turn 2: No Picture:
DISASTER!!!
Ya know the old joke about the left hand not knowing what
the right was doing???
I had each Zero “group” on its own check sheet. Unfortunately, I mixed them up! I gave the right orders to the wrong
groups! As a result, my Zeros on the
right, turned further right and the squad on the left went and turned further
left! Left a WIDE open hole in my
formation for Graham’s Wildcats to fly through!
Turn 3:
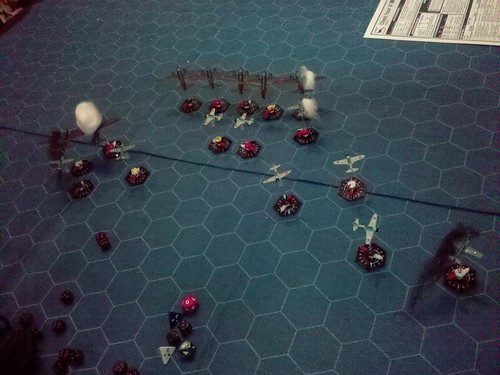
So, in wild desperate maneuvering, I got my Zeros facing the
right way again. The “Green” group was
too far out of the way to help this turn, but the “Skilled” group managed to
catch Graham’s Wildcats in a deflected angle attack. One Zero went head-to-head with the Veteran
Wildcat (In the picture, he's facing the wrong way - I had removed the model
from the stand for a pic and forgot to face the correct direction.). Though the Vet Wildcat hit and blew the Zero
out of the sky, the Zero managed to do engine damage to the Vet before he was
destroyed.
Turn 4:
Graham, realizing his Wildcats would be easy pickings if he
played it safe, tried to “Razzle-Dazzle” me and split up – going in two
directions. Two Wildcats broke left and
failed to do any damage. Two Wildcats
flew through the bomber formation and broke right, each going after a bomber –
destroying one (Big white Cotton ball) and damaging the other (Airframe damage
– white cotton stream). The bombers
opened fire with all guns that could be brought to bear – no effect. The “Skilled” Zeros group could not turn fast
enough to engage this turn, but the “Green” group got shots off at the Vet
Wildcat, failing to damage but now one was in a good tailing position.
Turn 5:
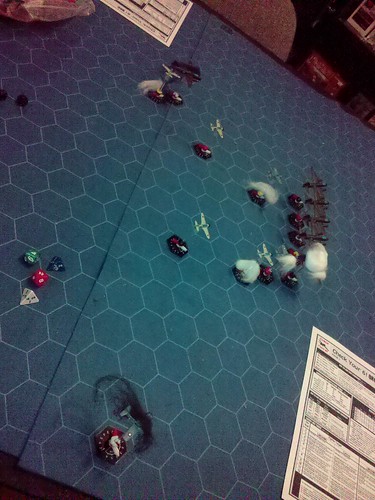
So, the two Wildcats attacking the left wing of my bomber
formation were becoming a major nuisance.
The two fighters shot down the previously damaged bomber and damaged
another bomber (Engine damage – black smoke).
His damaged Vet tried to disengage by flying towards the board edge,
with a Green Zero on his tail, guns blazing (and missing). The last Wildcat did a Split S or Immelman
and went after the bombers on the right wing of the formation. The Skilled Pilot from “Green group”
anticipated the maneuver and caught him with a second blast of weapons, causing
Airframe damage, but running out of Ammo in the process! The remaining planes of the “Skilled” Zero
group went after the fighters chewing up my left wing and blasted away, failing
to hit. Bombers also fired and failed to
hit.
Turn 6:
So, the last remaining bomber on the left wing – with engine
damage, slowed to Speed 1 and did a side-slip to the left, taking himself out
of the pursuing Wildcats’ line of fire (WHEW!).
The damaged Vet Wildcat and the Green Zero ended up in the same hex and
managed to avoid a collision (Vet passed his crew check, the Zero did not). The remains of the “Green” Squad went after
the damaged Wildcat on the right wing – I had forgotten one was out of ammo, so
placed white cotton on the base as a “reminder” for future turns. His wingman missed but sped up to try and
catch-up to the Dang Yankee Flier! The
Damaged Wildcat managed to damage the bomber in front of it, in spite of the
attention he was receiving. On the Left
wing, the “Skilled” zeros opened fire and one managed to destroy one of the
cursed Wildcats, but ran out of ammo in the process! TWO Zeros out of ammo now! Bomber gunners threw out another ton of lead
into the skies to “dissuade” the Americans.
At this point, it dawned on me that in the previous 3 turns, I had
rolled misses, by 1, over a dozen times!
The problem wasn’t damaging the Wildcats when I hit – it was hitting
them in the 1st place! The only weapons
that were hitting were light machine guns (usually required a 5+ roll on 2D6 to
save from damage).
Turn 7:
Well, the Zeros without ammo started to climb to take
themselves out of the battle. The Green
Pilot and the Vet Wildcat again ended up in the same hex – this time
Colliding! The Zero pilot was killed and
his plane tumbled into the sea, whereas the Wildcat just kept chugging on… The undamaged Wildcat shot and missed his
target, while the damaged Wildcat managed to blow up the damaged bomber, but
also ran out of ammo in the process!
Three Fighter planes ran out of ammo in 3 turns!!!
Turn 8 – The remaining (Armed) Wildcat finally shot down the
bomber he had been after for 3 turns.
The Zeros and Bombers were unable to hit any of the remaining
Wildcats.
At this point, we ended the game. Graham was down to 1 operational Wildcat and
decided he would have left the battle area rather than risk it all.
Graham’s damaged Wildcat was destroyed trying to land
(Failed Aircrew check by 1), bringing a total loss of American Aircraft at
Henderson Field to 5 (1 shot down, 1 crashed on landing, 3 bombed). That leaves Americans with only 21 planes
left at Henderson Field. In Mission
Victory Points, that would be 1 fighter shot down and 1 damaged: 5 VPs total.
Japanese suffered horribly at my hands. 4 bombers destroyed (32 points), 1 damaged (2
points), 1 fighter destroyed (crashed in collision – 4 points) for a total of
38VPs.
Japanese still have only 900 troops on the island.
So – what went wrong with the Japanese this time? Two things.


No comments:
Post a Comment