Admiral Von Shtupp looked around the bridge of his
command. Everyone was at their station,
working hard (or at least appearing to be).
Rumor had it that the British were up to something and Von Shtupp’s
mission was to investigate.
At least they’ve given me a new toy to play with, thought
the Admiral.
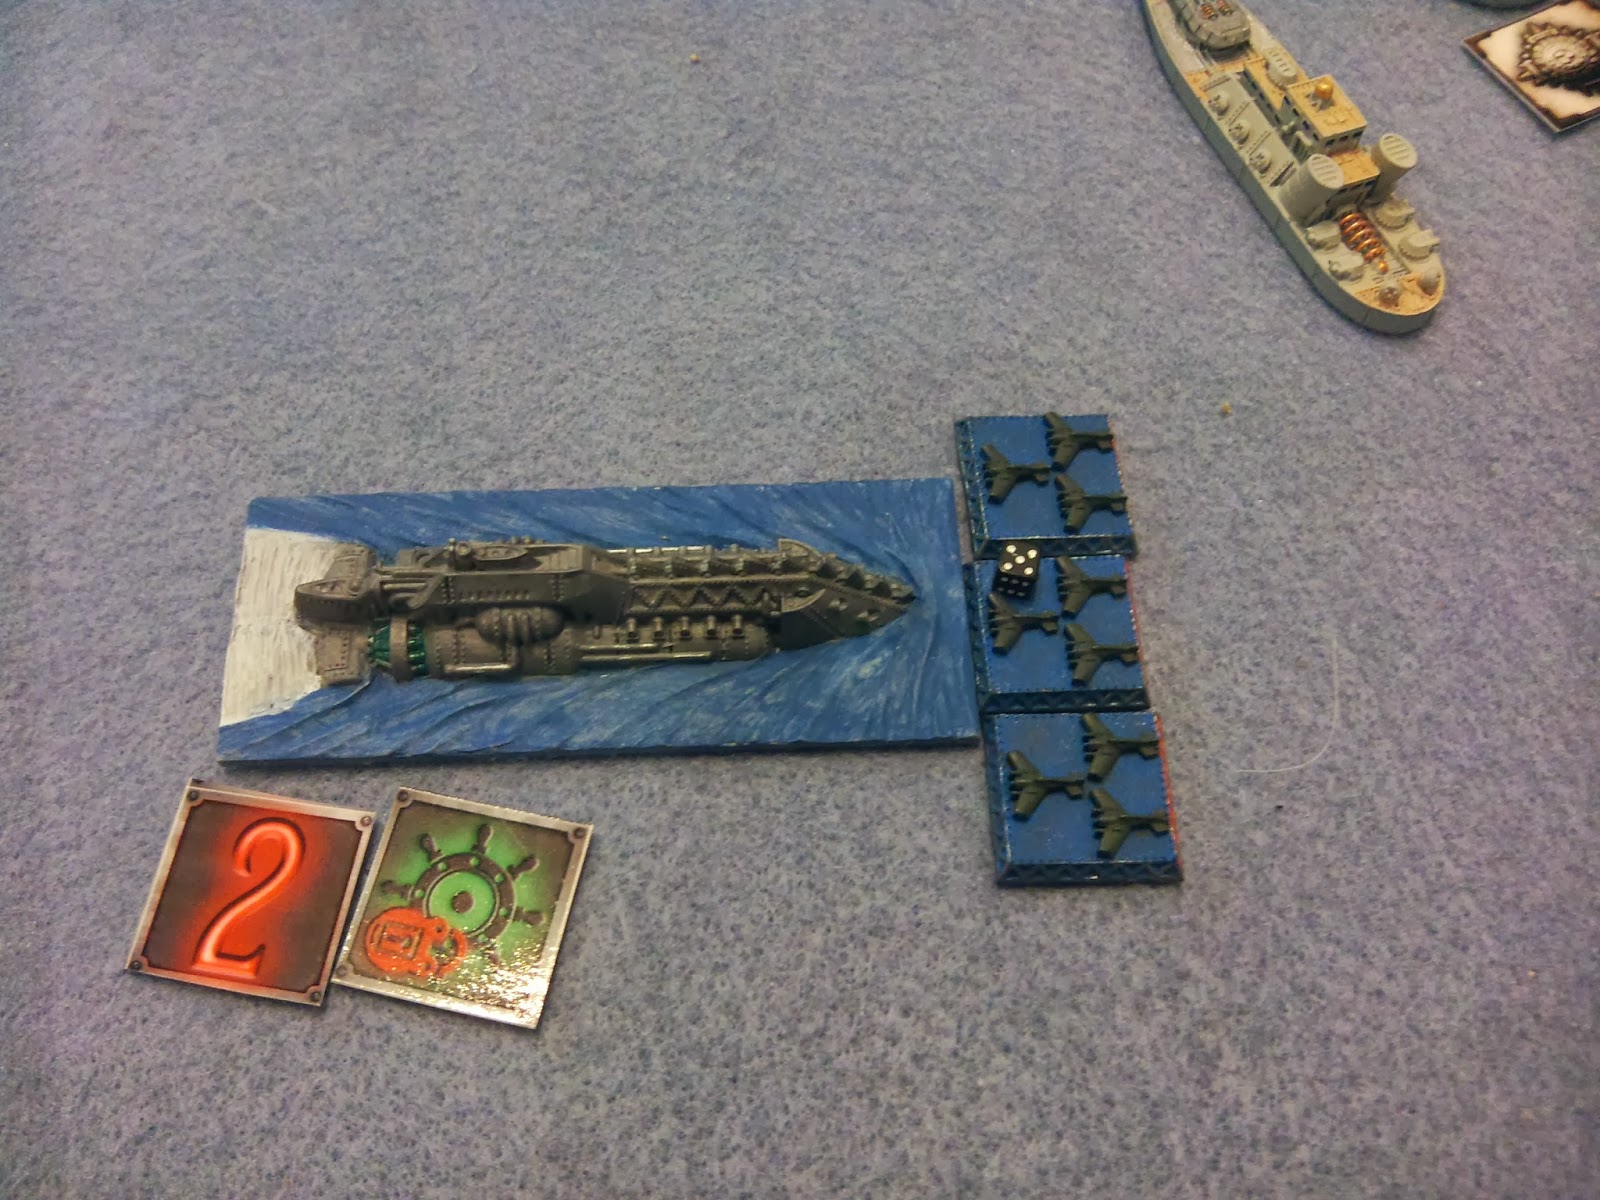
Included for the first time in his fleet was one of the
dreaded, upgraded Metzger B. While Von
Shtupp was curious to see what it was really capable of, the presence of anyone
with Teutonic order always made everyone uncomfortable…
“Admiral! Ships on
the horizon!”
“Is it the British?”
“Yes Sir!”
“Message to the fleet – Battle Stations. Please make sure the Knights have been
informed. Let’s see what their robots
can do…”
The title might be a bit of a misleader – The fleets are “experimental”
because both fleets were using new vessels we hadn’t used before. In the case of the British, they were using
both the Hood Battle Cruisers and the new Vanguard MkII submarines. The Prussians were using the update Metzger
Ausf B Robots for the first time.
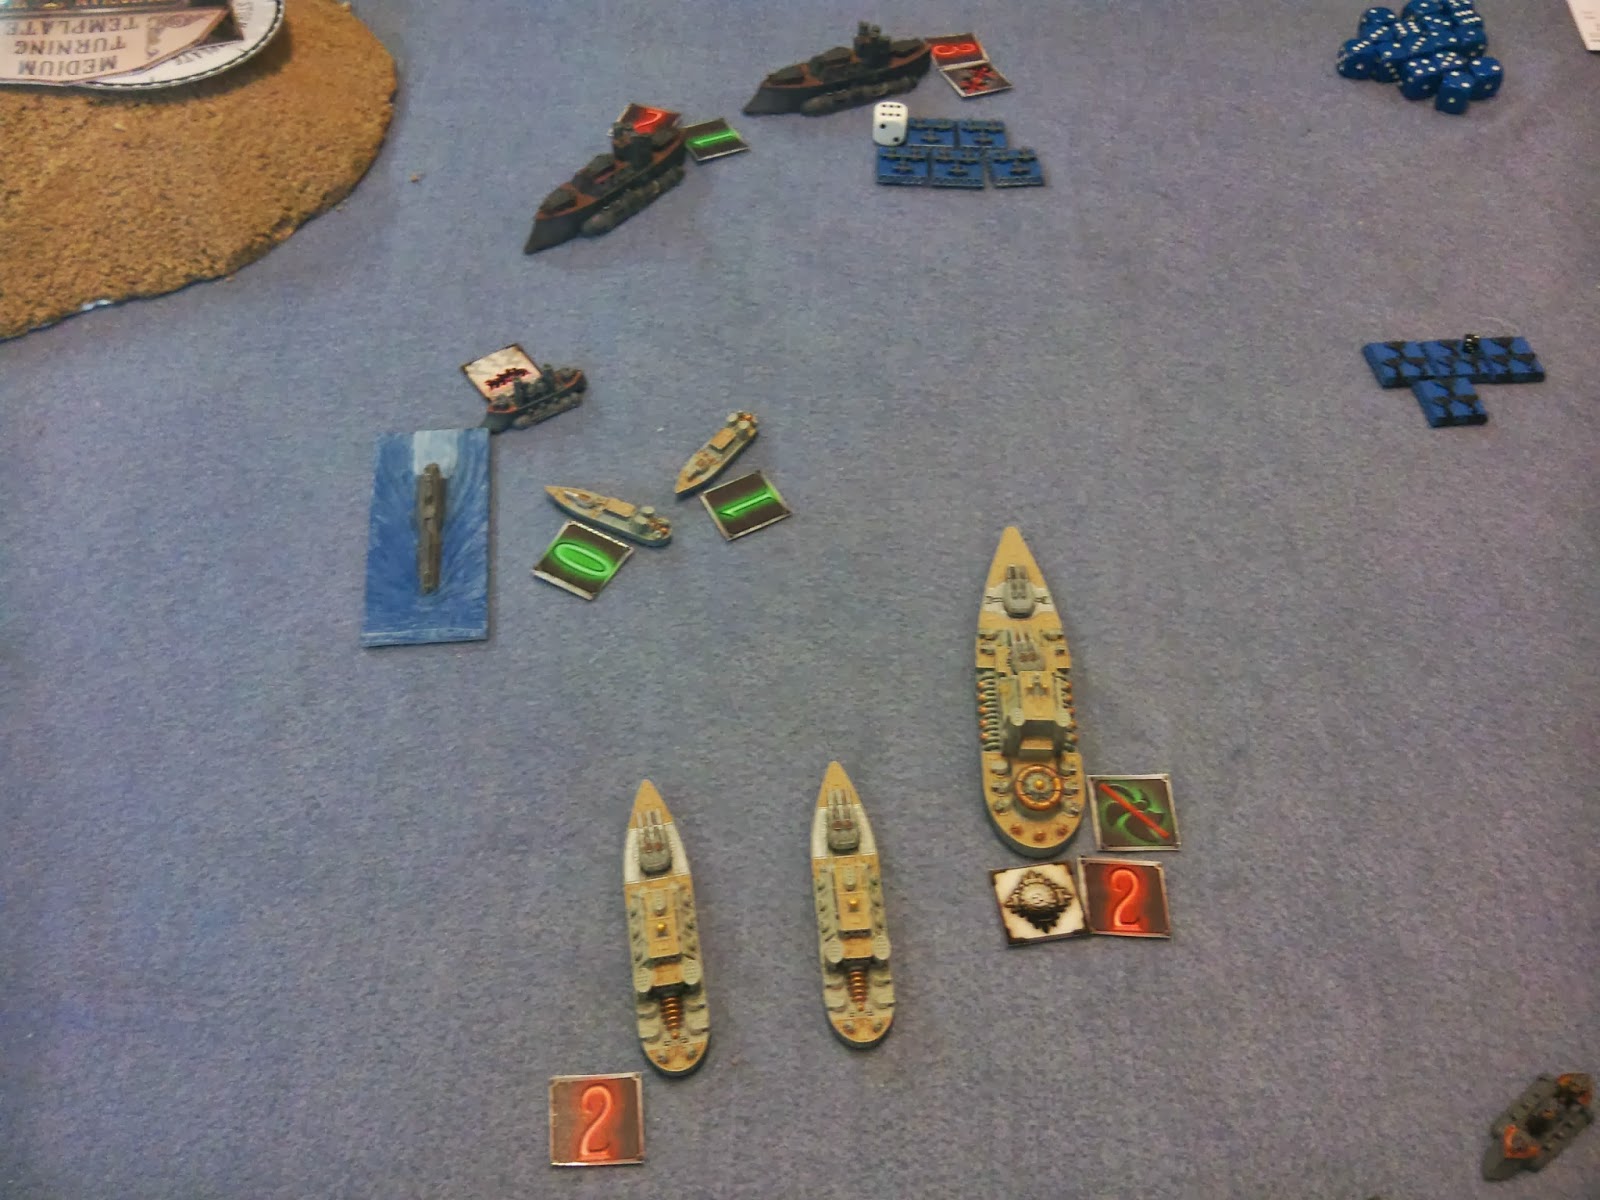
Deployment:
For the Prussian Empire (PE) (Top to Bottom)
For the Prussian Empire (PE) (Top to Bottom)

3 X Frigates
2 X Cruisers
Metzger B
4 X Frigates with a Battleship (Using a Tesla Generator in the rear turret location)
2 Flights of Fighters
Carrier with a Squadron of Torpedo Bombers deployed
3 X Frigate
2 X Cruisers
Metzger B
4 X Frigates with a Battleship (Using a Tesla Generator in the rear turret location)
2 Flights of Fighters
Carrier with a Squadron of Torpedo Bombers deployed
3 X Frigate
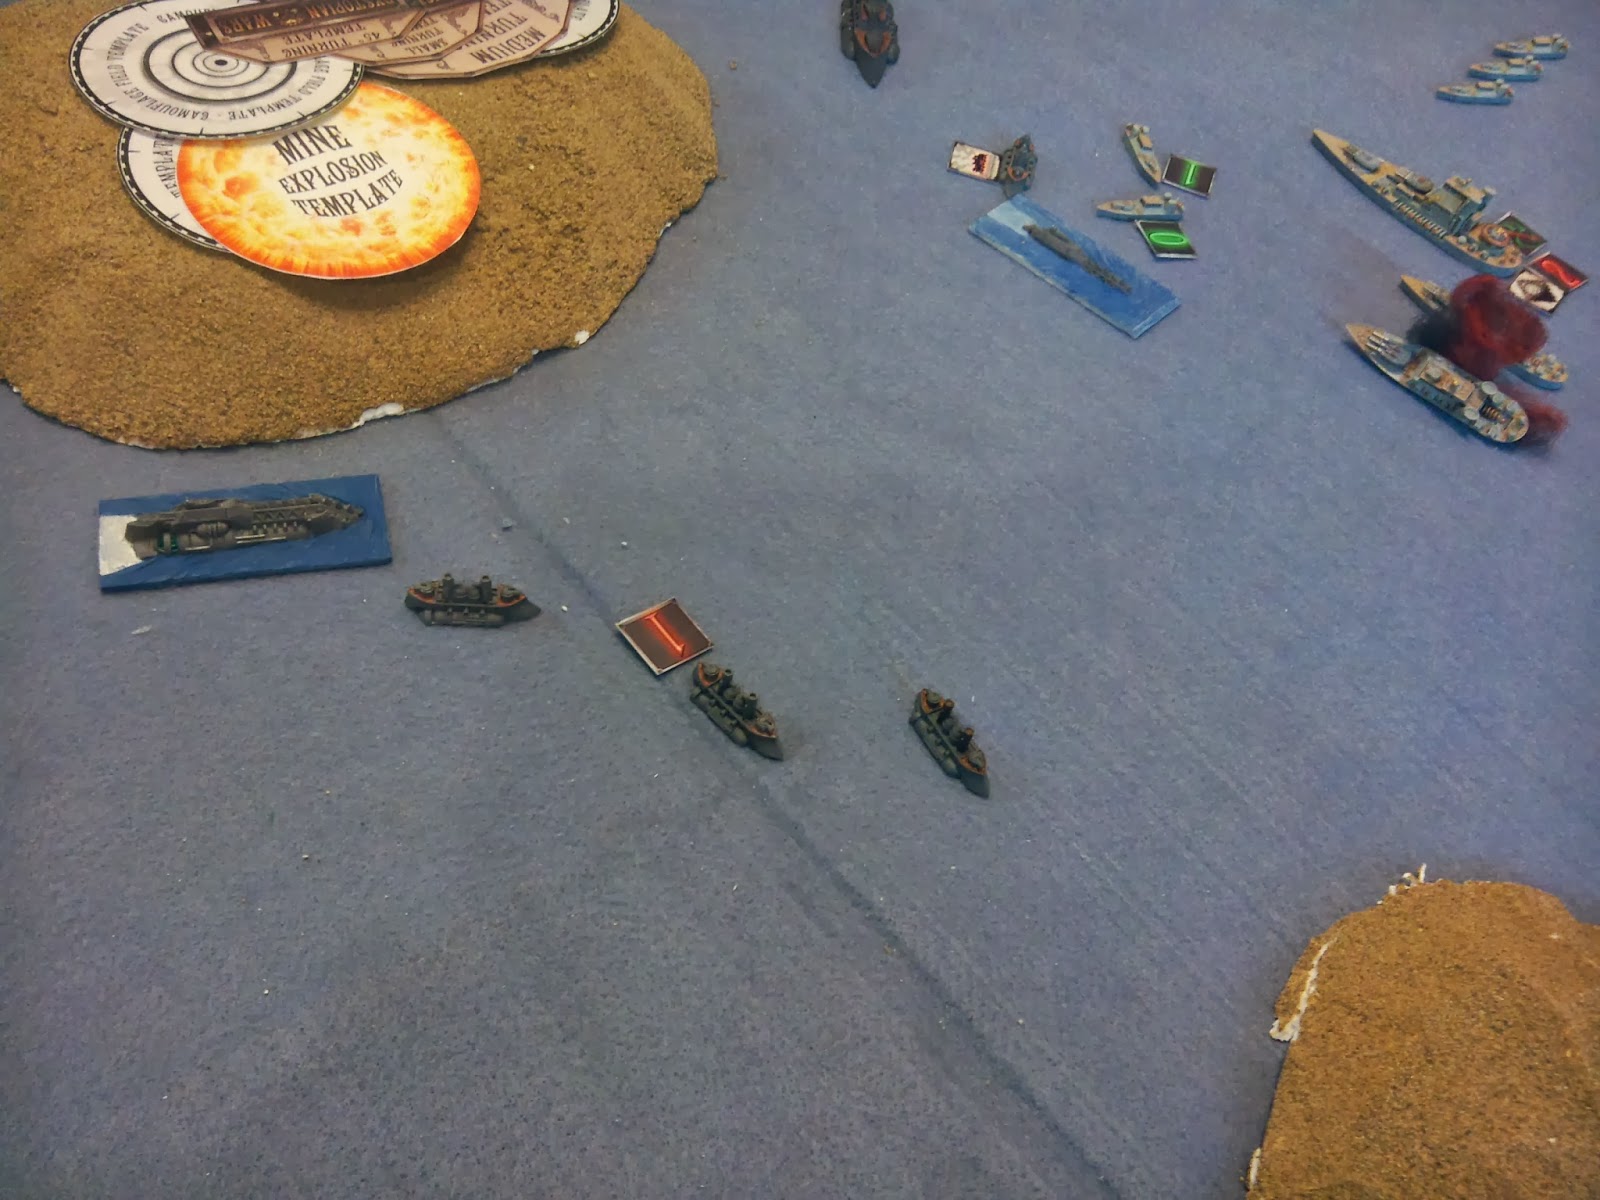
For the Kingdom of Britannia (KoB) (Top to Bottom)

3 X Frigates with a Vanguard MkII Sub
Battleship hiding behind the island
Vanguard MkII sub
3 X Frigates with Wing of Fighters
2 X Hood Battle Cruisers to the back edge
4 X Frigates with Wing of Fighters
Battleship hiding behind the island
Vanguard MkII sub
3 X Frigates with Wing of Fighters
2 X Hood Battle Cruisers to the back edge
4 X Frigates with Wing of Fighters
After deployment, we both elected to just go for the 70% of
the Fleet values. (560 points)
(Actually, we forgot until after turn 1 and ended up there
as a default! Oops!)

Turn 1
British won initiative for the first turn.
British won initiative for the first turn.
The British started things off moving Frigates forward on
the Right of the map. The Prussians were
quite happy to move their Frigates opposite forward at maximum speed and sank a
British Frigate! First Blood to the
Prussians! The British squadron passed their
Break test.

The British sub on the left side of the islands moved
forward, submerged. Torpedoes were
launched but no damage was caused to the Prussian Frigate opposite of the
sub. One of the Prussian Fighter wings
moved forward at ½ speed. The second
British Sub moved forward on the other side of the island, also submerged,
firing torpedoes at the Prussian Robot.
Sadly, the torpedoes again failed to damage. The Prussian Torpedo Bombers moved forward at
maximum speed (5 fuel left), while a wing of British fighters advanced at ½ speed. Finally, the Prussian Cruisers moved forward
from behind the island and managed to sink a Frigate with a long-ranged
shot. The Prussians are ahead 2 Frigates
to nothing!

British Frigates in the center advanced, then turned to the
left, exposing all turrets to the Prussian Cruisers. Linking fire, the Frigates succeeded in
damaging one of the Cruisers!

The Prussians got a little greedy. The Frigates in the center sallied forward to
attack the British Frigates that had damaged the Cruiser. The Prussian Frigates split their fire and
only managed to damage 1 British Frigate.
The British made them pay for it.
Both British Battle Cruisers came forward and turned to fire all turrets
down range. When the smoke cleared, they
had damaged the damaged Cruiser (down 2 HP) and sank 2 of the 4 Frigates in the
Center squadron! The frigates passed
their Break Test.

The Prussian Carrier moved forward at maximum speed, and
turned to fire its Bombard at one of the Battle Cruisers, damaging it. The British Battleship turned to the right
from behind the island, but found itself without Line of Sight or Out-Of-Range
to anything it could see. The Prussian
Battleship activated its Tesla Generator, maximizing their speed to 10” and
fired on a Battle Cruiser, but failed to damage anything. The second British Fighter wing moved forward
at ½ speed. The Prussian Robot moved
forward, following the Prussian Battleship.
The British Frigates on the left of the island finally moved forward and
turned to the right. Long range fire
resulted in a Prussian Frigate taking damage.
This was the last of the British Activations for the turn. The Prussian Frigates on the left charged
forward and returned fire onto the British Frigates that had fired on them,
damaging 1. Finally, the last Prussian
Fighter wing landed on the Carrier to re-arm.

Losses:
KoB: 74 points
PE: 94 Points
KoB: 74 points
PE: 94 Points
Turn 2:
PE won Initiative!
PE won Initiative!
Worried that the Battleship would be hammered by the Battle
Cruisers, the Prussian Battleship again activated the Tesla Generator, maxed
their move to 10” again, and fired their turrets at a Battle Cruiser, critting
it (Hard Pounding: 1 AP left!).
Broadsides and Teslas fired at Frigates on both sides, but only managed
to damage 1.

The British, fearing the potential of the Torpedo Bombers, attacked
with a Fighter Wing, causing the Prussians to use up an extra fuel (3 left) for
the loss of 1 Fighter Token. The
Prussian Center Frigates maneuvered around the Prussian Battleship, firing rear
Teslas and guns at 2 Frigates, sinking 2, and capturing a third! Unfortunately, we used up most our AP capturing
the Frigate, so we abandoned it as a Derelict, leaving 1 Frigate with 1 AP and
the other 0!

The British attempted to sneak a Frigate Squadron between
the Prussian Carrier and the Battleship, but failed to do any damage to the
Carrier.

The PE Torpedo Bombers attacked one of the Battle Cruisers,
but failed to damage it and lost a token to AA, leaving the rest with 2
fuel. The British Submarine on the right
stayed submerged and fired another torpedo salvo, but again failed to damage anything. The Prussian Carrier launched a wing of Dive
Bombers and moved forward. The British
Battle Cruisers turned and linked their turret fire at the Prussian Battleship
causing a Crit (Engine Damage). Prussian
Cruisers moved forward and Critted one of the Battle Cruisers (Systems
Offline). At this point, Graham
remembered that the ships had Shield Generators, but a quick roll revealed no
change in the outcome (this time).
British Frigates from the left of the table split their
fire. They sank 1 Prussian Frigate,
failed to damage a second and failed to damage a Cruiser with torpedoes. The Prussian Frigates passed their Break
Test.

Prussian fighters engaged their British counterparts, shot
down 3 tokens (1 token left with 2 fuel) for no losses, then landed on the
Carrier to re-arm. The British
Battleship finally cleared the island and fired on the Prussian Battleship, but
failed to damage it. Prussian Frigates
on the right turned and attacked the British Battle Cruisers causing no damage
after all their dice missed! British
Fighters attacked the Torpedo Bombers and finally shot them all down for the
loss of 1 Fighter Token (5 fuel left).
The Prussian Robot turned to engage the Frigates near the Prussian
Carrier and successfully sank both, finishing off one squadron.

The British Sub on the left came to the Surface, completed
its turn around the island and torpedoed one of the Prussian Cruisers with a
Double-Crit! The Survivor passed its
break test.
As the final activation, the Prussian Frigates on the left
attacked the surfaced British Sub and inflicted 1 HP damage to the Sub.
In the End Turn, the Derelict British Frigate collided with
the sub, causing 1 HP damage to the Frigate but no damage to the Sub. The British repaired the System Failure on
the Battle Cruiser while the Prussian Commodore used his re-roll to repair the
Engine Damage to the Battleship.

Losses:
KoB: 247
PE: 152
KoB: 247
PE: 152
Turn 3:
KoB won Initiative.
KoB won Initiative.
The British started things off by bringing a sub to the
surface and attempted to torpedo the Prussian Carrier, but the Robot was in the
way, blocking Line of Sight to the Carrier’s center, reducing the torpedo salvo
in half! The reduced salvo failed to damage
the Carrier and then the sub failed to make its Panic Dive. Prussian Frigates from the right charged at
the British Battle Cruisers, firing on one, but failing to damage it, then
boarding the one that was reduced to 1AP, successfully taking the Battle
Cruiser as a Prize for the Prussians!

The second British Sub moved forward on the surface to
torpedo the Prussian Battleship, causing another HP damage. Sadly, this sub also failed to make a Panic
Dive. Prussian Dive Bombers that had
launched last turn, attacked the sub that had attacked the carrier, causing a
Crit (Nav Lock) for the cost of 2 Tokens.
The last British Battle Cruiser maneuvered around its prized
compatriot without causing a collision, caused another HP damage on the
Prussian Battleship (crippling it!) and then captured a Frigate that had 0AP
left. Afraid of being boarded, the
Battle Cruiser called back all their boarding parties and left the Frigate a derelict.

The Prussian Battleship, crippled but not out of the fight,
advanced and fired on the British Battleship, but failed to cause any
damage. However, in spite of being
crippled, the Prussian Battleship was able to board and prize the 2nd
British Battle Cruiser!

Annoyed, the British Battleship came forward and brought all
turrets and torpedoes to bear on the Prussian Battleship, sinking it with 2 separate
critting attacks! Revenge for the
British!

The Prussian Cruiser turned and presented its broadsides and
turret to the closest British Sub and sank it with combined weapons fire!

The British Frigates from the left of the table caused a
Crit (Engine Damage), then an extra HP damage on the Prussian Cruiser,
crippling it in one activation! Prussian
Frigates failed to damage the last British Sub.
British Fighters attacked and shot down 2 dive bombers for the cost of 1
token. The Prussian Robot, lacking
anything else to do, turned and shot at the last sub and managed to damage it with
a Lightning rod. Unfortunately, I had no
more Tesla weapons in my fleet to take advantage of it! For their last activation, the British single
fighter decided to attack the squadron still on the carrier, but the carrier’s
AA shot it down! Finally, the last
activation, the Prussian Carrier held the last squadron of Tiny Fliers on
board, turned towards the British Sub and managed to Crit it! The Sub teleported backwards, narrowly
missing the Prussian Frigates chasing it, then sank under the waves…

We didn’t need to count up the points to see that the
Prussians made their objective, but…

Losses:
KoB: 797pts
PE: 379pts
KoB: 797pts
PE: 379pts
Crushing Triumph for the Prussians!
Wow! That last turn
was incredible for the Prussians! I did
NOT expect everything to go my way. I
was incredibly lucky.
Graham had a rough time with his dice. I wish I could convey that properly. He missed causing double-crits by 2-4 hits
multiple times and as a result, critical ships were able to complete their
moves and cause more damage than they should have. When he did roll well, it was against
Frigates – not worth the points that the rolls were wasted on.
If I had to critique anything on the British side, the first
was Graham’s use of his subs in the first turn.
By keeping them submerged and firing torpedoes, the penalty to hit made
them useless. He wasn’t able to cause
damage when he needed to. His subs were
far enough away that I really couldn’t damage them.
The Second problem on the British side was the placement of
the Battleship. While deploying it
behind the island kept it safe, it did nothing for the first turn and in the
second turn, it was only able to bring ½ its turrets to bear. Third turn it finished off the Prussian Battleship,
but it was too little too late to save the British cause. Everything else in the British fleet was able
to do something every turn – whether they were successful or not.
The Prussians were not faultless either. I brought the Metzger B to see what it could
do. And I hid it behind everything. I wanted to try some Boarding and never got
close enough to try it. Though it did do
some damage, it didn’t make up its points value. The Battleship did capture a Battle Cruiser
and inflicted damage, but in the end, I still lost it. Finally, how did those British Frigates get passed my pickets to fire on the Carrier? That should never have happened!
On the other hand, I think the Carrier did
sterling service – allowing me to re-arm the one Fighter wing as Dive Bombers
and if I had needed another turn, I was prepared to re-launch the 2nd
fighter wing as either Torpedo or Dive Bombers.
As it was, the Bombard turned out to be an excellent weapon on its own!
Overall, it was a fun game. We'll just have to play again so I can try boarding with a
No comments:
Post a Comment