Admiral Dimitry Orlov was unhappy in his cabin on the
Russian Batttleship Georgy Pobedonosets II ("St George the Victorious II"
in English). His last battleship had
taken him a while to get comfortable in and now he had to start the cycle all
over again.
At least he was alive to complain about it…
As part of the break-down cruise, the Admiral was
participating in a Fleet Exercise against a small British Task Force.
“What a waste of time!” growled Orlov. “Everyone knows that we’re ready to fight the
enemy! Let us get started! I want back in the FIGHT!”
A whistle through the speaking tubes caught Orlov’s
attention.
“Attention – British fleet spotted. Prepare for battle drills. Admiral to the Bridge, please”
Well, let’s get this over with…
So, checking out the Spartan Community on their Website, a
lot of Tournament and Event Organizers are talking about running “Highlander”
events. If you’ve never seen the movie (why
NOT?!?!?), the important line is: “There can be only ONE!”
In a Highlander event, you have your normal restrictions –
no matter the game, BUT you can take only one of each
unit/selection/whatever. With Dystopian
Wars, that means you can take one of each Squadron type, whether it be
Destroyers, Frigates, Cruisers, Gunships, but ONLY 1! Also, you still need to meet your minimum
fleet organizations: 1 Small, 1 Medium and 1 Large/Massive choice. At 500 points, that’s almost all that you can
afford – unless you play around with your squadron sizes and options a
bit. To make the game play faster, I
also suggested we use no Tiny Fliers unless one of the fleet choices was a
Carrier.
I wanted to know a little bit more about this format so
Graham and I decided to test it out. I
decided to test the format with the following fleet restrictions/requirements:
- 500 point game size
- Minimum 1 squad of each size (Small, Medium & Large/Massive)
- Standard 40% Max on Smalls, 70% on Medium and Large/Massive
- No Dreadnoughts
- No Tiny Fliers unless you paid for a Carrier
- No unit type could be selected more than once – whether as a squadron, attachment, etc.
Graham kept threatening me with “something new” and mentioned
the Chinese Federation fleet, so I opted for the Russians. (Besides, I had just finished re-inking them and wanted some feedback on how they looked!) Before the game, I had made about 6 fleet
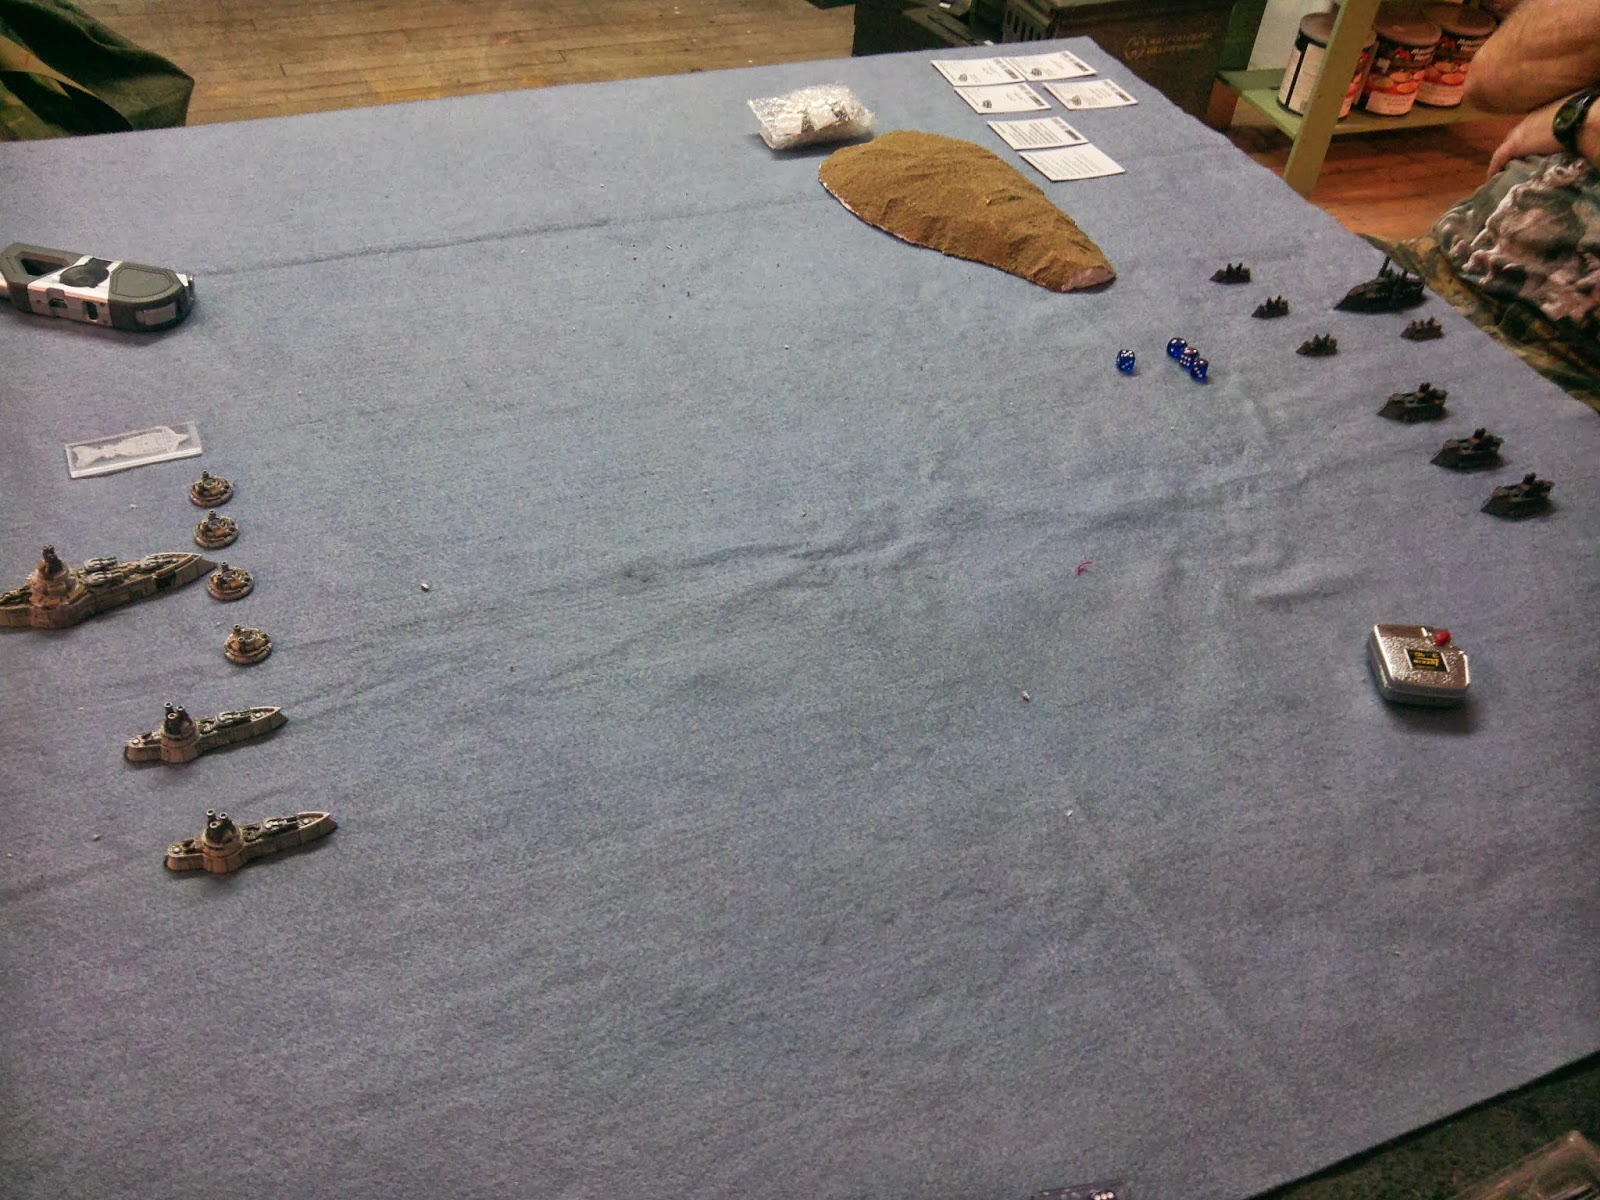
lists for my Russian Coalition (RC), but chose the following:
- 1 Pesets Submarine (Submerged)
- 4 Novgorod Frigates with a Borodino Battleship (Torpedo Breaker) following behind
- 2 Suvorov Cruisers
Of course, Graham decided to try and trick me, so instead of
the Chinese, he showed up with the British!
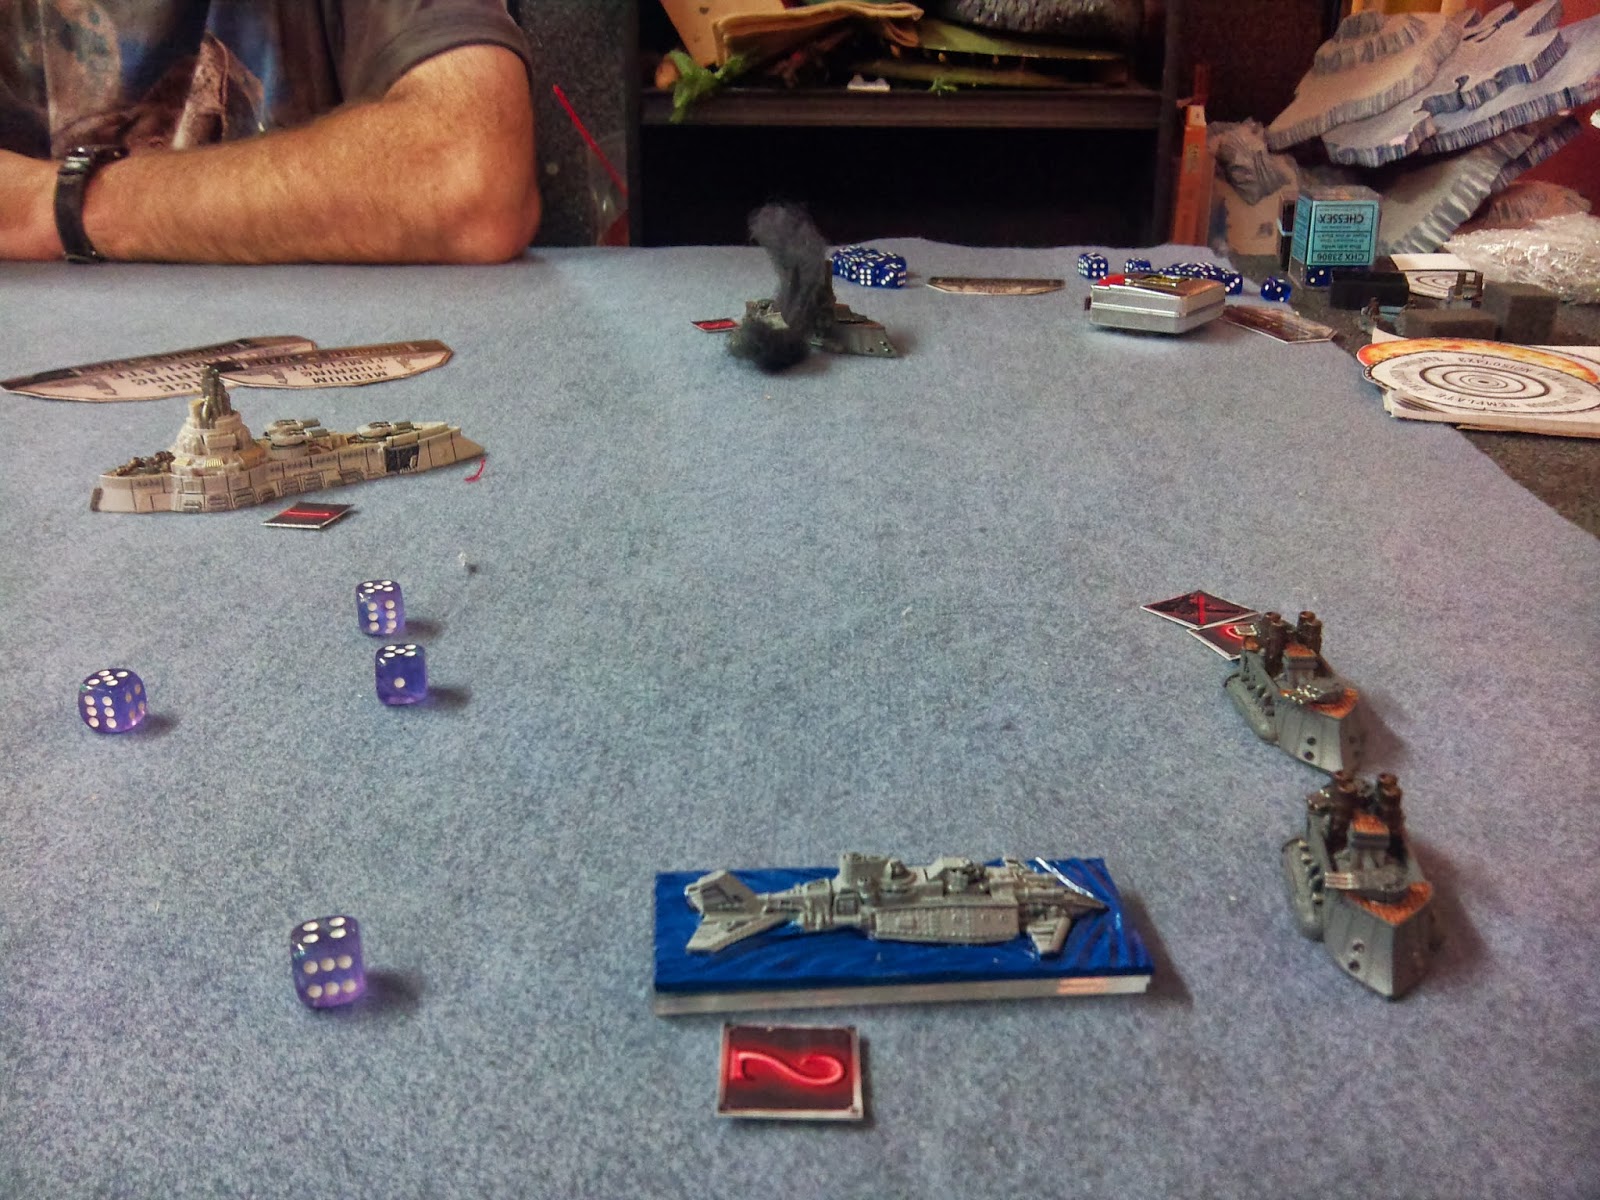
For the Kingdom of Britannia (KoB), Graham decided to deploy:
- 3 Orion Destroyers (Proxied by frigates) followed by a Ruler Battleship and 1 Bastion Escort
- 3 Tribal Cruisers
After deployment, we rolled for missions. The British rolled a 1: the default 70% of
the enemy fleet captured or destroyed.
The Russians rolled “Capture the Commodore” and I figured: “Why Not?” I had wanted to see if random missions would
work or not, so I may as well stick with it!
Start of Game!
Turn 1:
Russians won the Initiative
Russians won the Initiative
The Russian Sub moved first, submerged, with both Echoes
moving in different directions and speeds.
The British Destroyers moved forward about 8”. A few activations later, Graham would
remember that the Destroyers had forward firing torpedoes that he forgot to
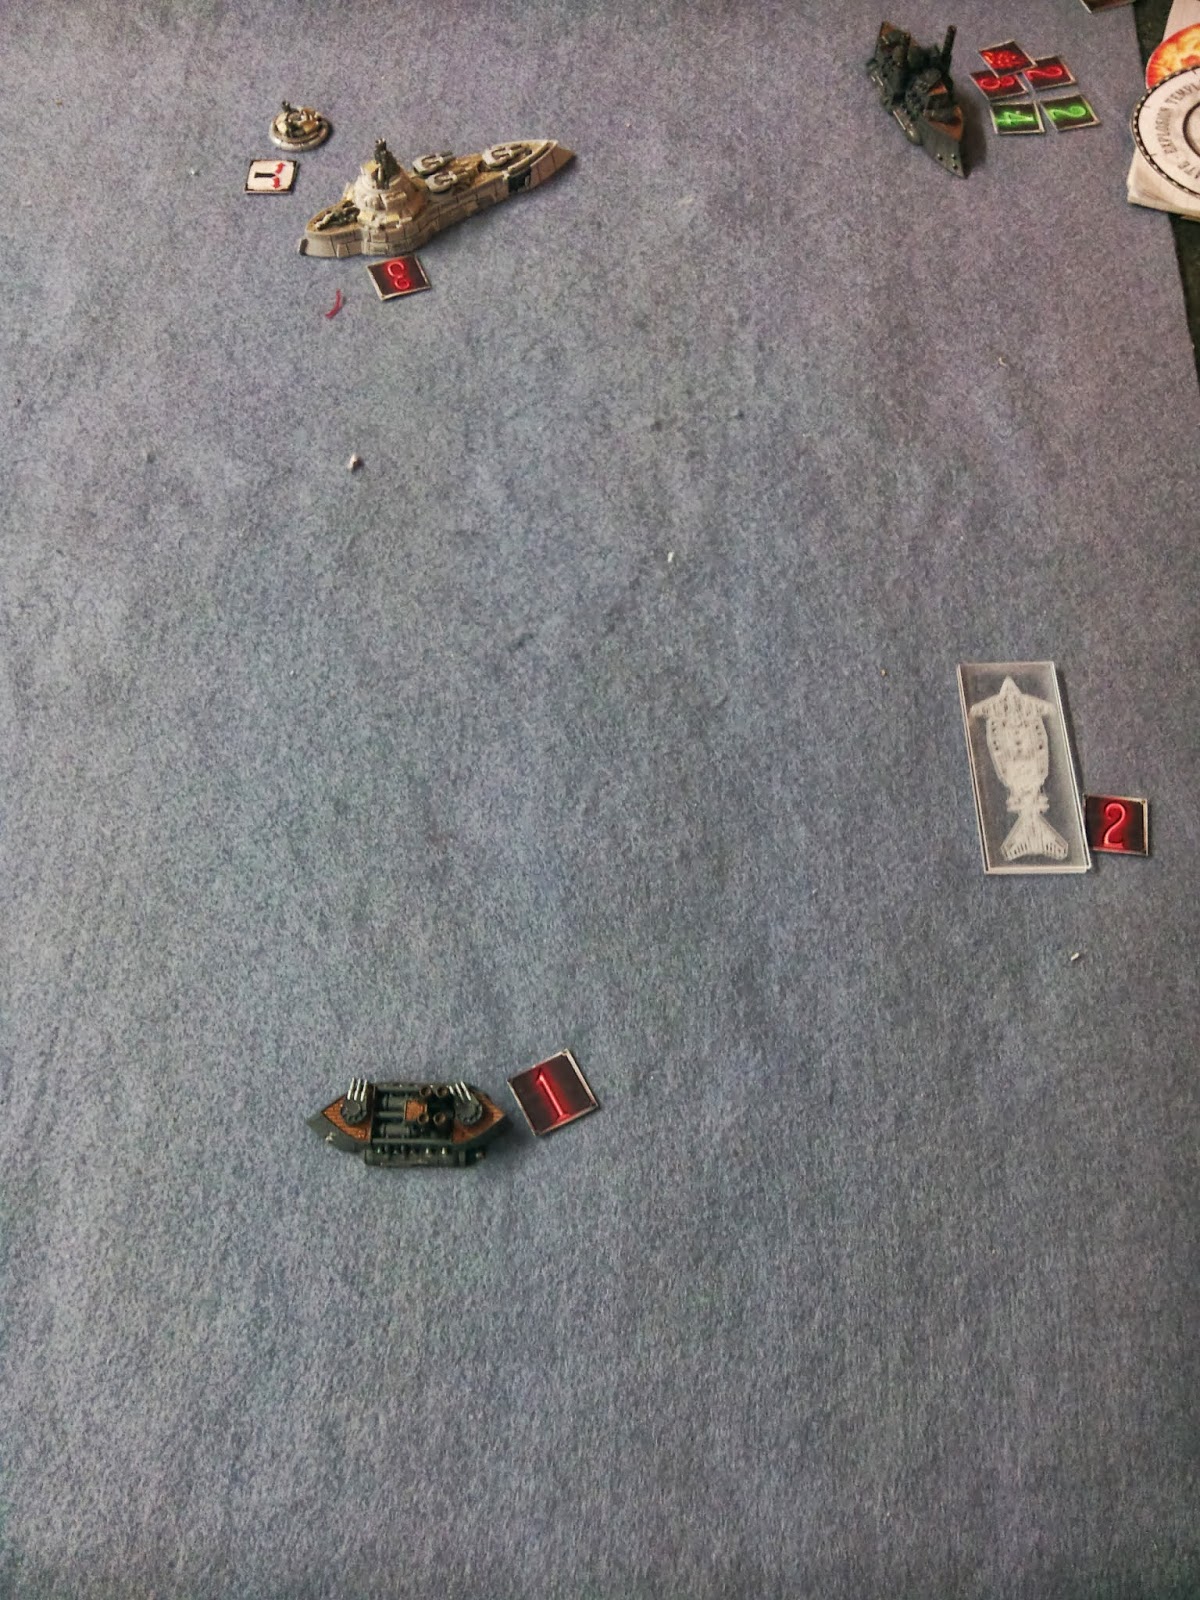
fire. Russian Frigates moved to the left
at about a 45 degree angle, their weapons all Out-Of-Range. The British Battleship moved forward, turning
to the right to present Broadsides to the Russians, and it’s Escort blocking
Line Of Sight to the center of the Battleship.
The Battleship fired and was able to sink one of the Russian
Frigates. The Russian Frigate Squadron
shocked at the unexpected sinking of a squadron-mate, failed its Break Test!

First Blood to the British!
The Russian Cruisers moved forward and though the Turrets
were Out-Of-Range, the Broadsides had a shot at the British Destroyers (which
missed)! The British Cruisers had no
such problems, moving and turning right to form a line, they managed to remove
the Ablative Armor on one of the Russian Cruisers. In the final activation, the Russian
Battleship failed to activate its Sturginium Boost, but advanced forward as
fast as it could. Sadly, everything was
out of range of the Battleship.
In the End Phase, the Russian Frigates successfully rallied.
Losses:
RC: 25pts
KOB: 0!
RC: 25pts
KOB: 0!
Turn 2:
Russians won Initiative!
The Russians started things with a Bang! The Cruisers advanced at full speed, their
turrets damaged 1 British Cruiser while the broadsides sank 1 Destroyer and
damaged a 2nd! The British
Frigates passed their Break Test.
Cruisers advance and fire!
The British Destroyers countered: an attack run resulted in
one Russian Frigate sunk, but the Frigates passed their Break Test this time.
Long Range Destroyer Fire!
The Russian Frigates retaliated with their own attack on the
British Destroyers, sinking both with Guns and Mortars!

The Frigates get their Revenge!
The British Cruisers continued their turn Line of Battle as
they circled the Russian Cruisers. When
the British firing finished, the damaged Russian sank beneath the waves while
the second cruiser lost its Ablative Armour.
British Cruiser's Line of Battle proves EFFECTIVE!
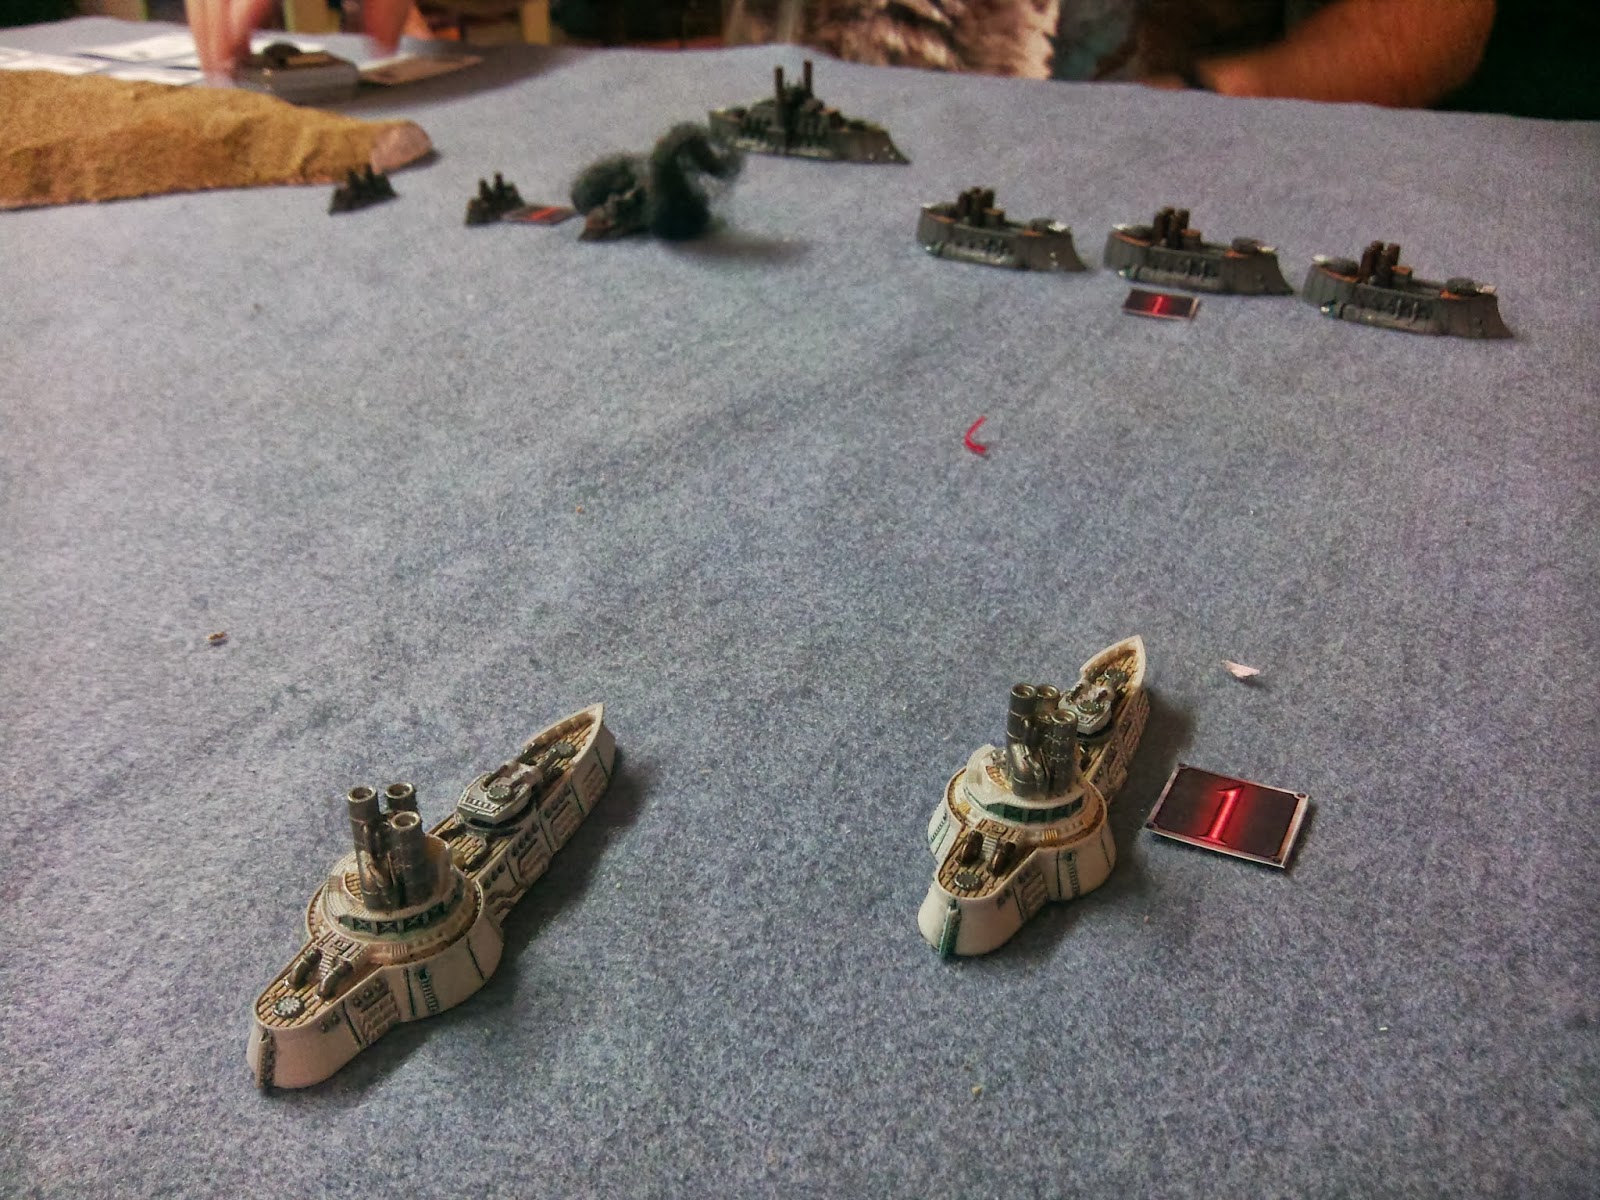
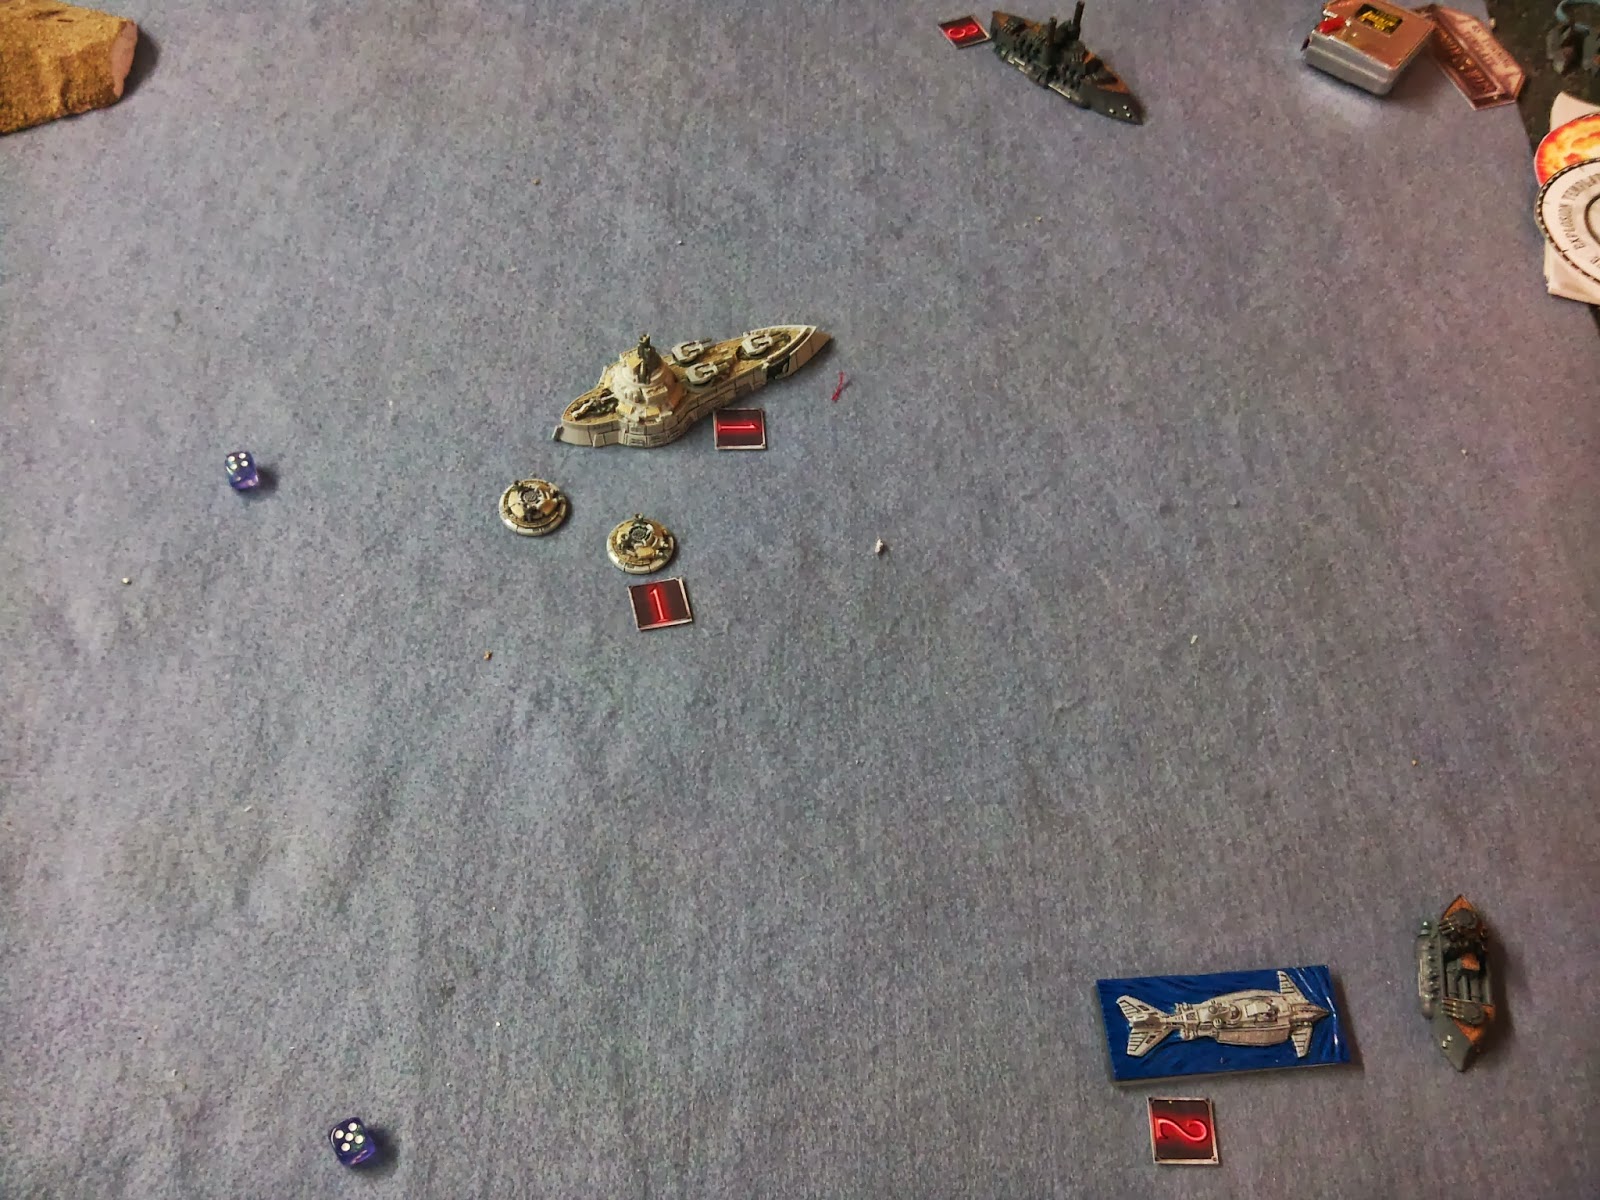
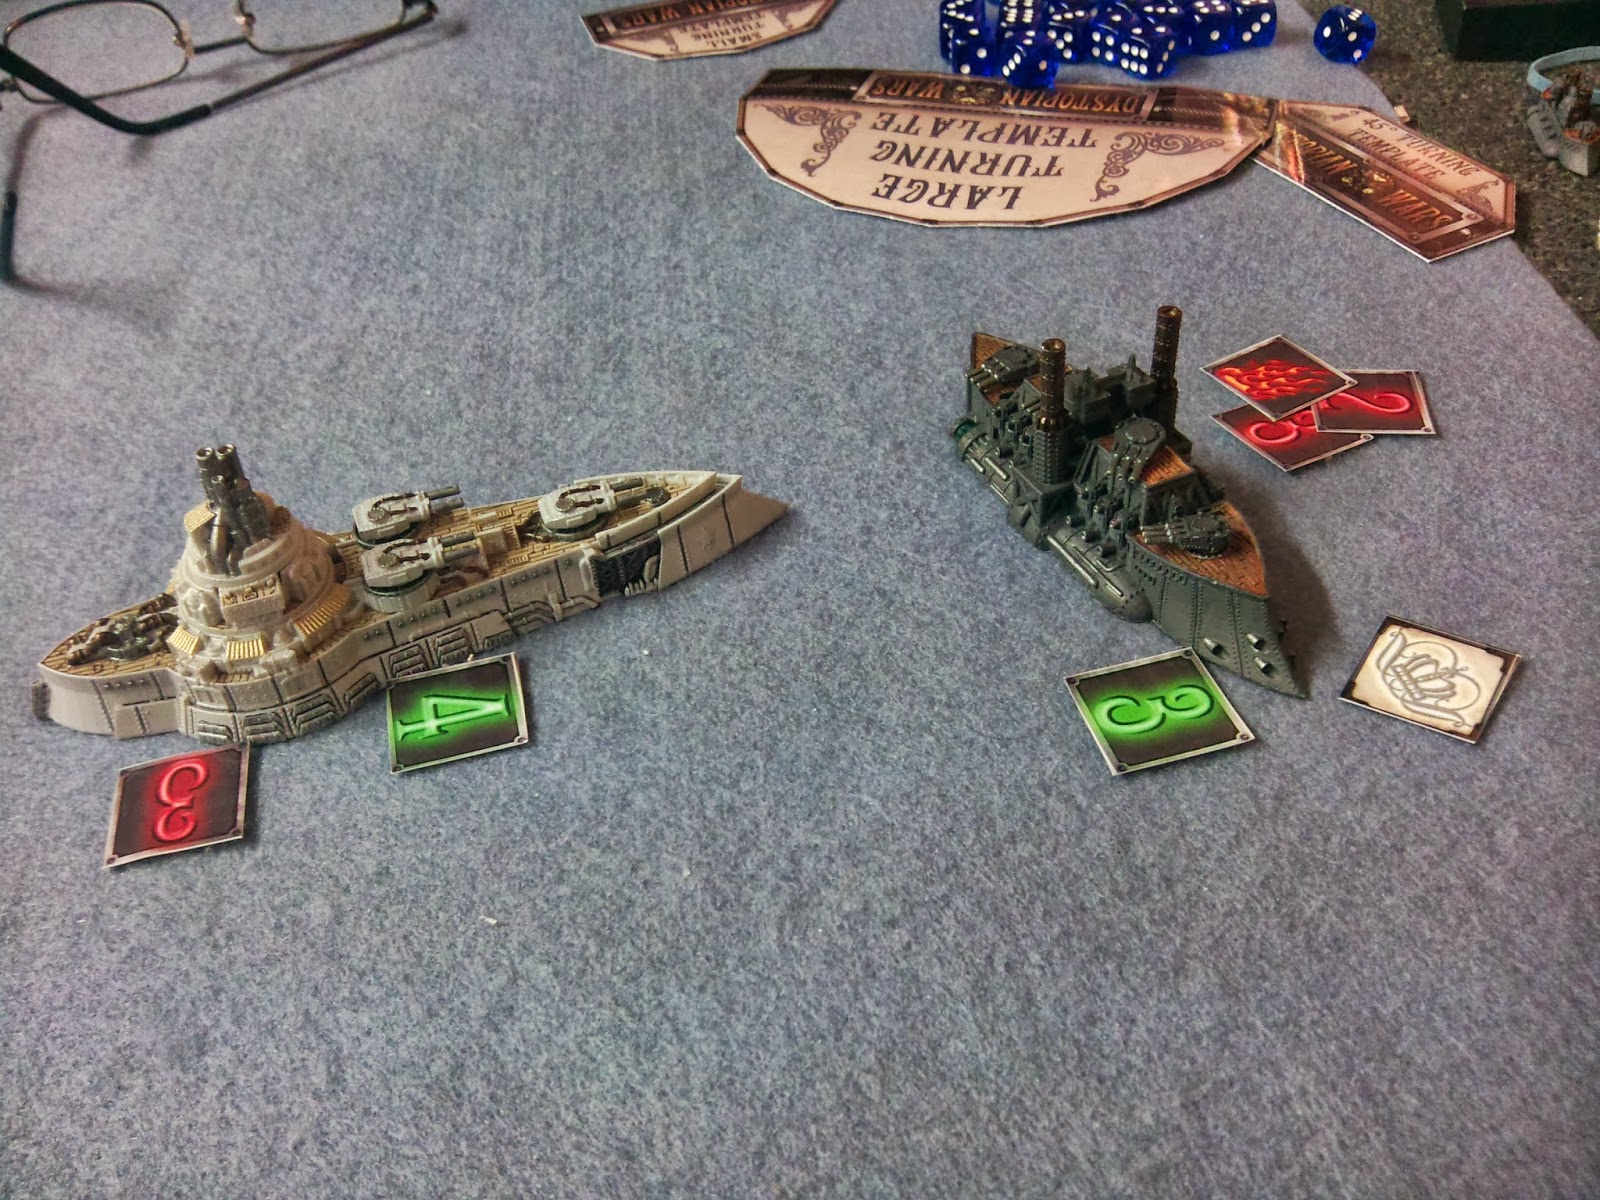
The Russian Battleship passed its Sturginium Boost this time
and moved forward at maximum speed, but its guns were still Out-Of-Range! The British Battleship had no such problems
as it continued its course to the right.
After declaring the Battleship would fire both turrets and torpedoes at
the remaining Russian Cruiser, the Turrets got a Crit: Sturginium Flair! This moved the Russian Cruiser forward 9”,
into a closer range band (and MORE torpedoes) from the British ship. The resultant torpedo spread resulted in the
sinking of the 2nd Russian cruiser in one turn!

Second Russian Cruiser sunk in 1 Turn!
As the final Activation of the turn, the Russian Sub’s
Echoes continued their courses at maximum speed, submerged.

End of Turn 2
Losses:
RC: 190pts
KoB: 105pts
RC: 190pts
KoB: 105pts
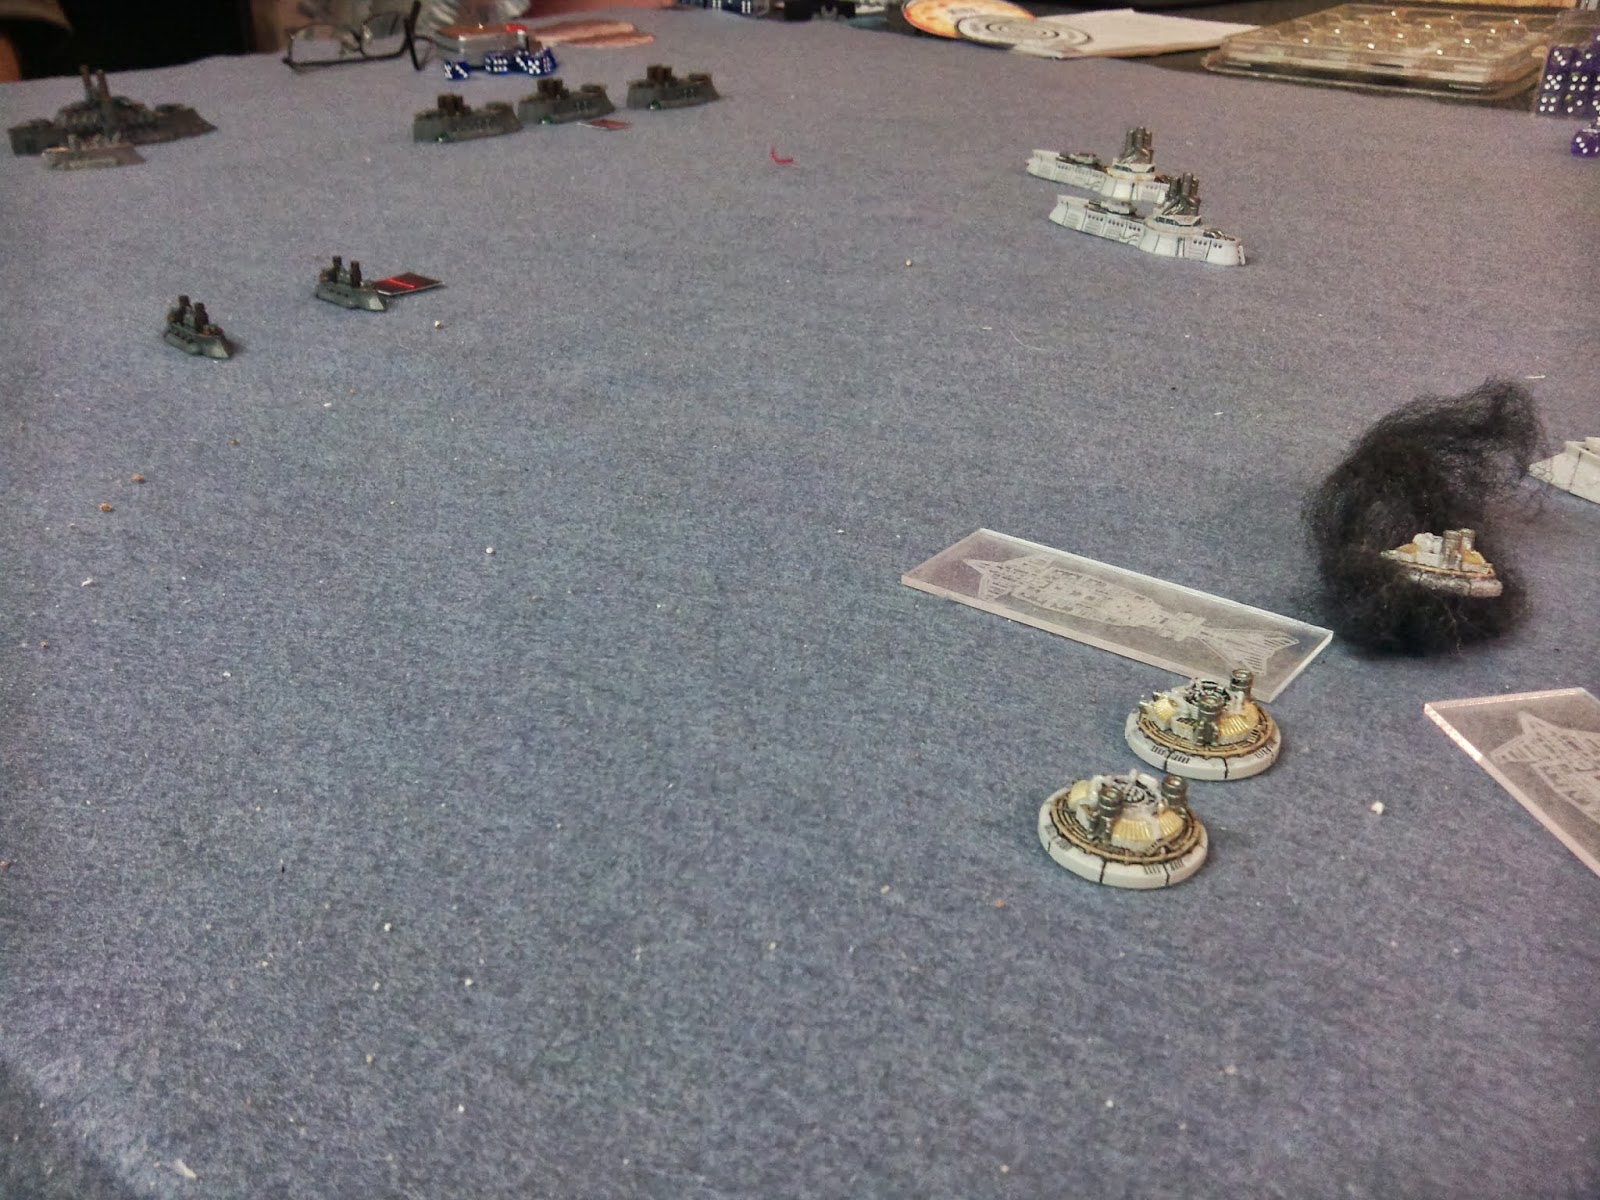
Turn 3:
British won Initiative!
Well, I was nervous.
I had been counting on a 1 – 2 boarding punch with the Cruisers followed
by the Battleship to capture the enemy Commodore. That wasn’t going to happen now! Things weren’t looking good for the
Russians! I didn’t think we had a chance
anymore but was determined to go down fighting!
The British Cruisers went first, continuing their arching
path around the Russian Battleship at Range Band 2. However, the Cruiser’s Turrets failed to
damage and the Battleship’s Torpedo Breaker diverted 3 torpedoes to the Sub
while the Concussion Charges reduced the impact of the rest: No Damage! The Russian Battleship passed its Sturginium
Boost and advanced forward at maximum speed, turning slightly to the right. The Russian Turrets inflicted a Crit on the
British Battleship (Systems Offline) while the Broadsides crit a Cruiser (Hard
Pounding – 1 AP left)! Not bad…

Russian Guns Speak Loudly!
The British Battleship and escort moved forward next,
turning slightly to keep the torpedoes aimed at the Russian Battleship and
unleashed Heck! When the dust settled,
the British managed to remove the Ablative Armor on the Russian Vessel. The Russian Sub, in an attempt to reduce fire
on the Battleship, surfaced and attacked the Cruiser squadron. While its torpedoes failed to do any damage,
the Main Guns managed a Crit (Gun Damaged) and the Hard Pounding effect shifted
the Cruiser back 2” – sadly missing the following cruiser.

Sub Attack!
In the final activation, the Russian Frigates moved across
the board at maximum speed, but were unable to get in range to shoot at
anything.
In the End Phase, the British Battleship managed to repair
their Systems Failure, but the Cruiser was unable to repair its Gun Damaged
effect.

End of Turn 4
Losses:
KoB: 169pts
RC: 190pts
KoB: 169pts
RC: 190pts
Turn 4:
British won initiative!
Cackling, the British Commander moved his Battleship and
Escort first! Sadly, the Turrets all
failed to damage the Russian Battleship and when torpedoes were launched, the
Russian’s Torpedo Breaker redirected 3 torpedoes against the nearest frigate,
damaging it. The remaining torpedoes
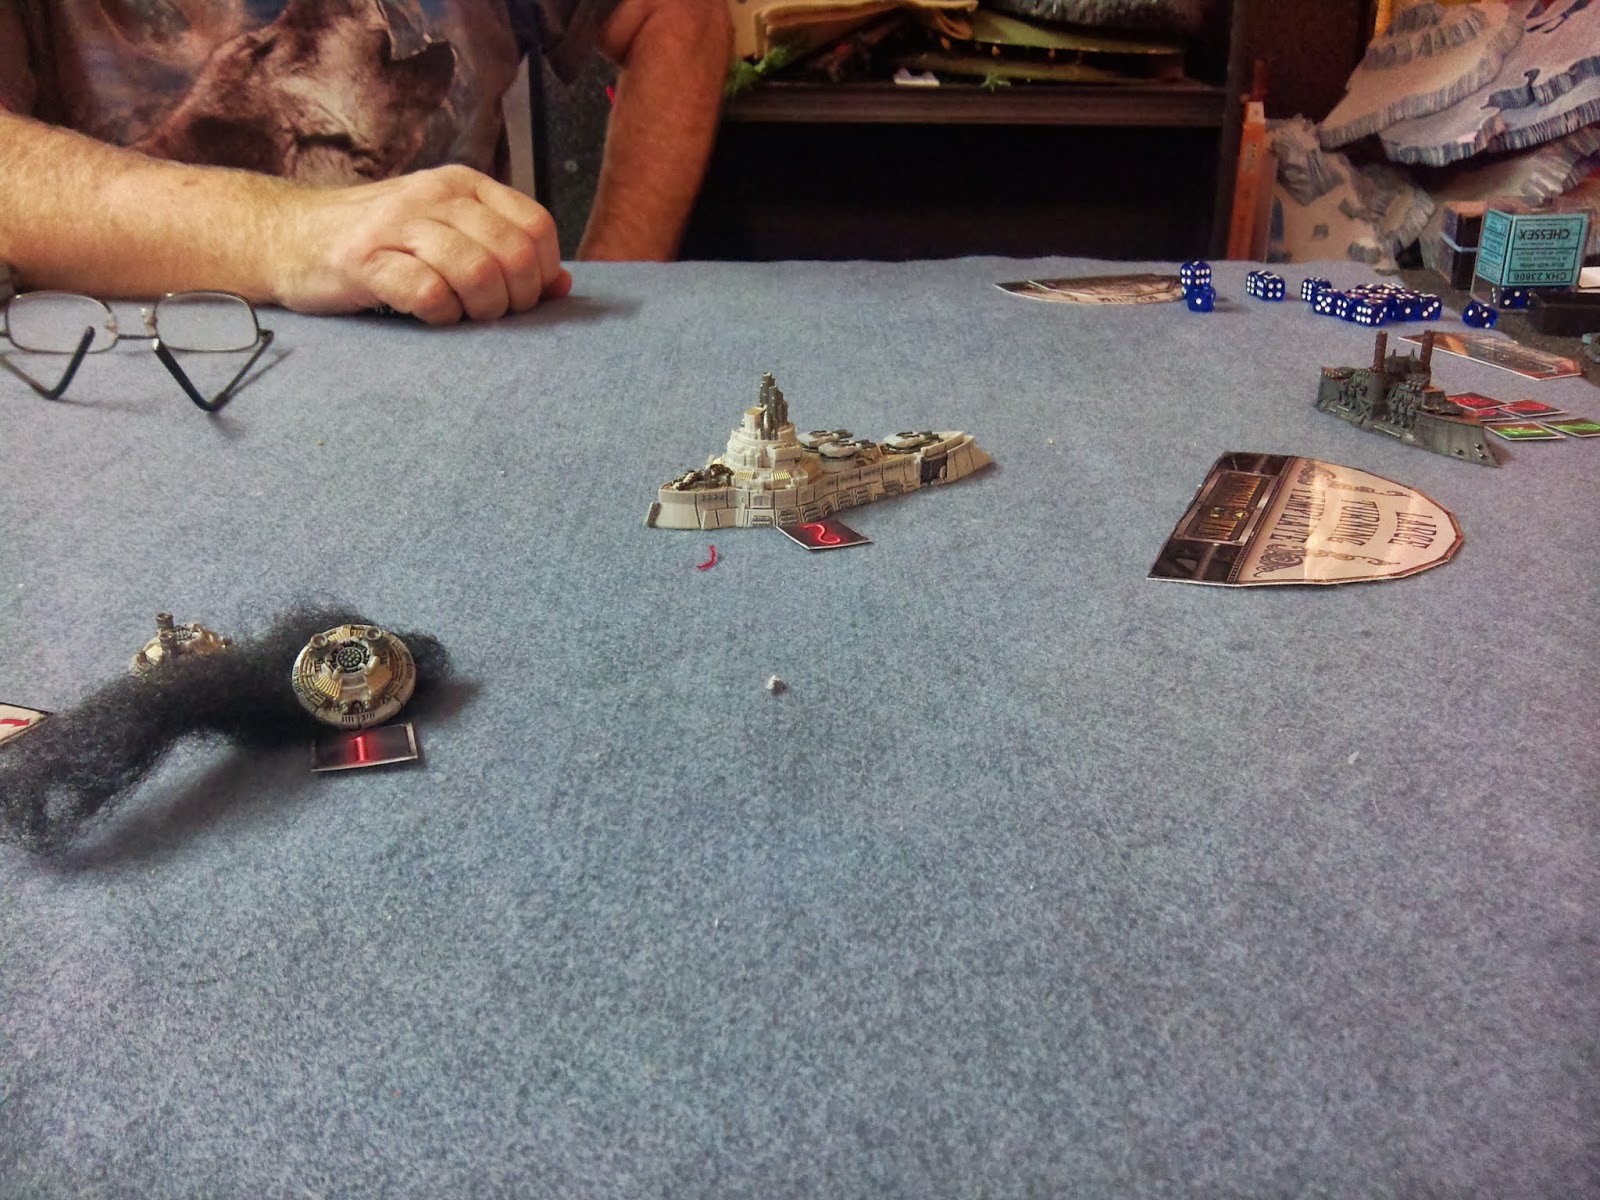
failed to cause any damage to the Russian Battleship. The Russian Battleship moved next, turning in
front of the British Battleship to intercept next turn (hopefully). The Russian Battleship’s turrets caused
another HP of damage on the British Battleship while the broadsides sank a
British Cruiser. The British Cruisers
passed their Break Test.

The Russian Battleship Strikes Again!
The British Cruisers moved forward and managed to Crit the Russian
Sub (Sturginium Flair); which caused the Sub to move to the right 5” – and out
of the follow-up Torpedo Attack’s arc of fire!
That crit may have just saved the Sub’s life! The Russian Sub moved forward and turned to
face the undamaged Cruiser. The Guns
failed to damage the Cruiser and as both cruisers were too close for a torpedo
attack, the sub fired its Torpedo Turret at the British Escort – somehow sinking
the escort!
2nd Sub Attack
Finally, the Russian Frigates moved to the right at full
speed and managed to sink one of the British Cruisers with their Mortars! The surviving Cruiser didn’t need to pass another
Break Test as they had already passed one test this turn.
Nothing for either side to repair in the End Phase.
End of Turn 4
Losses:
KoB: 235pts
RC: 202pts
KoB: 235pts
RC: 202pts
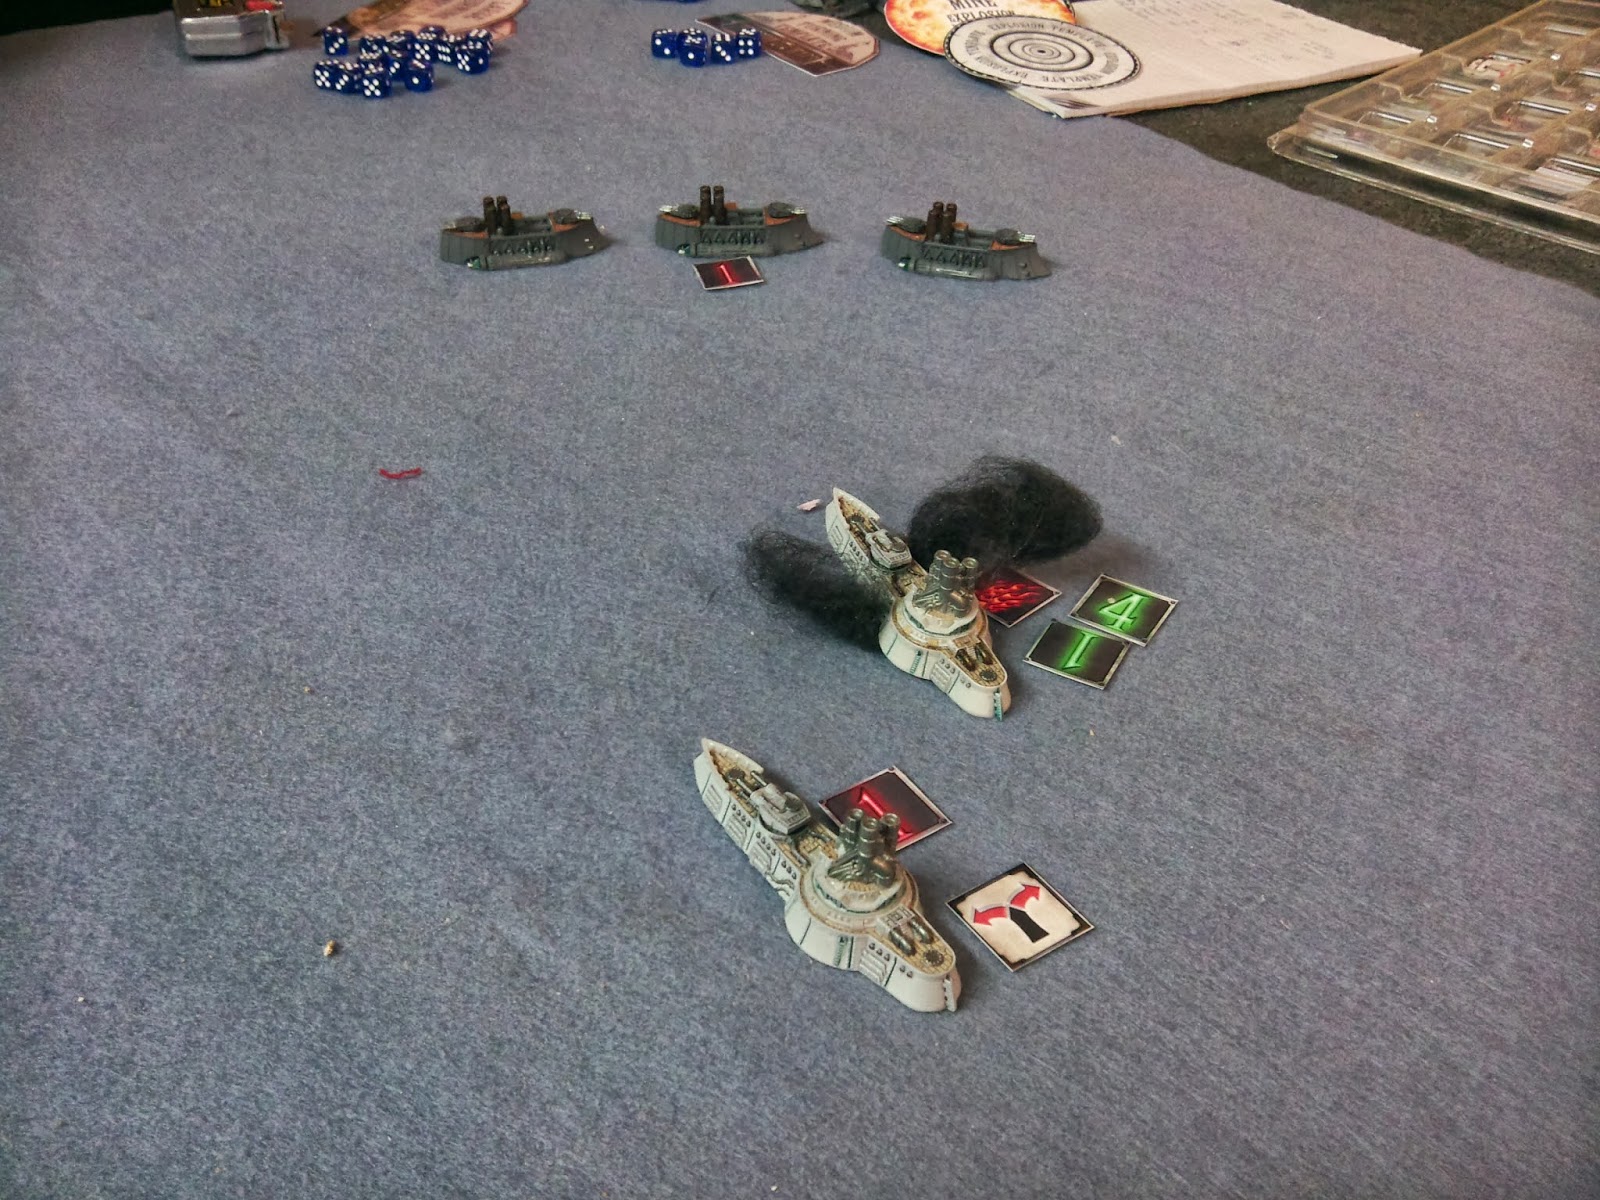
Turn 5:
Russians won the Initiative.
Hoping to end the battle quickly, the Russians activated
their Battleship first. (Before it could
be sunk or damaged badly by the British Battleship!) The Russian ship failed it’s Sturginium Boost
test, so only moved its normal maximum speed of 5” – not enough to get into
Boarding Range. With nothing to lose,
the Russians fired the turrets and managed a Crit on the Battleship (Raging
Fire – 6AP left). The Russian’s
broadsides caused another HP of damage on the last British Cruiser.

The Battleships face off!
The British Battleship moved next, fired its turrets at the
Russian Battleship and caused an HP of damage, while the broadsides managed to
sink the damaged Russian Frigate. The
surviving Frigate failed its Break Test (AGAIN)!
British Battleship Fire
The Russian Sub realized it was going to be involved in a
collision if it stayed on the surface, so it dove and turned towards the British
Battleship – just in case it would be needed next turn. The British Cruiser turned once more and
brought torpedoes and both turrets to bear on the Russian Battleship. The turrets caused another HP of damage, but
once again, the Torpedo Breaker diverted 3 torpedoes to an adjacent frigate –
this time both ships avoided torpedo damage.
British Cruiser Circles the Russians
As the final activation, the Russian Frigate ran around the
far side of the Russian Battleship to avoid taking fire from the British
Cruiser next turn.
In the End Phase, the British failed to put out the fire on
the Battleship, reducing their AP to 5.
End of Turn 5
Losses:
KoB: 325pts
RC: 255pts
KoB: 325pts
RC: 255pts
Turn 6:
Russians won Initiative.
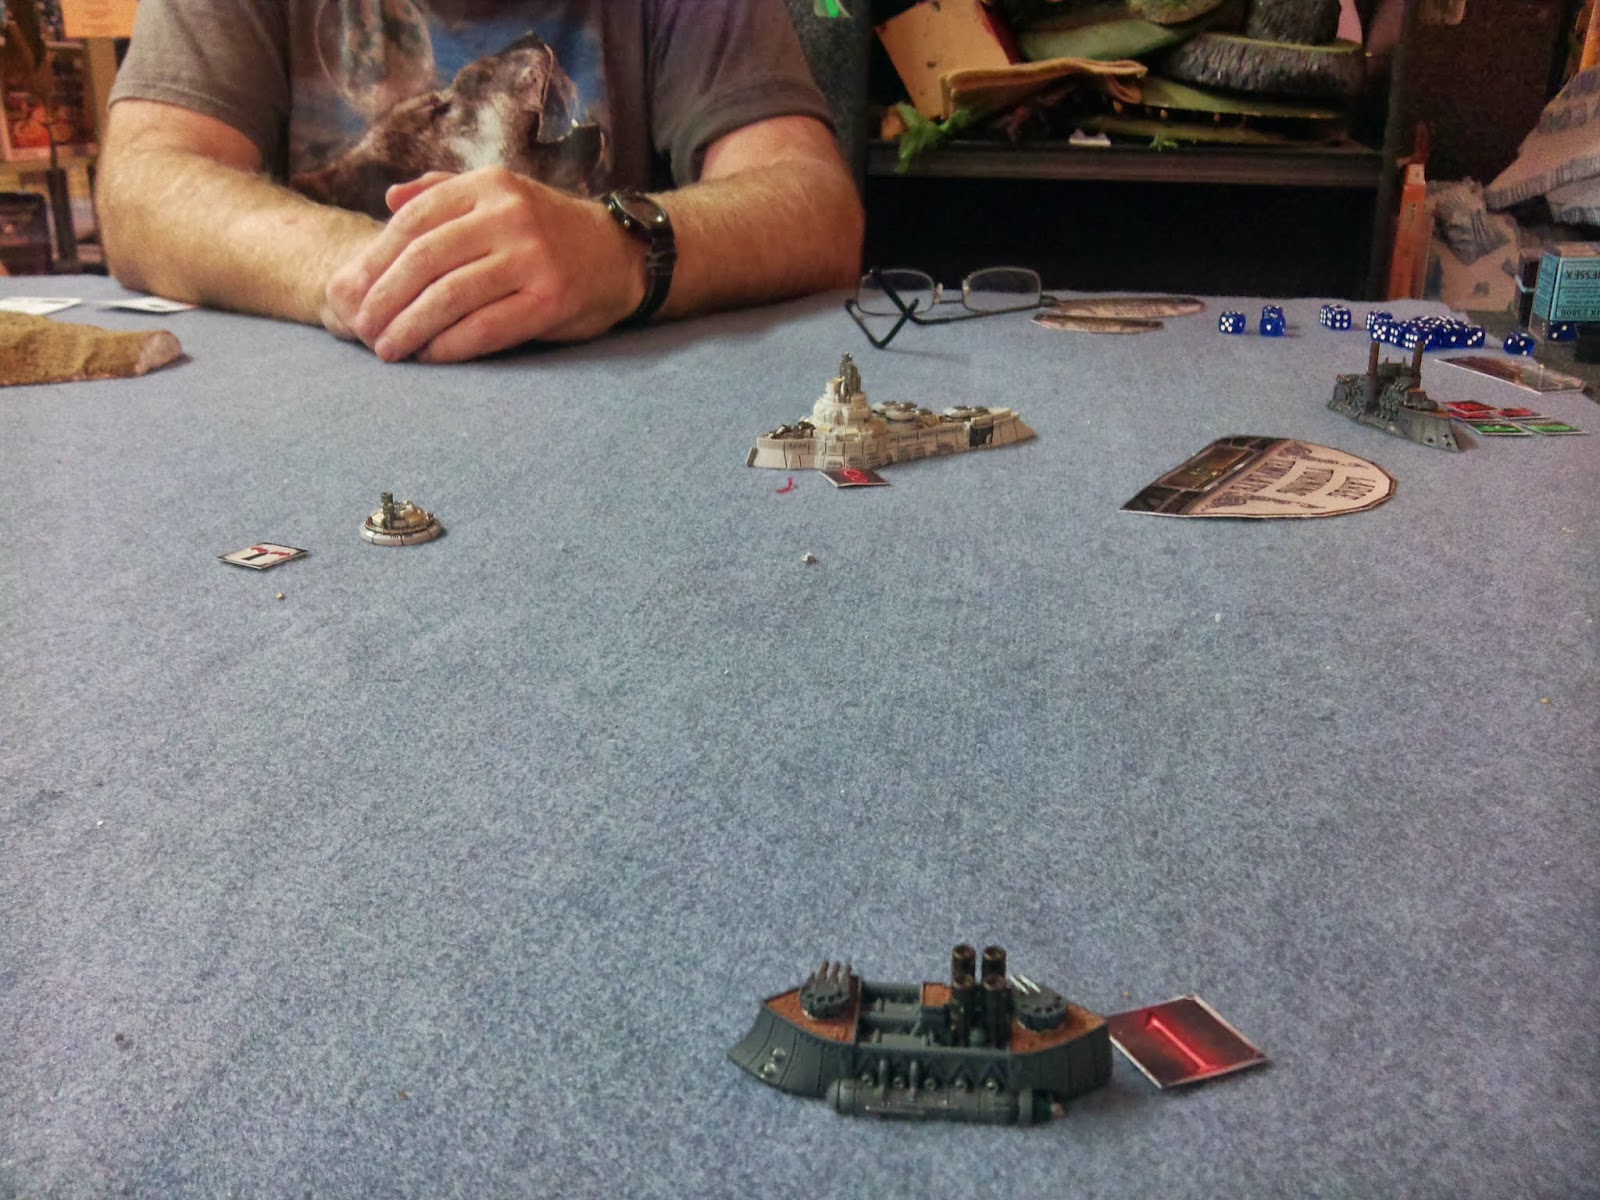
This was our chance!
The Russian Battleship moved forward at maximum speed and boarded the
British Battleship. After some tense dice rolling, the Russians successfully captured the Battleship,Commodore’s Ship, at a cost of 5
AP! The Boarding Party left 3 AP behind
on the prized Battleship – just in case 2 AP were lost trying to put out the
fire. The Russian Objective was complete - the Commodore's Ship was theirs!!!
The British Commodore is Captured!
The British Cruiser fired torps and turrets at both the
Frigate and Sub, but failed to damage either.
Failing to damage or capture 350 points of the enemy fleet, the game
ended with a Russian Victory!

The Last British Cruiser fails to damage anything in the last turn.
Great Game! To the best of my memory – this was the longest game we ever played. I think our personal best before this was 4 turns!
The “Highlander” format was fun and with only 500 points for your fleet choices, I think it’ll make things manageable and fast. Most fleets will only be able to have 3 Squadrons, unless they’re willing to reduce the number of ships from Maximum squadron sizes, use unusual (cheaper) squadron selections or points for various options. Keeping the free tiny fliers off the board really helped speed up the game as well. The only problem I see with 500pt fleets is that fleets will be vulnerable to "Kill all Smalls" or "Kill all Mediums" missions. I'll try a couple more battles at this level before making the final decision what size to use for a fun event.
Looking at my (the Russian) fleet selection, I took a chance
dropping one cruiser to get the sub (and an extra activation), but I think it
was worthwhile. The extra activation
allowed me to keep the Battleship relatively safe by moving it after the
British were done all their moves until I was willing to move it first and
attack with the Battleship. Though my Cruisers got chewed
up and spit out pretty fast, the Sub was a constant threat for most of the game
– able to surface and attack at a moment’s notice. More importantly, it gave me a second Medium choice. If Graham had drawn "50% & all Medium Choices", Graham could have potentially won on Turn 5 or drawn on Turn 6.
Graham always complains about the Ablative Armour of the Russian Fleet, but this time, I think he figured it out. He stripped through all of it by the end of Turn 3. The British fleet played it safe by trying to keep outside of Range Band 2 until they could bring overwhelming fire to pierce the Armour. It worked against the Cruisers, but unfortunately for Graham, he just couldn't damage the Russian Battleship fast enough to prevent the Russian ship from launching its entire load of 12AP at his crippled Battleship.
The fact that the British Battleship lost over half their AP before I attempted the boarding just made it worse. I lucked out on the fact the Criticals and Raging Fire did exactly the right type of damage I needed him to take so that my Conscript Crew had a chance to overwhelm his own crew. The 6 turns also gave me the time to trap his Battleship that I would not have been able to do in a shorter game.
Over all, this was a fun game that played quite quickly for 6 Turns. I look forward to another mission soon!
No comments:
Post a Comment