Admirak Von Shtupp was
relaxing on the bridge of the SMS Kaiser Karl - the first of the Class of the
Heavy Battleships. Looking out the
starboard window, he reminisced about the times he flew his flag from an
Emperor-Class Battleship. He had fond
memories of those times.
The SMS Graf Zeppelin
and SMS Graf von Zieten were back at port undergoing repairs and resupply. The Pflichts were out on patrol over the crowded
island chains. Von Shtupp was patrolling
near the Americas, looking for easy targets and gathering intelligence. At least, that was the plan.
“Admiral! We’ve spotted a fleet coming in to intercept
us!”
“I suppose we should
prepare to show the Americans a warm welcome.
I’ve never fought them before.”
“Admiral, they’re not
Americans! They’re Britanian!”
Oh well. Maybe next time…
+++++++++++++++++++++++++++++++++++++
Once more, the EEEEEvvvviiiiiillllll Britannians were after our hero, the Glorious Prussian Admiran von Shtupp! The Cowards! The Horror!!!
(Well, I had to come up with SOMETHING to start this Battle
Report with!)
A “New: idea to make
things interesting:
Actually, Graham's done this to me numerous times, so I
thought it only fair to share the “pain”.
I made up 5 separate lists, each for 1,000 points. Each list was different “theme”, for lack of
a better word. One was heavy Air
Support, one carrier, etc. Then made him
roll a dice (a 6 would require a re-roll – I just didn’t have time to come up
with a 6th list). That would
be the list to use.
The result: Each game, you not only know what fleet you’re
going to have, as well as having to draw random missions! More thrills (and heartache)!
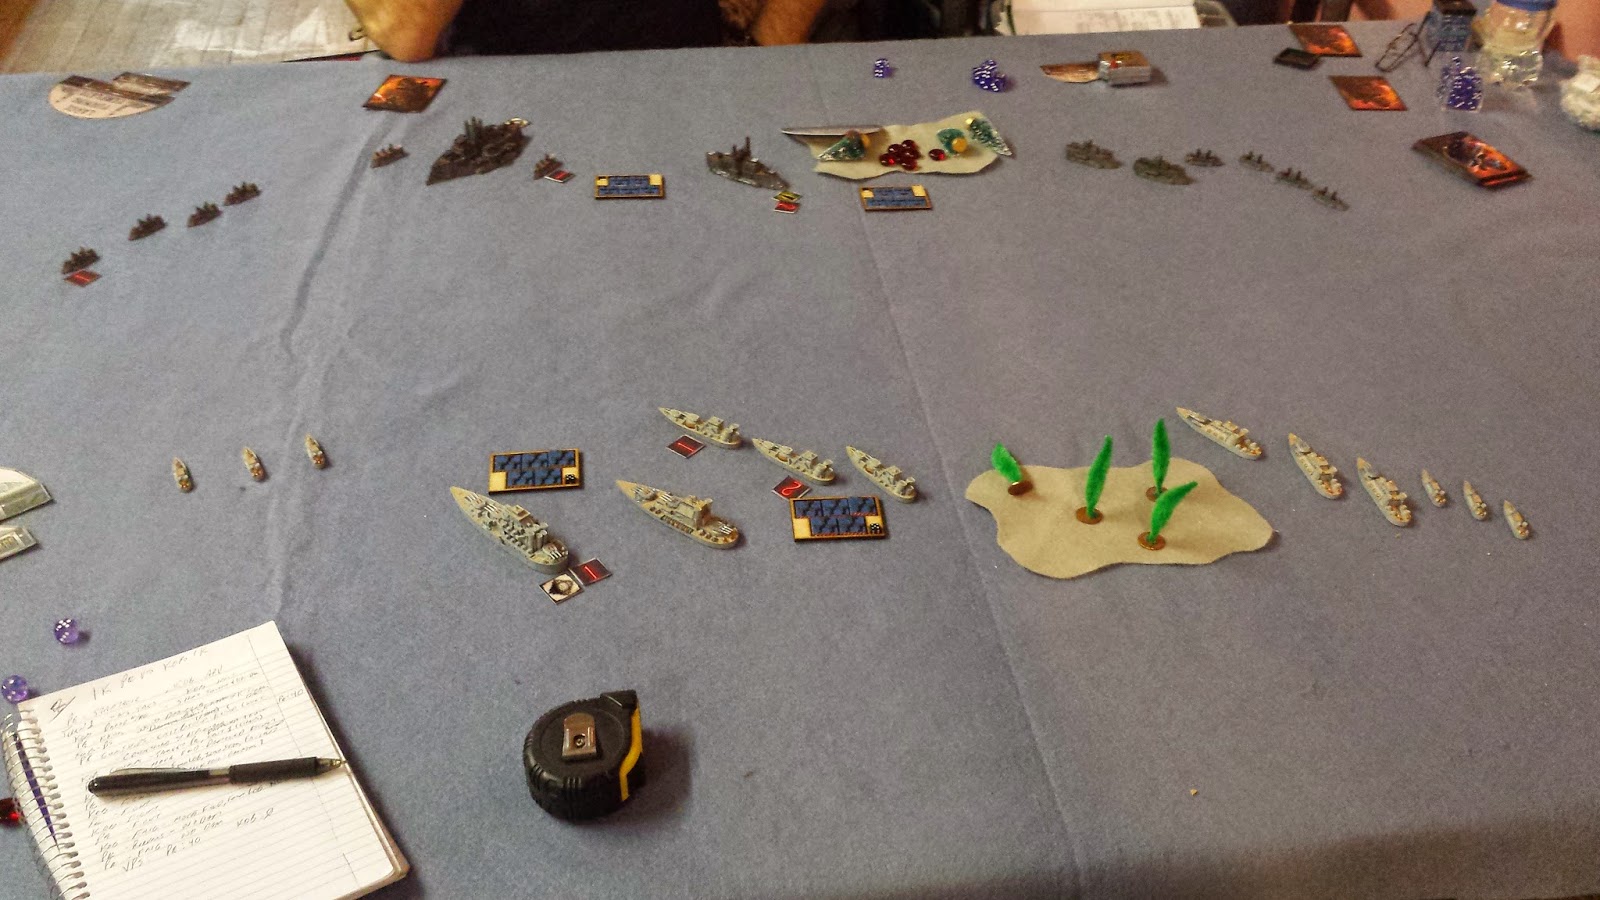
Prussian Empire (PE)
Deployment (Left to Right):

Prussian Empire Deployment
- 3 Arminius Frigates
- 1 Kaiser Karl Heavy Battleship (the Commodore’s Flagship)
- Fighter SAS (5 Tokens)
- I Emperor Battleship
- 3 Hussar Gunships
- Fighter SAS (5 Tokens)
- 3 Riever Light Cruisers
- 3 Arminius Frigates
Kingdom of
Britannia (KoB) Deployment (Left to Right):

Kingdom Of Britannia Deployment
- 4 Attacker Frigates
- 2 Agincourt Gunships
- Fighter SAS (5 Tokens)
- Fighter SAS (5 Tokens)
- 1 Ruler Battleship (may have had the Guardian Generator)
- 1 Majesty Dreadnought with 2 Bastion Escorts
- 4 Attacker Frigates
As you can see, we rolled pitifully little terrain. One Massive Island in each of the Middle
sections.
The Other “Oops” isn’t really a mistake, so much as a
condition of the game. NEITHER of us brought carriers, but had to
declare the SAS squadrons in advance. As
a result, we both ended up with 2 SAS of Fighters (to deal with each other’s
non-existent Air Forces) that would have absolutely no impact on the naval
actions below. On the other hand, they
did provide a couple of extra activations for stalling…
We drew our missions, selected our Tactical Action Cards (TACs)
and stared each other down as the dice began to roll…
Turn 1
Neither of us played TACs for the first turn. Britannia won initiative.
The Britannian Dreadnought moved forward, flanked by her
escorts, and turned her weapons on the Kaiser Karl. After a bit of nail biting, the Karl suffered
a Hit Point of damage. Not a good start
for the Prussians! Kaiser Karl moved
forward and fired everything she had back at the Dreadnought, but failed to
damage the mighty ship. Britannian
attention hadn’t shifted from the Prussian Ship yet as the Britannian Battle
Ship moved forward and attacked the Karl as well. Fortunately, Karl’s legendary toughness
prevented any further damage!
Seeking to protect the Kaiser Karl, the Prussian Gunships
raced forward to blast the Britannian Battleship and scored a Crit! Sadly I rolled “Chaos and Disarray”,
something that wouldn’t impact the Battleship too much, so I played “Lucky or
Unlucky shot”, allowing me to re-roll the Crit.
Graham was having none of that and cancelled the card by playing “Espionage”. A quick 40VPs for the Prussians!
Realizing that their Battleship was now in danger, the
British Gunships sailed out from beside the island and fired on the Prussian
Gunships, damaging 1 ship and Crit the other (Chaos and Disarray). This is what the Emperor was waiting
for! Time to move out and blast the
Gunships! EXCEPT! I had moved MY Gunships in the way and the
Prussian Battleship didn’t have the room to sneak behind the Prussian Gunships
and attack the Britannian ones.
Dejected, The Emperor Battleship did a move forward and managed to
damage one of the Britannian Escorts.
Britannian Frigates on the Prussian Left dashed forward,
formed a Line Of Battle as they turned to starboard, but their long-range fire
failed to damage anything. Prussian
Frigates on the left raced forward to attack and managed to damage 1 Frigate.
After all that, we both wasted time by fluttering our SAS around,
jockeying for position but not attacking.
Obviously, neither of us wanted to be the next to expose a
vulnerability, but ultimately, the Prussians had more stalling power than the
Britannians.
Finally, the Britannian Forces had to activate something, so
the Frigates on the Prussian Right moved forward and formed another Line Of
Battle. Sadly for the Britannians, they
failed to damage anything and they were the last unit to activate.
Gleefully, the Prussian Rievers and Frigates poured out from
behind the island and did . . NOTHING!
Sad, sad day for Prussian marksmanship…
In the End Phase, I missed noting if anything was repaired
this turn.
End of Turn 1
VPs:
PE: 40
KoB: 0!
(This is the first game I think we have ever had where NO ships were sunk in Turn 1!)
PE: 40
KoB: 0!
(This is the first game I think we have ever had where NO ships were sunk in Turn 1!)
Turn 2
Both players glared at each other and Snapped down cards for
the TAC Phase! Britannia played “Radio
Intercept” and rolled +1 to their Initiative roll. Prussians played “Lost Orders”!!! Britannia lost “Brace For Impact”. 20 more VP each!
Of course, Prussians won the Initiative (with Double-Sixs –
Take THAT! “+1 Initiative" – HAH!!!)
Prussian Gunships moved forward once again and blasted the
British Battleship, getting another Crit (Hard Pounding – 7AP left).

Gunships Crit the Battleship!
The British Dreadnought moved forward, its
Escorts moved to the far side (hiding out-of-sight). The Dreadnought then turned its weapons on a
Gunship and the Kaiser Kark, damaging the Battleship but failed to damage the
Gunship.
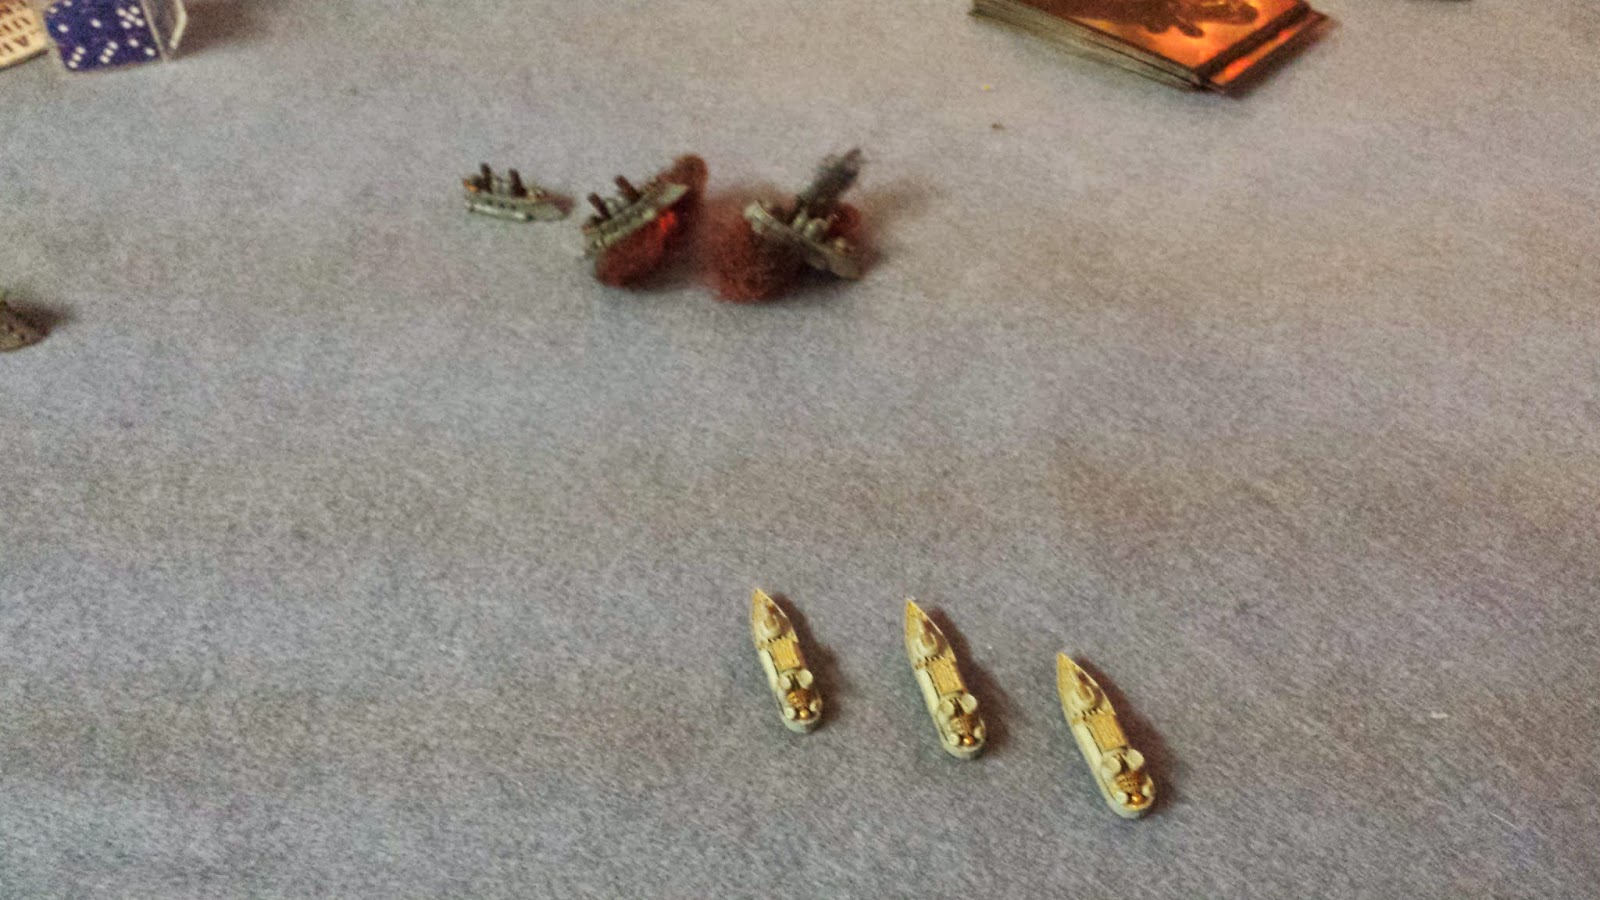
On the other side of the battle, the Rievers formed a Line
Of Battle and fired everything at the lead Gunship, critting it. Rolling on the chart, the Gunship suffered a
Magazine Explosion, Just sinking it, another Frigate that was just a little too
close and damaged the Gunship following close behind! First Blood for the Prussians! The Surviving Gunship, shocked by the
violence of the explosion, failed its Disorder test!

Magazine Explosion!
The British Battleship managed to Crit a Gunship (glad they
had already been activated). Prussian
Frigates on the right attacked and sank 2 more Britannian Frigates! The Prussians were on a roll!
Britannian Frigates Sunk by Prussians!
Britannian Frigates on the left attacked and damaged 2
Prussian Frigates. The Prussian Emperor
Battleship did a minimum move forward and successfully damaged the Britannian
Battleship. The Surviving Britannian
Gunship, despite being Disordered, turned towards and managed to sink a Riever
Light Cruiser! Britannia finally sank a
ship!

Prussian Riever Sunk!
Meanwhile, in the skies above, the Britannian and Prussian
Fighter SAS engaged each other. All 4
SAS squadrons suffered casualties!
Prussian Frigates on the left move forward and damaged
another Britannian Frigate. The
Britannian Frigates counter-attacked and damaged 1 Frigate and Crit a Riever
(Fusion Leak – 3 Corrosion Markers!)!
The Kaiser Karl then turned her turrets towards the Dreadnought and
Played “Devastating Barrage”. The
Britannian Admiral realized he couldn’t take the chance and dispelled it with “Stoke
The Engines”. As a result, the Karl
missed critting the Dreadnought by a single hit!
In the End Phase, the Prussians repaired all damage effects
without incident. The Britannian Gunship
lost 2 AP and then Rallied – all other damage repaired.

End of Turn 2
VPs:
PE: 280VP
KoB: 110VP
PE: 280VP
KoB: 110VP
Turn 3
In the TAC Phase, both player played “Battlefield Repairs”. The Britannian Battleship repaired its damage
from 5HP to 3HP gone. Prussians were
luckier; managed to repair 4 HP damage on the Hussar Gunship Squadron,
repairing all but 1HP of damage to the Squadron!
Prussia won the Initiative.
Prussian Gunships started to Circle the Britannian
Battleship and all 3 fired their Tesla Generators at the ship, but only 1 Tesla
inflicted damage; Hard Pounding (6AP left).
The Gunships then opened fired and managed to damage the Battleship once
more.
Meanwhile, the Britannian Dreadnought (with Escorts hiding
on the far side) reminded the Prussians that while Frigates are maneuverable,
they can still be rammed. The Prussian
Frigate Squadron on the left was completely mowed down by the speeding bulk of
the massive ship. The Dreadnought then
played “Devastating Barrage” (which was cancelled with “Stoke The Engines”) and
fired on the Kaiser Karl, damaging it.

Prussian Speed Bump!
On the other side of the battle zone, the Prussian Frigates
maneuvered to board the Gunship while they fired on the Britannian
Frigates. When the smoke cleared, One
Frigate was damaged and the Boarding had failed! One Frigate lost their AP to the Gunship’s AA
while another Frigate lost a crew in deadly hand-to-hand combat while the
Gunship lost only 1 AP – resulting in a TIE!
Per the boarding rules, this meant that the Boarders made their way back
to their ships under the smoke and confusion of the battle and no further
damage to either side.

Prussian Frigates Fail To Board The Gunship!
The Britannian Battleship, feeling out-numbered and surrounded,
mad a minimal move forward, turning her torpedo tubes towards the Emperor
Battleship as the guns prepared to engage the Gunships at Range Band 1! When the smoke cleared, the Emperor
Battleship was damaged by Armor Piercing Torpedoes and suffered “Hard Pounding”
effect. The Gunships suffered 2 ships
damaged and the third was crit (Chaos & Disarray).
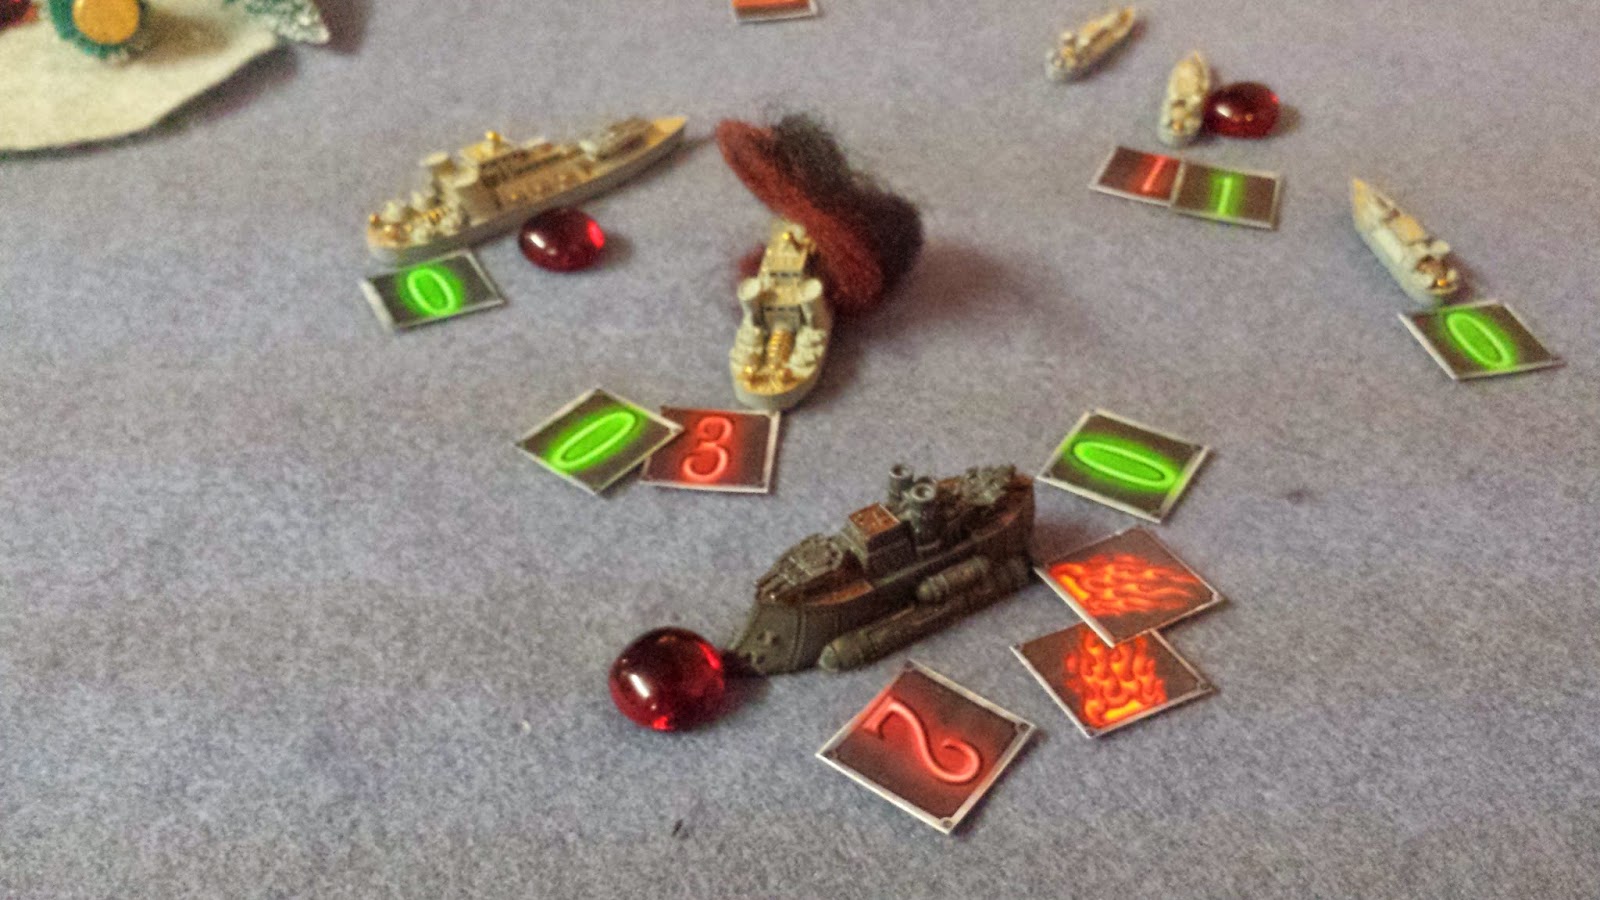
The Rievers, laughing at their Fellow Captains on the Frigates
raced forward to board the Britannian Gunship.
Or tried to. When the Boarding
Phase ended, the Gunship and ALL the Riever Cruisers had run out of Assault
Points! When both sides run out of AP,
the Attacker commits an act of Sabotage.
As a result, the Gunship suffered 2 Raging Fires and an AP. As the Gunship had no AP left, the ship lost
a Hull Point instead (we couldn’t find an example in the rule book right then,
but agreed it seemed the most likely outcome based on other situations where
the ship loses an AP and has none).

Britannian Gunship Survives a Second Boarding Attempt
Laughing at the Prussians, the Gunship made a turn to
starboard and fired on a Riever and SANK it!
The Survivor, Shocked at first failing to board the target in the first
place, and seeing their sister ship sank instead, failed its Disorder Test!
Britannian Gunship Sinks a Riever!
The Prussian Emperor Battleship turned to starboard and
fired on the Gunship and caused a crit (Generators Offline). The last Britannian Frigate on the right
turned to port and fired on the Prussian Frigates, but failed to cause any
damage. The Kaiser Karl fired all its
weapons at the British Battleship, but the only thing to cause damage was the
Speerscluder! This added a Lightning Rod
counter and removed another AP from the Battleship. The Britannian Frigates on the left moved
forward, turning to port and targeting the Kaiser Karl. Fortunately (for Karl), there was no damaged
to the Prussian Heavy Battleship.
Ending the Activation Phase, the fighters went at it
again. This resulted in both Britannian
SAS destroyed while the Prussians were reduced to 1 and 2 Tokens each! Prussia had Air Supremacy, but it was worth
NOTHING!!!
In the End Phase, the Britannian Battleship managed to
remove the Lightning Rod. The Britannian
Gunship was unable to put out all the fires and as a result, the burning hulk
sank beneath the waves. The Prussians
couldn’t laugh as their Riever lost enough AP in its attempt to rally (which it
didn’t have) that when it transferred into HP damage, it sank the Light
Cruiser!

End of Turn 3!
VPs:
PE: 410VP
KoB: 340VP
PE: 410VP
KoB: 340VP
Turn 4
Britannia won the Initiative!
In one of those “Use-It-Or-Lose-It!” moments, the Britannian
Battleship activated and attacked the Emperor Battleship. The Emperor suffered a Crit (Chaos &
Disarray) – the LAST thing I wanted! Chaos
& Disarray prevents boarding attacks – the primary reason why I brought the
Emperor!

Prussian Emperor Under Fire!
The Kaiser Karl turned to port and fired, all weapons
failing to damage their Targets! The
Dreadnought turned its guns on the Emperor next and crit the Emperor once again
(Navigation Lock – NOW I couldn’t turn to ram the Britannian Battleship which
otherwise was in perfect position)!
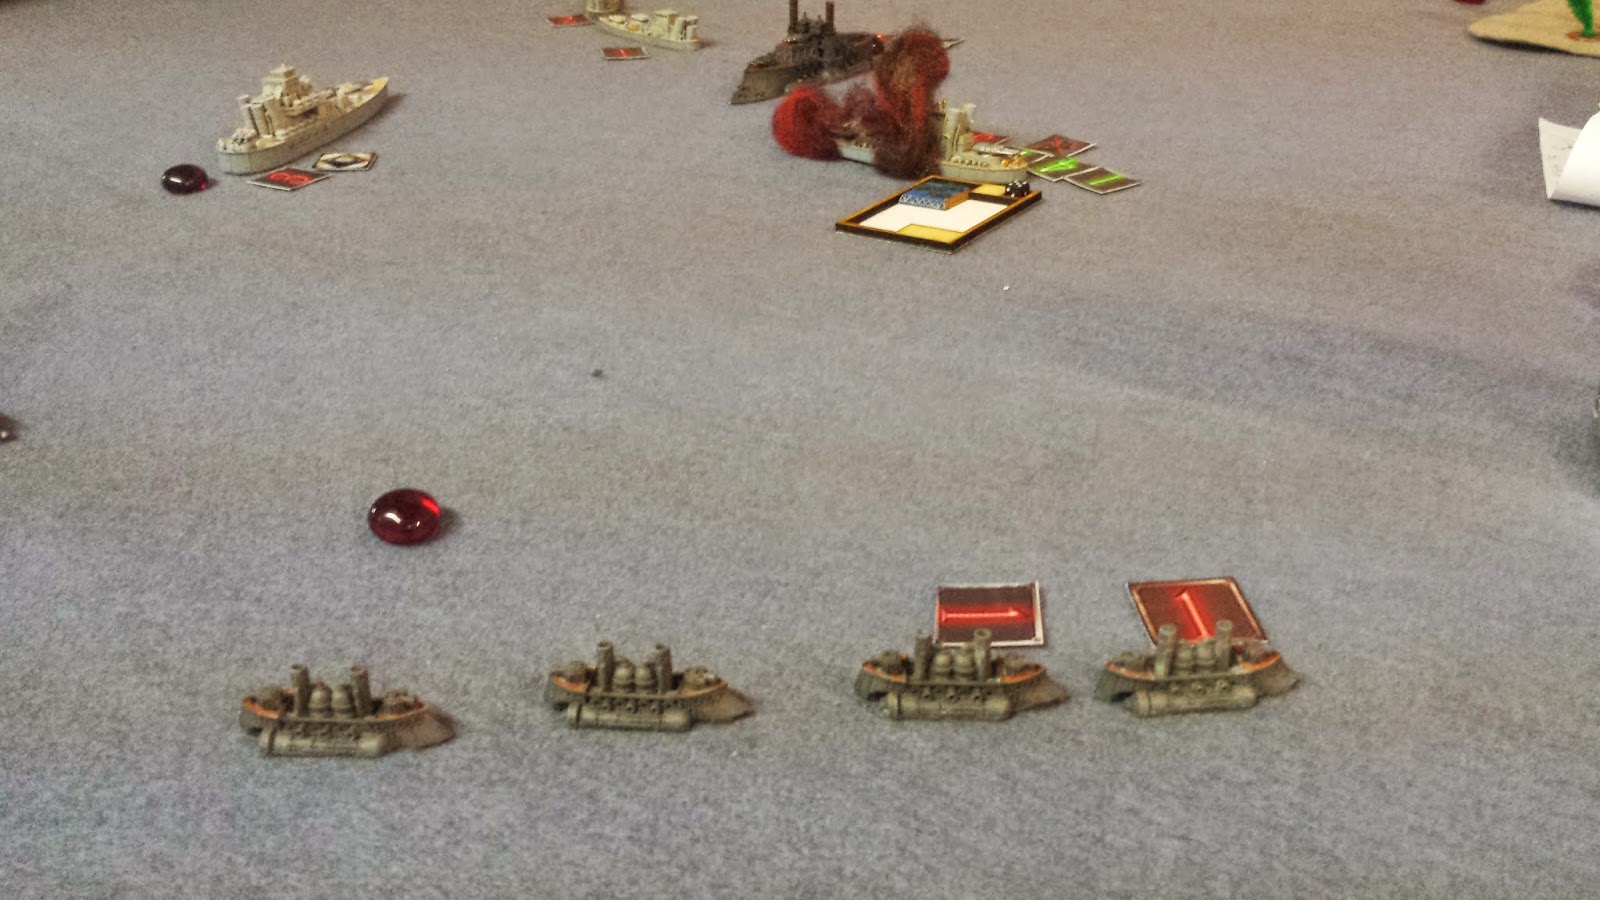
On the other side of the battle zone, the Prussian Frigates
made a 180 degree turn and sank the last Britannian Frigate on the right,
clearing that half of the board of the Britannian Forces.

Another Britannian Frigate Sunk!
Back on the left, the Britannian Frigates moved forward and
unloaded guns and torpedoes on the Emperor Battleship. It was too much for the brave
battleship. It finally succumbed to its
injuries and sank into a watery grave.
Death of the Emperor!
Trying to Avenge the Emperor, the Prussian Gunships
continued to circle the Britannian Battleship and inflicted another Crit
(Shredded Defences).
In the End Phase, the Britannian Battleship failed to repair
the Shredded Defences. The Prussian
Gunships managed to remove the Chaos & Disarray from their squadron.
VPs:
PE: 440VP
KoB: 530VP – (Britannia hadn’t completed their objectives yet)
PE: 440VP
KoB: 530VP – (Britannia hadn’t completed their objectives yet)
Turn 5
Kingdom of Britannia won Initiative again!
The Britannian Battleship declared Ramming Action and rammed
the Kaiser Karl! After we rolled the
dice – NEITHER ship had suffered any damage!
Kaiser Karl then did a 90 degree pivot to disengage the ships. While the Ram didn’t damage the either ship, this
allowed the British Battleship to fire all weapons. The Battleship was able to crit a Gunship
(Engine Failure).
This was my chance!
The Britannian Battleship had Shredded Defences and had lost over half
its Assault Points! The Karl made a
minimum move and boarded the Britannian Battleship! Or tried to.
In one of the WORST rolls of the game, the Kaiser Karl’s Boarding action
was DEFEATED by the minimal Britannian crew!
The only saving grace was that because it had Shredded Defences, the
Battleship couldn’t take advantage of the retreat and use its AA on the AP as
they disengaged.
The Dreadnought crossed the stern of the Kaiser Karl and
blasted with everything it had and caused a crit (Hard Pounding – 5AP left)!
Absoluetly frustrated and not wanting to take chances, the
Gunships continued their circling of the Britannian Battleship and fired all
weapons. When the smoke cleared, the
Britannian Battleship was nowhere to be found!

The Britannian Battleship is Lost!
In retaliation, the Britannian Frigates turned and blasted
the lead Gunship out of the water!

Britannian Frigates Sink a Gunship!
Finally, the Prussian Frigates on the far Right raced
towards the rest of the conflict, but were too far away to make an impact this
turn. The Prussian Fighters could do
nothing but watch the battle as it continued to unfold below them.
In the End Phase, the Prussians failed to repair anything.
VPs:
PE: 635VP Sink 50% & all Mediums: Completed!
KoB: 615VP Sink 50% & all Larges & Massives – Incomplete!
PE: 635VP Sink 50% & all Mediums: Completed!
KoB: 615VP Sink 50% & all Larges & Massives – Incomplete!
Prussian Victory!
+++++++++++++++++++++++++++++++++++++
WOW! NASTY Battle!
Normally, a battle like this would only last 2-3 turns. To last 5 turns like this one did is all attributed to the missions we drew and the forces we used!
First, the Prussians had an "easier" time as they only needed to sink 500 points and all the Medium-Sized vehicles. Sinking the Mediums was relatively easy (the weakness of having a single Medium Squadron). While I wiped out the squadrons on the right, the left was more problematic as most of the smalls hid behind the protection of the Dreadnought. That left the Battleship as a prime target. While I was able to focus 2 Battleships and a Gunship Squadron at the Britannian Battleship, it proved to be a tougher target than I originally planned.
Not to mention how many failed Boarding attempts I made. So much for the "Prussian Boarding Powers"...
On the Britannians side, he drew a tough mission - having to sink or capture 2 large major warships, and battleships at that. While the Emperor finally sank, it took 5 turns and the Kaiser Karl, though badly damaged, was still had more than 1/2 its Hull Points by the end of the battle. Not an easy mission at all.
In the end, though I won the game by completing both parts of the mission, there was only a difference of only 20VPs between our scores. This really was a much closer battle than it appeared!
Anyway, a great battle! I enjoyed it immensely!
Now excuse me. I need to figure out some new lists for next battle!
Good Luck!
No comments:
Post a Comment